Are you looking to remove every alternate row of data on your spreadsheet in Microsoft Excel? Or, Do you want to delete the even rows of data from the sheet and keep the odd ones?
Whatever your reason is, you can get a hold of the methods of deleting every other row/alternate row in Microsoft Excel in this guide.
The processes of removing every other row and also every nth number of row in Excel are presented in very simple words within this guide. Whether you want to remove every alternate row or every 3rd or 4th row, you can find out how to do it here.
So keep reading to learn how to delete every other row or every nth row in Excel.
What Does Deleting Every Other Row Mean In Excel?
In Microsoft Excel, data entries are contained within rows, which have a number of cells present side-by-side in a row comprising the data. Deleting every other row in Excel means removing every alternate row, or every odd or even row existing on your worksheet.
You may have the need to delete every other row when you are classifying data according to odd and even rows.
For example, maybe you are moving your daily data from one sheet to another one according to the odd or even days of the month. In this case you will want to keep days 1, 3, 5 and such on your sheet and delete days 2, 4, 6 and so on from your sheet. This is a case where you would have to remove every other row of data from your sheet.
There can be other cases where you may want to delete every nth row on your sheet instead of alternate rows.
What does this mean? It is elaborated on the next section.
Here’s a complete guide on how to Highlight Duplicates In Excel.
What Does Deleting Every Nth Row Mean In Excel?
Besides every other row, you may at times find the need to delete every nth row of your worksheet in Microsoft Excel. Deleting every nth row means to remove each row that appears after n number of rows. For example: Every 3rd row means rows numbered 3, 6, 9, 12 and so on.
Every nth row in Excel indicates to the row numbers that are multiples of n.
The need for deleting every nth row from your worksheet in Excel may arise in many cases. If you are trying to classify your data into more than two classifications or in any other similar case, you will have to delete every nth number of row.
Now, whether it is every row or every nth row, deleting them in Microsoft Excel app is very simple.
You can learn about the processes of deleting every other row or nth row on the next sections of this guide. They have been explained in easy wording so that you can understand and apply these methods effortlessly.
So move on to the following sections to delete every other row or every nth row in Excel.
Check our epic guide on how to freeze panes in excel easily.
How To Delete Every Other Row In Microsoft Excel
Deleting every other row can be done pretty efficiently using the formulas and tools in Microsoft Excel. You have to create an extra helper column beside your rows and use that to filter out the rows according to your needs using Filter tool in Excel, or you can use VBA code to delete rows.
There are a few ways you could make the helper column using formula in Excel or you could just use VBA code without having to create a new column. These methods are explained here.
Follow these steps to delete every other row in Excel:
1. Filter Using ISEVEN To Delete Every Other Row
If you want to delete every alternating rows on your spreadsheet, then you can do so by filtering them with the ISEVEN formula in Excel. This formula will be used on the new helper column which you will create to help filter you rows.
Here’s how you can use ISEVEN formula to filter and delete every other row:
- Open your spreadsheet in Excel.
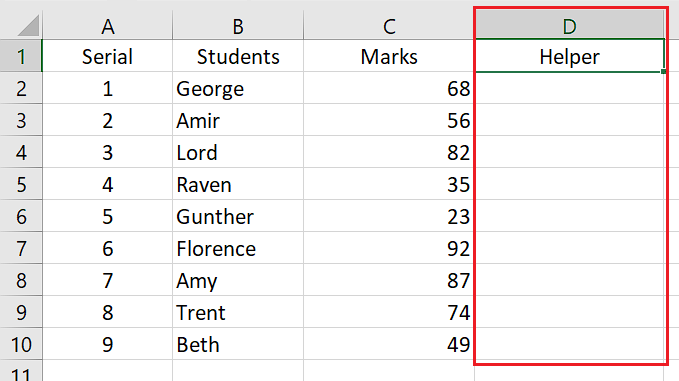
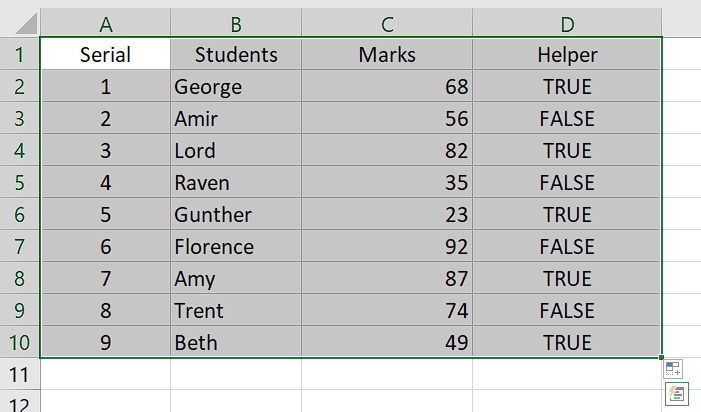
- Create a new helper column beside your original columns.
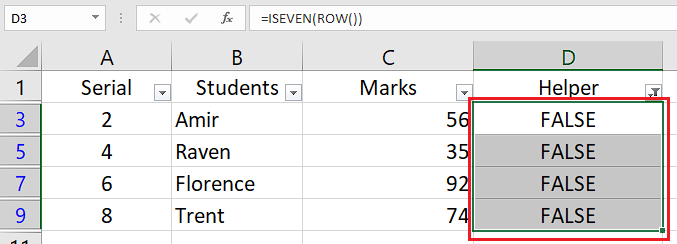
- Type the formula: =ISEVEN(ROW()) on the first cell of the helper column.
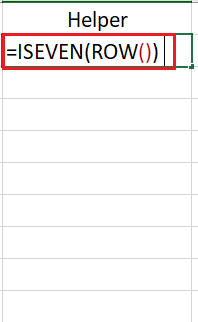
- Press Enter key after typing the formula.
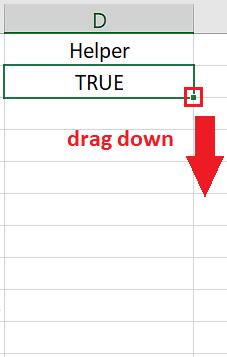
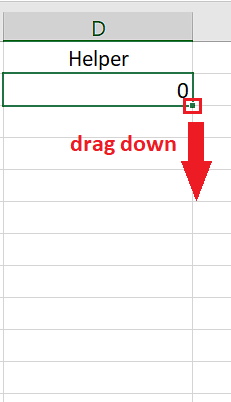
- Click the filler handle on bottom-right of the cell and drag it downwards to fill other cells of the column.
- Select the whole table including your helper column.
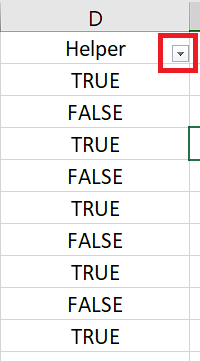
- Go to Data tab and select the Filter option.

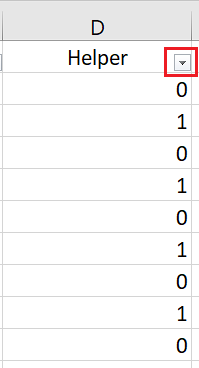
- Click on the arrow icon beside the header of helper column.
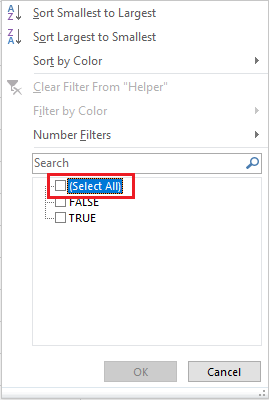
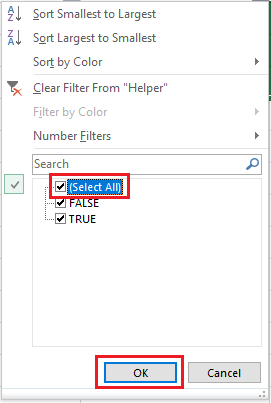
- Uncheck Select All option.
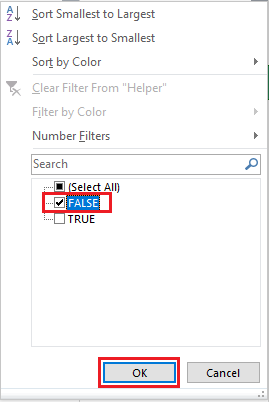
- Choose to show only FALSE or TRUE values depending which alternate cells you want to delete and click on OK.
- Select the helper column except the header.
- Right-click on any cell of helper column and click on Delete Row.

- Click on OK when the window appears.

- Click on the arrow icon beside the header of helper column.
- Check the Select All option and press OK.
After you reset the filter to show every row of your data, you will now see that your alternate rows have been deleted and the data without those rows are shown to you.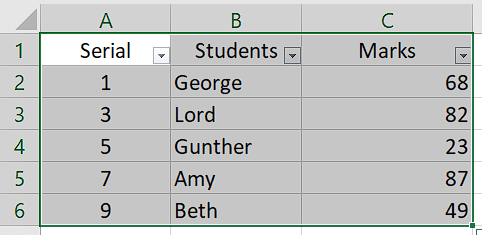
Quickly visit the links to find out how to freeze a row on Excel easily.
2. Filter Using MOD To Delete Every Other Row
Similar to the previous methods, you can also use the MOD formula to filter out your alternate rows and delete them in Microsoft Excel.
This is how you can use MOD to filter and delete alternate rows in Excel:
- Open your spreadsheet in Microsoft Excel.
- Create a new helper column beside the original columns of your sheet.

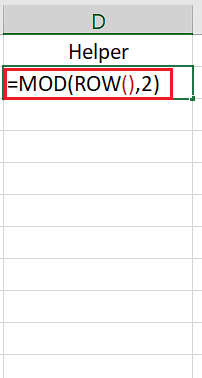
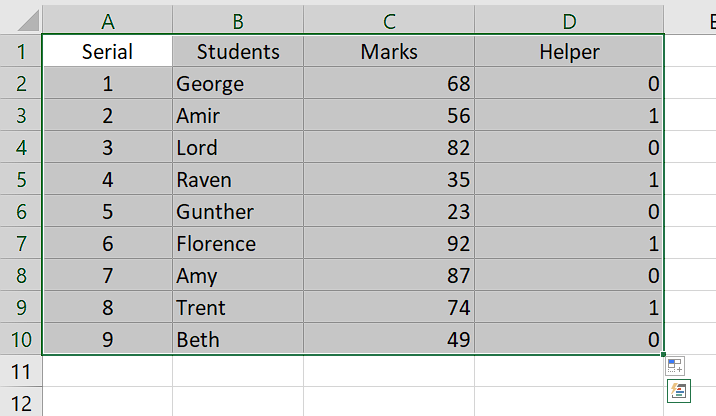
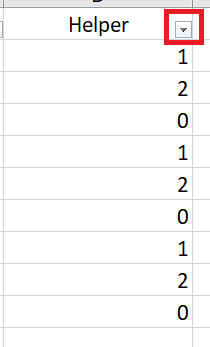
- Type the formula: =MOD(ROW(),2) on the first cell of the helper.
- Press Enter key to enter the formula.
- Click the filler handle on bottom-right of the cell and drag it downwards to fill other cells of helper column.
- Select the whole table including the helper column.
- Go to Data tab and select Filter.

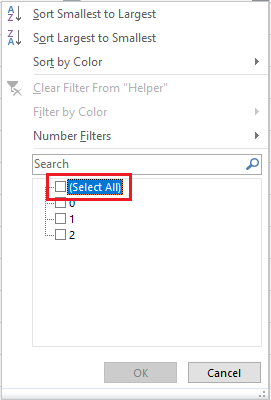
- Click on the arrow icon beside the header of helper column.
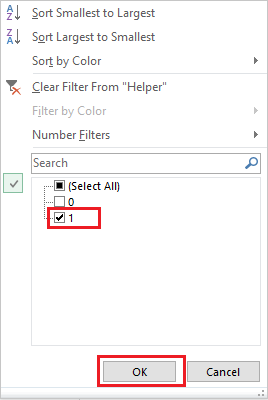
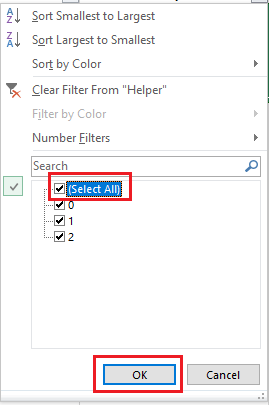
- Uncheck Select All option.
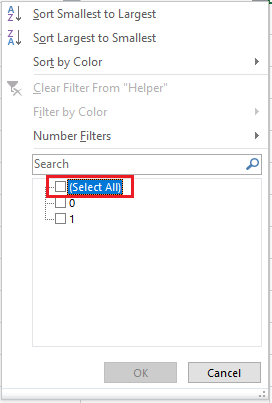
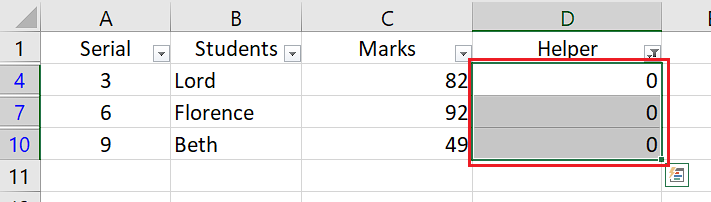
- Choose to show only 0 or 1 values depending which alternate cells you want to delete and click on OK.
- Select the helper column.
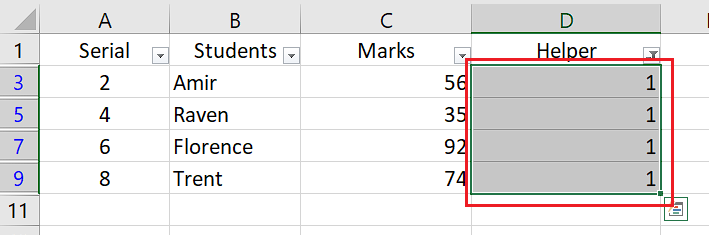
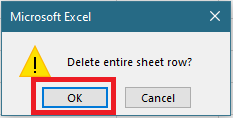
- Right-click on any cell of helper and click on Delete Row.

- Click on OK on the window.

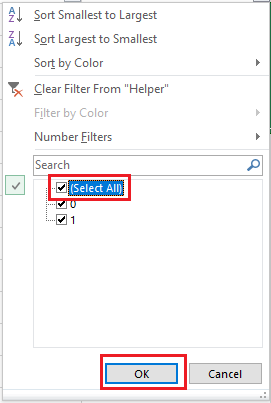
- Click on the arrow beside the header of helper column.
- Check the Select All option and click on OK.
This process will also then remove the alternate rows that you want from your sheet and just show the rows you want to keep. 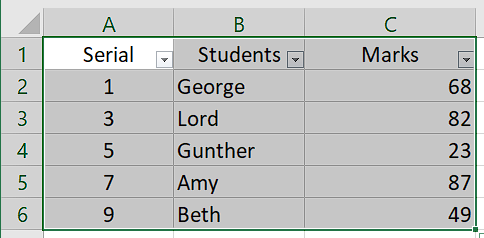
Here is the easiest guide to lock a cell in Excel.
3. Use VBA Code To Delete Alternate Rows
If you do not want to go through all the trouble of making a new helper column to filter your rows, you can delete every other even row by using VBA code on Visual Basic Editor.
Go through these steps to use VBA code to delete every other even row:
- Open your spreadsheet in Excel.
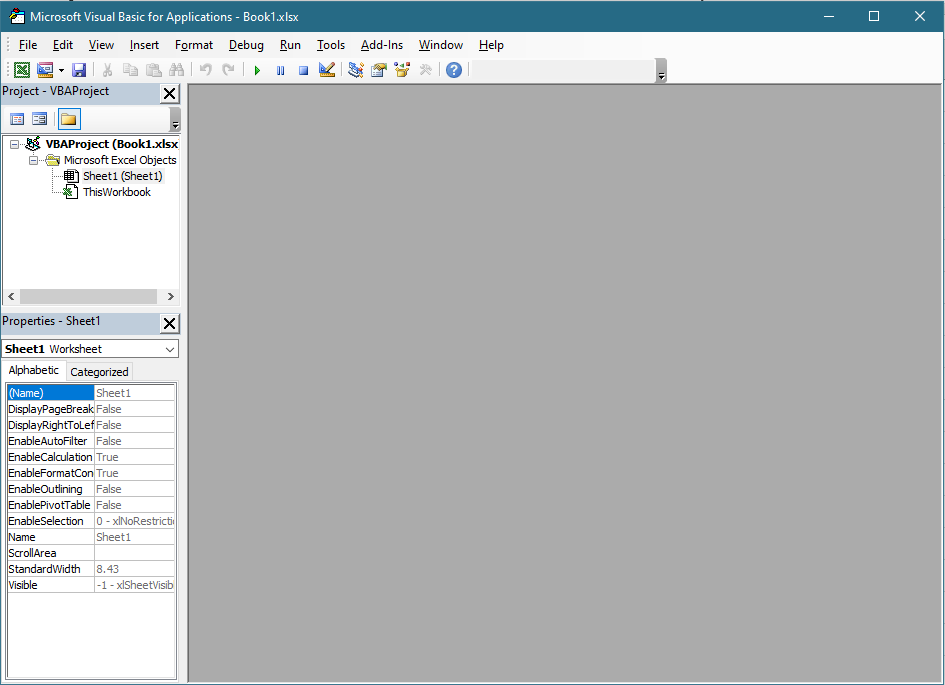
- Press Alt + F11 keys together to open Visual Basic for Applications.
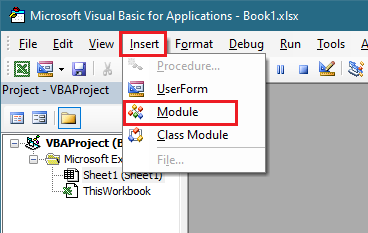
- Select Module from Insert menu on top.
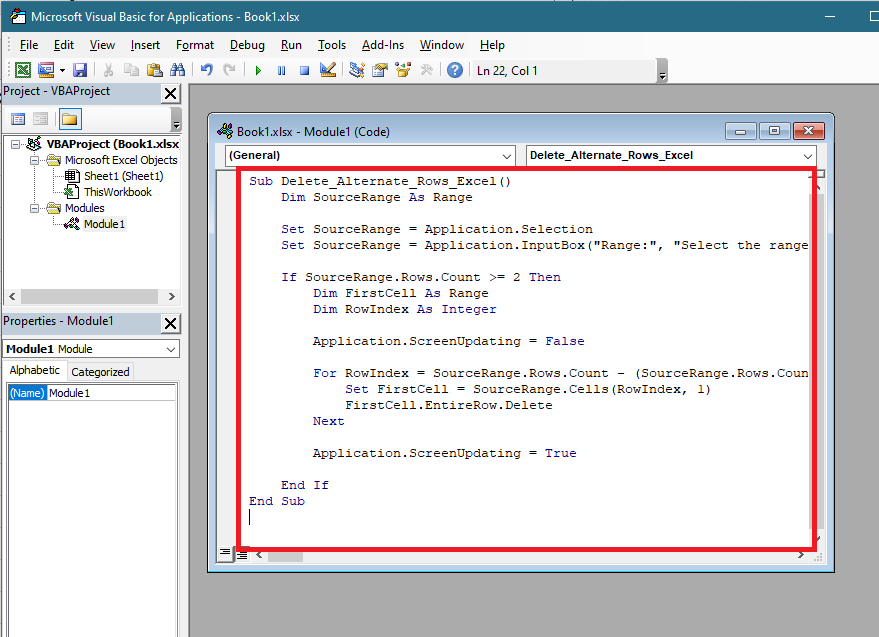
- Enter the following code into the module:
Sub Delete_Alternate_Rows_Excel()
Dim SourceRange As Range
Set SourceRange = Application.Selection
Set SourceRange = Application.InputBox(“Range:”, “Select the range”, SourceRange.Address, Type:=8)
If SourceRange.Rows.Count >= 2 Then
Dim FirstCell As Range
Dim RowIndex As Integer
Application.ScreenUpdating = False
For RowIndex = SourceRange.Rows.Count – (SourceRange.Rows.Count Mod 2) To 1 Step -2
Set FirstCell = SourceRange.Cells(RowIndex, 1)
FirstCell.EntireRow.Delete
Next
Application.ScreenUpdating = True
End If
End Sub
- Press F5 key to run the module.
- Enter the range of your table and press OK.
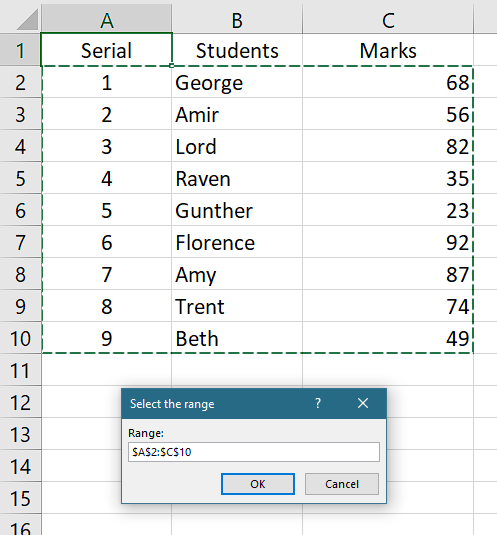
After running this module successfully, you will see that the alternate rows from your sheet have been removed and only the other rows remain. 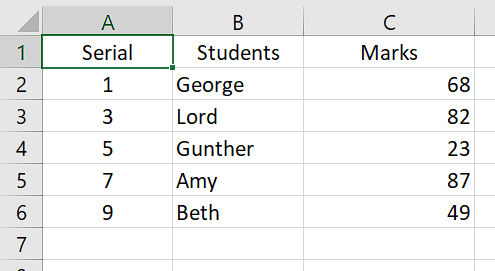
Follow our ultimate guide if you want to know how to post Bank Statement in Excel to Quickbooks.
How To Delete Every Nth Row In Excel?
Now you know how to delete every other row on your worksheet from the methods discussed on the previous section. What will you do if you need to delete every nth row from your worksheet? The process of doing it is explained here.
Follow these steps to delete every nth row in Microsoft Excel:
- Open your spreadsheet in Microsoft Excel.
- Create a new helper column beside the original columns of your sheet.

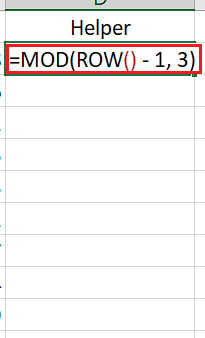
- Type the formula: =MOD(ROW() – m, n) on the first cell of the helper.
Here, m = row number of the first row minus 1
n = every nth row you want to delete
For example, according to the image, formula will be: =MOD(ROW() – 1, 3)
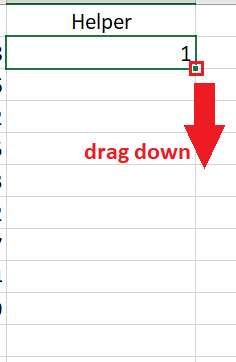
- Press Enter key to enter the formula.
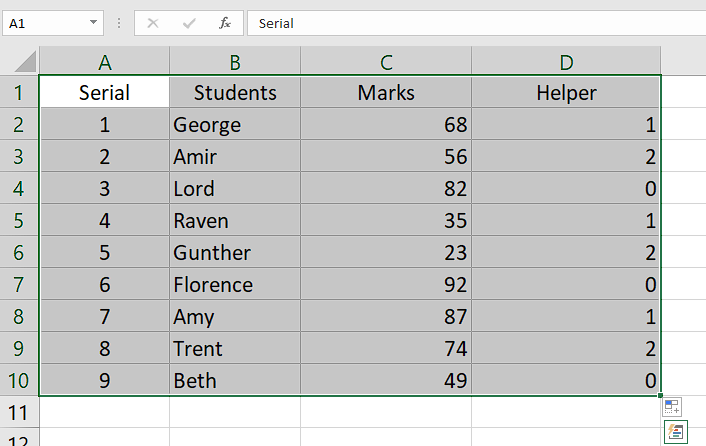
- Click the filler handle on bottom-right of the cell and drag it downwards to fill other cells of helper column.
- Select the whole table including the helper column.
- Go to Data tab and select Filter.

- Click on the arrow icon beside the header of helper column.
- Uncheck Select All option.
- Choose to show only 0 to show every nth row on press OK.

- Select the helper column.
- Right-click on any cell of helper and click on Delete Row.

- Click on OK on the window.
- Click on the arrow beside the header of helper column.
- Check the Select All option and then click on OK.
After having gone through these steps, you will see that every nth row from your sheet has been deleted successfully. 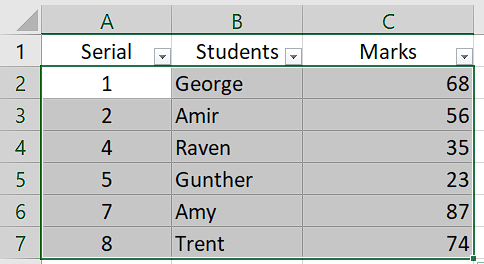
Conclusion
Microsoft Excel tools and formulas prove to be quite capable of meeting all kinds of unique requirements of a user. Being able to delete every other or every nth row using them is a prime example of this.
Check out the methods of how to delete every alternate row in Excel discussed in this guide and employ any one that you prefer because they will all have similar results.