You might want to lock cells in MS Excel so others can’t edit them.
Don’t worry if you aren’t aware of how to do it.
As someone using Excel at work always, I frequently lock cells to protect specific data.
In this guide, I’ll show you how to lock Excel cells for various cases.

So, keep reading till the end.
Why Lock A Cell in Excel?
You might have important data on your worksheet that other’s should not touch. So, you might want to prevent others from unintentionally changing any of the cells. This is why locking cells is essential in Excel.
If you have worked for hours on a formula in Microsoft Excel, you know how annoying it can be if you accidentally delete it. Learning how to lock/unlock cells can make your Excel experience much smoother, especially when you’re collaborating with other people.
The protection of data is comprised of two steps: any cell that requires security must first be locked. Then the worksheet containing the cell locked needs to be secured too.
“Locking” doesn’t take effect until the worksheet is protected, even though you may lock cells. Custom image.
You must secure the worksheet or the complete workbook in addition to the cell to prevent accidental deletion of its contents.
Before locking cell(s) in Excel, you first have to unlock all the cells. This ensures the lock is correctly applied to only those cell(s) and any other cell previously locked remains locked.
So let’s learn how to unlock cells in MS Excel before diving into the different ways of locking cells.
Here’s a complete guide on how to Highlight Duplicates In Excel.
How to Unlock All Cells in an Excel Worksheet
Before locking certain Excel cells, you should unlock all the cells. Then you can be sure that only the selected cells are locked. Any other cell locked previously for other purposes will be unlocked. For most use cases, this is the general workflow.
Every cell in an Excel spreadsheet is locked by default. However, unless no cells, will ever need updating (including those storing data), most users won’t want every cell to be locked.
Typically the cells to be locked contain mathematical equations, functions, or data cells that are left untouched. This workflow is better than trying to unlock individual cells that don’t need security.
Follow these steps to unlock all Excel cells easily:
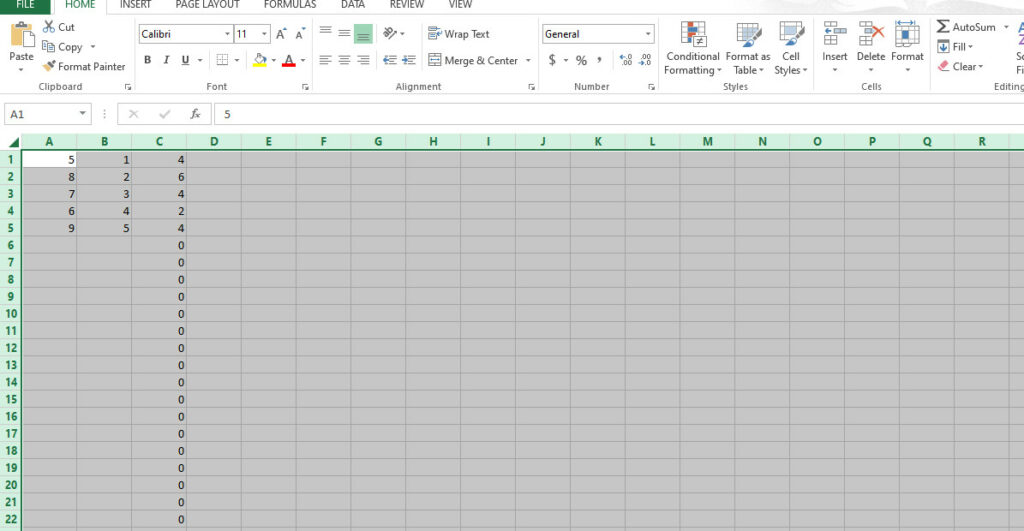
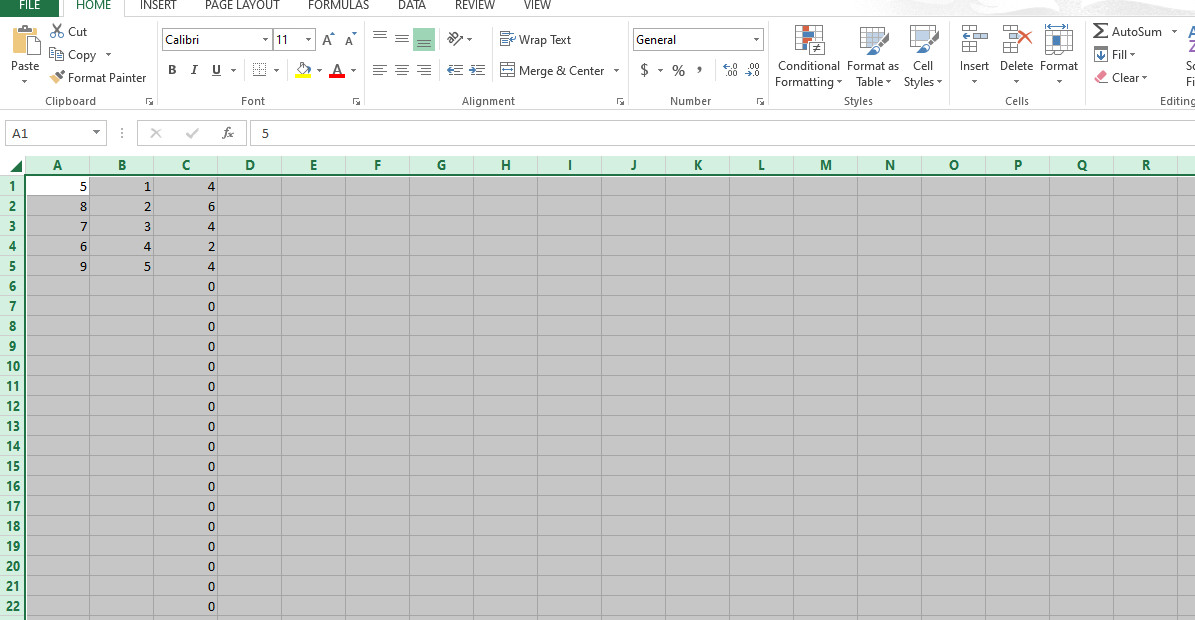
- Click in the worksheet’s upper-left cell to select all the cells on the worksheet.
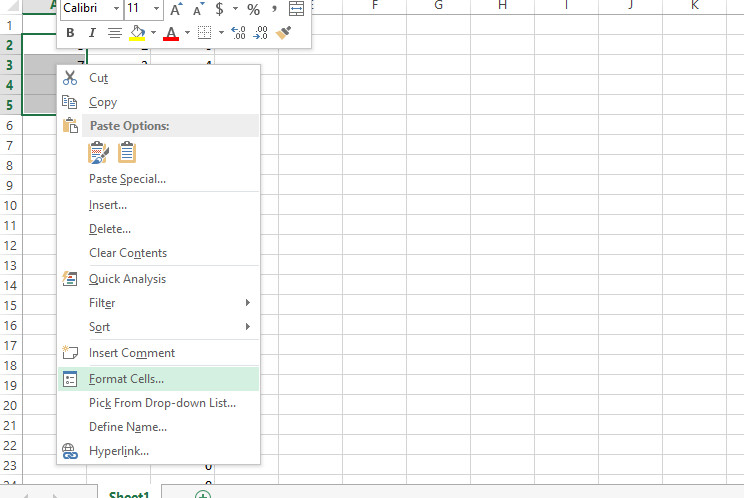
- Perform a right-click.
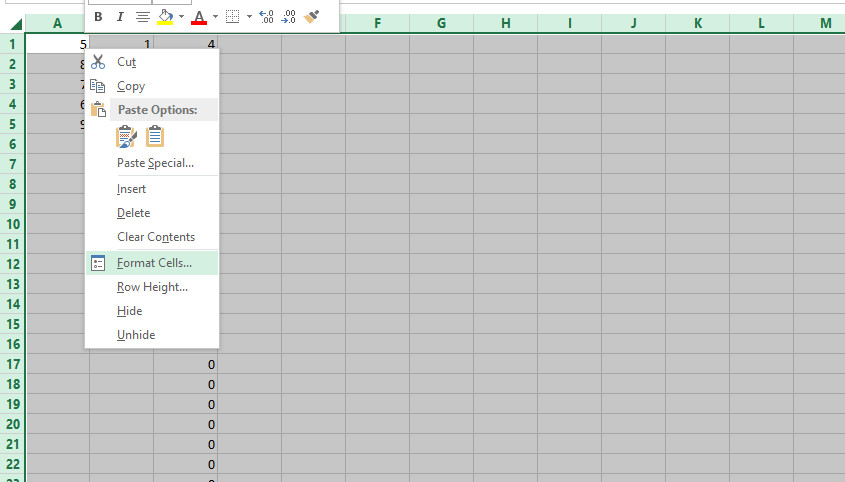
- Choose Format cells.

- Go to the Protection Tab.
- Uncheck the Locked checkbox.
- Click OK to finish the process.
Alternatively, you can also press CTRL + 1 on your keyboard to access the Format Cells dialog box after selecting all the cells. You can now start editing.
Check our epic guide on how to Freeze Panes In Excel Easily.
How to Lock Cells in Excel
After unlocking every cell, you can lock certain cells to get started.
You can lock all the cells at once. You can also choose to lock particular cells or only formula cells. After you know how to lock cells, you can protect the worksheet to apply the lock.
If you want to modify cells you have locked, then you have to unprotect the sheet (which will be covered in the next section).
For now, let’s learn how to lock cells.
Here are the methods to lock cells in MS Excel
1. Locking All Cells
If you have not unlocked all the cells, they are locked by default. If you want to protect all the data in the worksheet once it has been modified, you can go through this procedure.
Follow these steps to lock all the cells :
- Click in the upper-left cell to select all the cells on the worksheet.
- Press CTRL+1. Alternatively, perform a right-click and choose Format Cells.
- Go to the Protection tab. Check the box if all the cells are unlocked.
- Click OK to finish the process lock-cells.

Locking the cells will have no effect until you protect the sheet. I will touch on that part later on.
2. Locking Specific Cells
Very rarely will you lock all the cells. Most of the time, you would want to lock certain cells (or rows and columns) and leave all the other cells open for modification. Some data in the sheet may need to be updated with time.
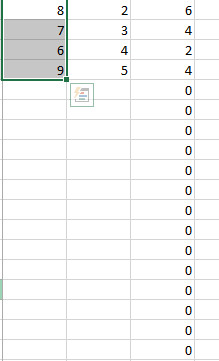
- Select the cells you want to lock.
- Press CTRL+1 to open the Format Cells dialog box. Alternatively, right-click the selection and click Format Cells.
- Check the Locked option on the Protection Tab if it is unchecked. lock-cells.

- Click OK to finish the process.
Now the cells will be locked. Again, unless you protect cells, the process will have no effect.
Also, check out our separate post on Microsoft Outlook not connecting to server.
3. Lock Formula Cells
Most of the time, you would want to protect your work after you have managed to create working formulas. This is why you may want to lock cells containing formula. Other people will need permission to modify the formula.
Follow these steps to lock formula cells in MS Excel:
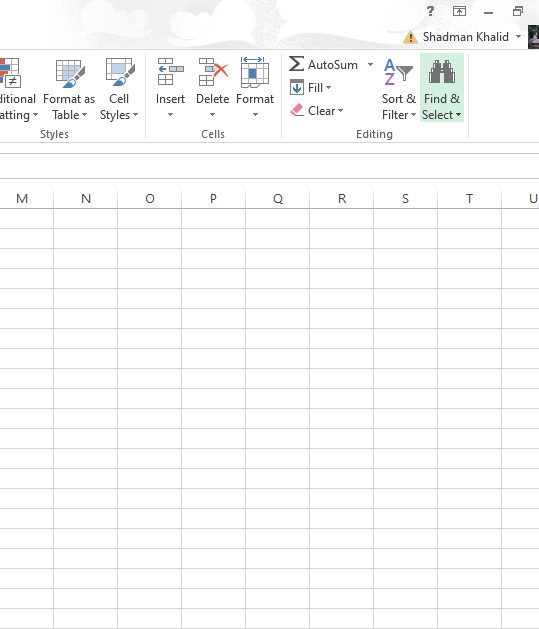
- Find the Editing section on the Home tab.
- Click Find and Select.
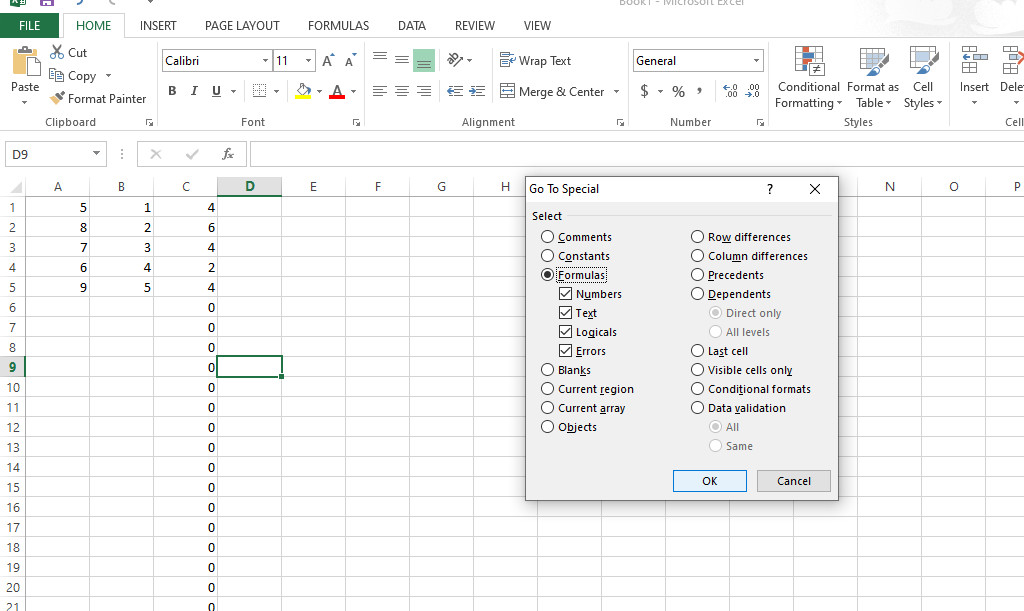
- Click Go to Special afterward.
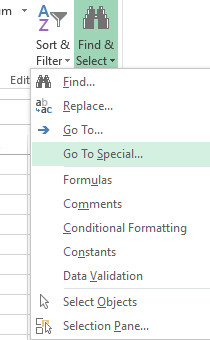
- Choose Formulas and Click OK.
- Press CTRL+1 or Perform a right-click to choose Format Cells.
- Go to the Protection Tab.
- Check the Locked checkbox.
You know what comes next! Yes, you have to protect the sheet to apply the lock on cells. In the following section, I will show you the way to protect your worksheet in Excel (and also make it unprotected).
Here’s a complete guide on how to add someone to email thread Outlook.
How to Protect or Unprotect a Worksheet in Microsoft Excel
Excel allows adding protection to a sheet. You can set a password so that unauthorized people cannot unprotect the Excel sheet. This means it’ll not allow users to modify cells that’re locked anymore, and locking cells will actually be meaningful
Follow these steps to protect a spreadsheet:
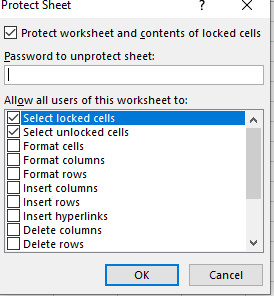
- Click Protect Sheet on the Review Tab.
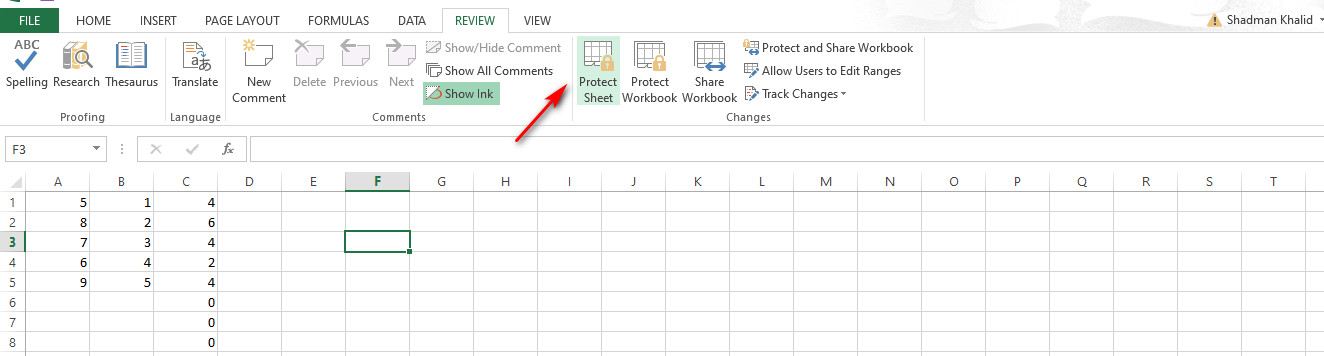
- Select the elements of the sheet you want people to be able to edit. You choose the elements from the list under Allow all users of this worksheet to.
You will need to unprotect sheet to make cells editable once again.
The “Unprotect sheet” icon appears on the Review tab if the sheet has already been protected.
Keyboard Shortcut to Lock Specific Cells in Excel
There is no direct keyboard shortcut to lock cells in MS Excel. But you can use a keyboard shortcut and keypress combination to perform the action without touching the mouse.
Once you’ve selected the cells, follow the steps to lock them using the keyboard:
- Press Ctrl+1 to open the Format Cells popup box.
- Press P to go to Protection.
- Press the Tab key to highlight the Locked option.
- Press Spacebar to toggle the checkbox.
- Press Enter to confirm.
Now to protect the sheet, press the key sequence (one after another) Alt, T, P, P to open the Protect Sheet dialog box. Enter the password and press Enter to confirm.
Also, check out our separate post on Microsoft Excel Freezing or Slow.
FAQ
How to lock a cell 0n Excel for the web?
You cannot lock a cell on Excel for the web. You can open the Excel application from the web platform if you want to lock a cell.
How to protect a worksheet in Excel 2010?
Click Tools > Protection, click Protect Sheet, and then click OK afterward. You can add a password if you want to before clicking OK.
How to lock columns in Excel?
Select all the cells in a column by clicking on the column index at the top. Then follow the steps mentioned in the tutorial to lock those specific columns. The same method applies for rows.
Conclusion
Locking Excel cells is pretty easy, and the steps are pretty similar for a variety of cells you want to lock. Make sure to unlock all the cells first. Then edit the cells.
You can lock the particular cells afterward, and lastly, you have to protect the sheet to apply the lock.
If you have any further queries, please comment below!