Quickbooks is useful accounting software that helps you track expenses, customize invoices, run reports, etc. You can upload bank statements on this platform to get those benefits.
But if your bank provides bank statements in a CSV file, can you upload the bank statement to Quickbooks?
I frequently upload my bank statements on the platform as a Quickbooks user. I find it convenient to upload the bank statements as CSV files.
Many people are confused about uploading bank statements in Excel to Quickbooks. I am writing this article to get rid of that confusion.
So keep reading this article till the end to learn how to post bank statements in Excel to QuickBooks.
Why Connect Your Bank Accounts To Quickbooks?
The bank connection is one way. Quickbooks can, at most, pull your transaction data from your bank account and download them to your Quickbooks account. 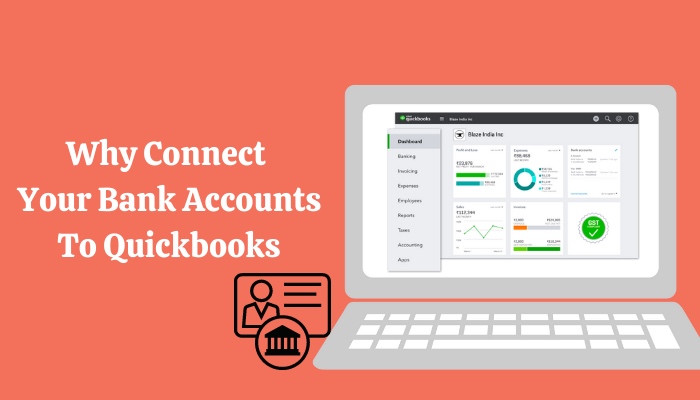
Quickbooks cannot send transaction requests or information to your bank. So there is not much there to worry about when it comes to security.
You can connect to QuickBooks fast and effortlessly with most large banks. You can still transfer your banking transactions using Excel and a CSV or QuickBooks Online file if your bank does not integrate with QuickBooks.
So, there are plenty of good reasons to connect your bank account to Quickbooks.
Here’s a complete guide on how to Highlight Duplicates In Excel.
Is it Possible to Upload Bank Statements in Excel to Quickbooks?
But why do extra work?
Just upload your CSV file after formatting it.
Quickbooks cannot read all CSV files. You have to format the CSV file in a way acceptable to Quickbooks.
Quickbooks Online can import CSV files that you use in either a 3-column or 4-column format. It is important to know that these are the only formats Quickbooks can accept.
Different banks format CSV files differently. So if you want to upload your bank statement as a CSV file, you have to format it in one of the two ways mentioned above. Otherwise, Quickbooks will not be able to read your bank statement, and you will receive an error message.
Formatting CSV file to Upload in Quickbooks
The 3-column format has a date column, a description column, and an amount column. The 4-column format has a date column, a description column, a debit column, and a credit column.
The date column represents the date of a particular transaction. Make sure all the dates are in one format. Quickbooks recommends the date be in dd/mm/yyyy format.
The description column has to represent information about the transaction that will help you understand what the description was about. Quickbooks accepts descriptions when there are no numbers or certain special characters involved.
In a 3-column format, the amount column will describe the amount of money being exchanged in a transaction. In a 4-column format, there are separate columns for debit and credit.
The credit and debit columns are self-explanatory if you understand the terms. The credit column represents money you have received, and the debit column represents money you have spent.
Follow these steps if you see an error message when uploading to Quickbooks:
- Remove all zeros from the file. Don’t fill in those cells that originally had zero in them.
- Remove all numbers and special characters from the description column. The Special characters include currency signs and commas.
- Remove the word amount if it shows up in the Credit or Debit column header. The only words that should appear are credit and debit in the 4-column format.
- Use a uniform date format. Use the format: dd/mm/yyyy.
- Save the file as a Windows CSV file if you are a Mac user.
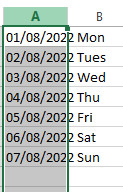
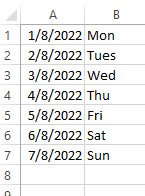
- Delete the day of the week from the Date column. Some banks include the day of the week (for instance, 12/10/2021 TUE). you must delete the day of the week. To do this, separate the weekday and the date into their columns.
To follow the final step, it is convenient for you to know how to split a column in Microsoft Excel. Deleting the day of the week from every single cell would be too tedious.
In Microsoft Excel, follow these steps to separate a cell into multiple cells:
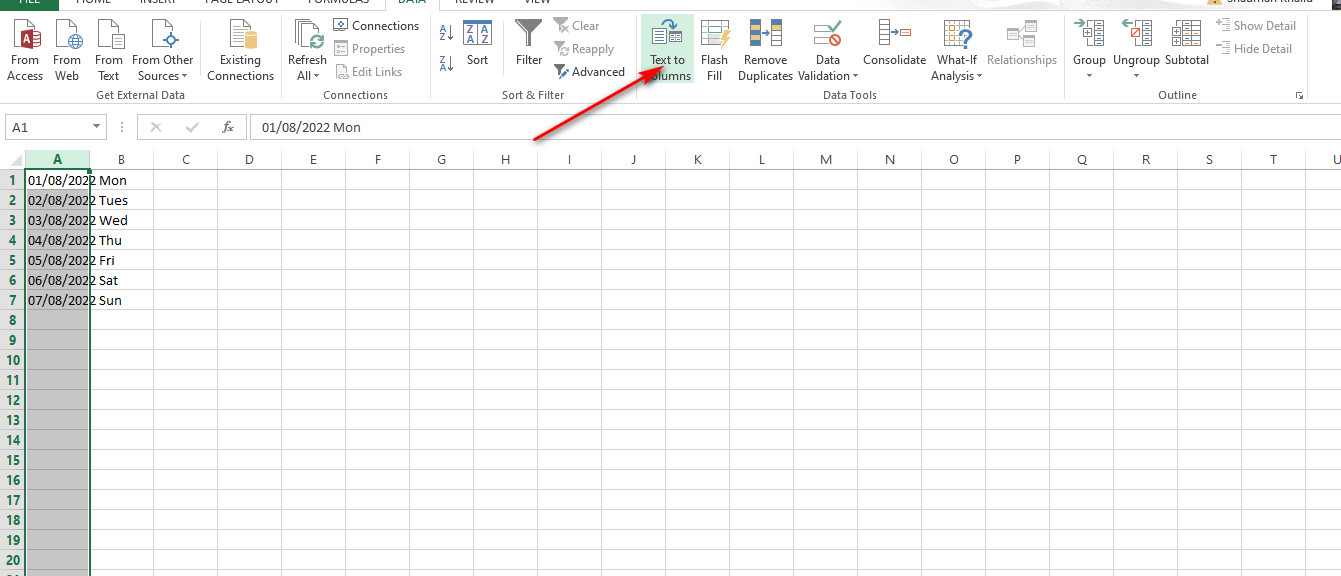
- Select the cells you want to split. You can choose an entire column by clicking on the column index. It’s important to note that when you split the contents, they will overwrite the contents of the cell to the right. Ensure that the space next to it is empty.
- Click Text to Columns under the Data Tools section of the Data tab. The Wizard to Convert Text to Columns appears.
- Select Delimited if not already selected. Click Next afterward.
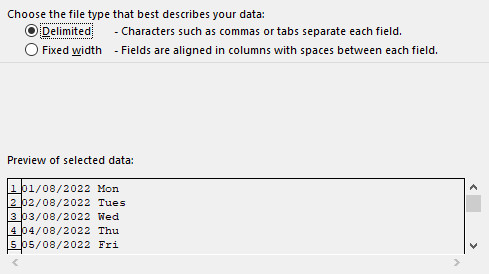
- Choose the delimiter(s) to specify the points at which you wish to divide the cell’s content. You can see a preview of your information in the Data Area. Choose Next.

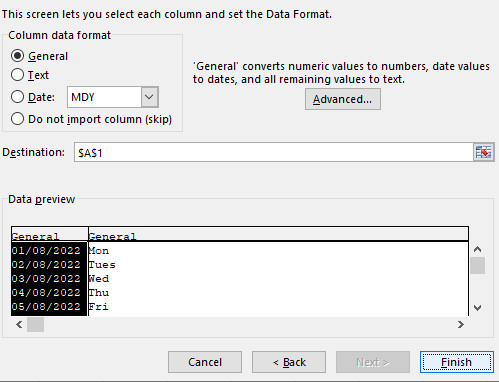
- Choose the data format for the new columns through the Column data format The columns’ default data format is the same as the source cell’s. Click Finish to complete the process.
If you upload the file into QuickBooks Online, use the proper credit card account (not a bank account) to ensure that these transactions are loaded accurately.
Also, check out our separate post on Microsoft Outlook not connecting to server.
How to Post Bank Statement in Excel to Quickbooks online
Quickbooks Online can read bank statements from CSV, QBO, TXT, QFX, and OFX files. But our discussion will be limited to CSV files for this article. You can access CSV files with Microsoft Excel, and you can even edit the file using Excel.
You will first need a file that carries the data to your bank transactions. You should log in to your bank account and download all your bank transaction data as a CSV file.
If on the off chance, your bank does allow you to download your transaction data in the CSV format, then you can try finding a suitable converter to convert the data into CSV format.
Format your CSV file according to the instructions provided in the section above. Accurate formatting will allow Quickbooks to read the CSV file you provide it.
The next step is to choose an account from your Chart of Accounts to record the bank transactions you imported. You can even add a new account to the list if you want to.
Follow these steps to post bank statements in Excel to Quickbooks:
- Go to Bookkeeping in QuickBooks Online, choose Transactions, and then choose Bank transactions.
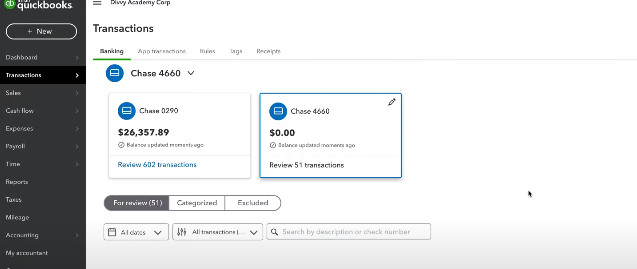
- Choose the blue tile for the account containing the transactions you want to submit.
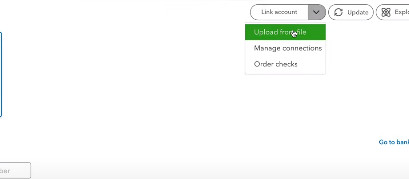
- Choose Upload from file from the drop-down menu below the Link account.
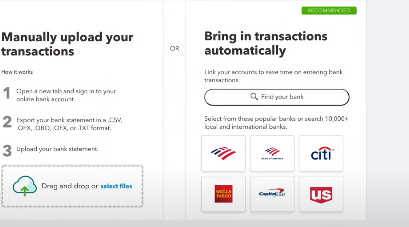
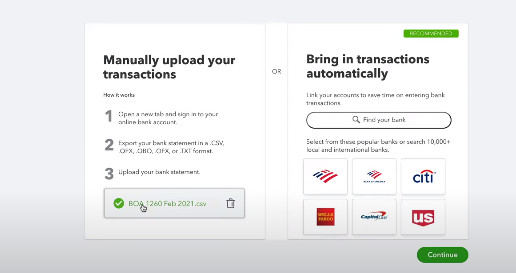
- Select the file you have downloaded from your bank after choosing Drag or drop or choose files. Click Continue.
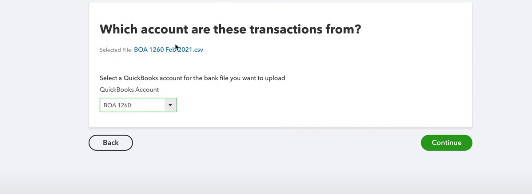
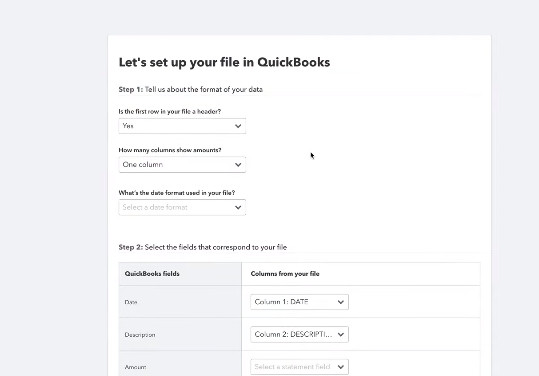
- Choose the account you wish to upload the transactions into from the QuickBooks account selection. Next, click Continue.
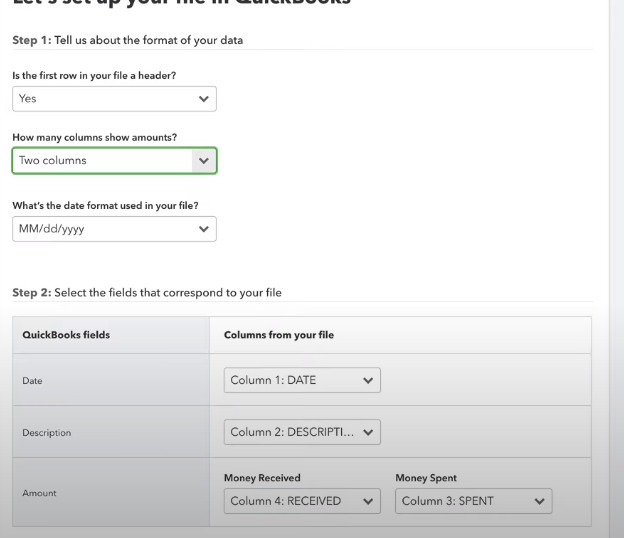
- Match the columns on the file with the appropriate fields in QuickBooks. Follow the on-screen instructions for assistance. Next, click Continue.
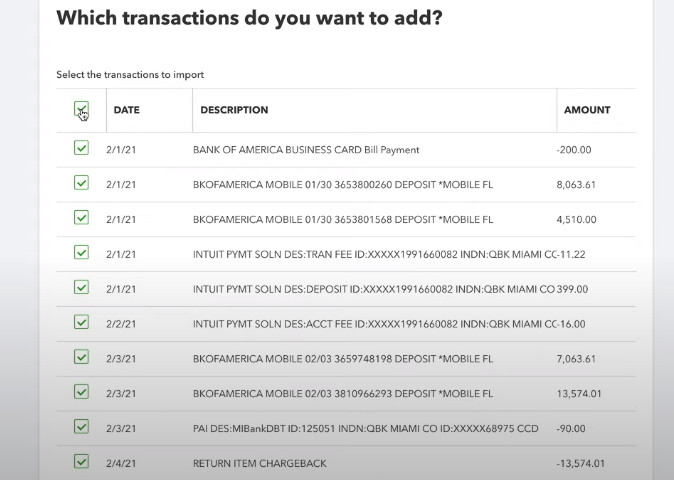
- Choose which transactions you want to import. Next, click Continue.
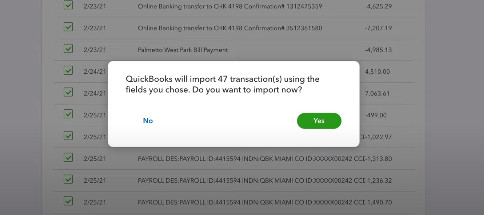
- Choose Yes.
- Select Done after you have approved your transactions.
- Match and Categorize your transactions.
- Reconcile the transactions to ensure that the books are accurate.
Here’s a complete guide on how to add someone to email thread Outlook.
FAQ
How do I import bank transactions from before the last 90 days to Quickbooks?
Quickbooks Online can automatically download your transaction information from the previous 90 days if connected to your online banking. To import older data, you can use web connect to import it to your Quickbooks online account manually.
Conclusion
You can post bank statements in Excel to Quickbooks by uploading the CSV file to Quickbooks. Quickbooks can only read CSV files if the formatting matches what Quickbooks demands.
Make sure to format the CSV file accurately and read all the steps you should take afterward to upload your transaction data to Quickbooks without any errors.
So, do not worry if you can only download your banking transaction data as a CSV file because you can comfortably upload it in Quickbooks.
If you have any further queries, please comment below!