Microsoft Teams is one of the most useful apps for communicating and sharing information with teammates. But the information can easily be lost if you don’t save it.
Unfortunately, when you are not the host and are not allowed to record a meeting in MS Teams, you cannot save a copy. In that case, you can just take screenshots of the data you need from the meeting without notifying the other participants. And in this article, I have described all the possible methods available to take screenshots in Microsoft Teams meetings and explained processes step by step.
Without further ado, let’s begin!
You may also like to read about how to use Microsoft Teams Shifts?
How to Take a Screenshot in Microsoft Teams Meeting
You can take a screenshot of Microsoft Teams meetings using the Windows built-in Snip & Sketch tool or the PrtScr button on your keyboard, which will take a screenshot of your entire screen, copy it on your clipboard, and you need to paste it on a document.
Follow the steps below to take screenshots of your Teams meetings correctly.
Related contents you should read MS Teams Integration with Cisco Video Conferencing.
Here are the steps to take a Screenshot in MS Teams Meeting:
1. Use the PrtScr Key
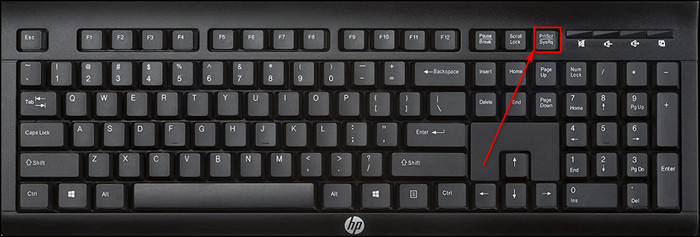
When you join a Microsoft Teams meeting, you can press the PrtScr button on your keyboard to take a quick screenshot of the whole screen.
Here’s the process to take a screenshot using the PrtScr key:
- Enter a Teams meeting.
- Press the PrtScr Button, which will copy a picture of your whole screen on your clipboard.
- Open a blank document.
- Paste the screenshot on the document.

- Save the document on your local device.
2. Use 3rd Party Apps
You can use third-party apps such as Greenshot, Gyazo and FastStone Capture to take quick screenshots of your meetings in Microsoft Teams. These apps also provide much more editing functionalities than Snip & Sketch app.
Some more guides on crocs Optimize Microsoft Teams Performance.
3. Use the Snipping Tool
The Snip & Sketch software or the Snipping Tool not only allows you to take multiple types of screenshots, but you can also modify your pictures and edit them.
Here’s how to take screenshots using the Snipping Tool in MS Teams meeting:
- Join your Microsoft Teams meeting.
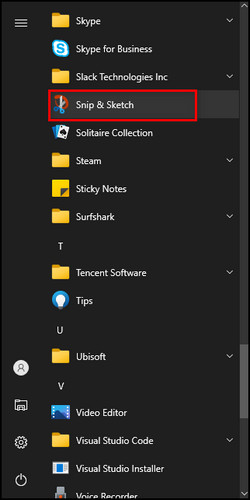
- Click on the Windows icon, select Snip & Sketch, or press the Win + Shift + S key, and the Snipping Tool will open.
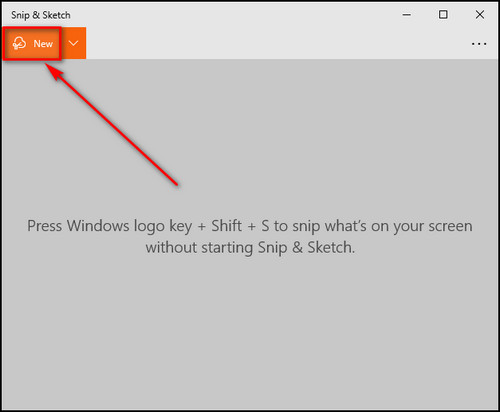
- Click on the New button.
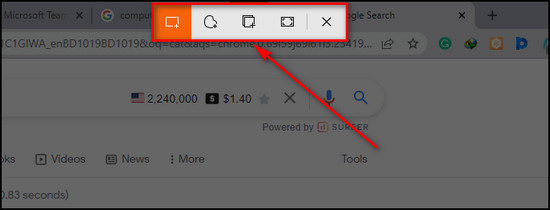
- Choose the type of screenshot you want.
Now you can edit the screenshot and save the picture anywhere on your local device, in OneNote or share it through email.
In the following section, I’ve described different types of screenshots in Snip & Sketch and explained various styles of edits you can do with the tool.
Check out the easiest way to change time zone in Microsoft Teams.
What types of Screenshots can Snip & Sketch Tool Take and Edit Them?
You can use the Windows Snip & Sketch program to take screenshots of a specific area or the whole screen with or without the taskbar. This app also provides tools such as Pencil, Ballpoint Pen, Highlighter, Ruler, etc., to edit your screenshots.
Below I’ve described all the different types of screenshots you can take with Snip & Sketch in a Microsoft Teams meeting and explained the tools that can modify the screenshots.
Follow our guide to add guests to Microsoft Teams.
Here are the types of screenshots you can take from Snip & Sketch:
Rectangular Snip
This option is selected by default. It allows you to crop off a particular area you want to take a screenshot of. It is suitable when you just need to take a screenshot of your Teams meeting participants or just a portion of the window, not the whole screen.
Freeform Snip
This option allows you to move the cursor freely and capture where it goes. You should use it when you only need to capture half the screen.
Window Snip
After you select this option, you need to press on the screen once, and it will capture the entire screen, excluding the taskbar.
Windows Snip is helpful when you need to show your entire screen to others or when you are in a Microsoft Teams meeting and the host displays something you need to save.
But before that, go through our epic guide on how to clear the Microsoft Teams Cache?
Fullscreen Snip
This snipping option also takes screenshots of your whole screen, including the taskbar. It doesn’t cut any portion of the screen.
Along with taking different types of screenshots, you can also edit the screenshots in the Snip & Sketch app. In the following section, I’ve explained how to do that.
Editing in Snip & Sketch Tool
The Snip & Sketch program lets you modify your screenshots using tools like Pencil, Highlighter, Ruler etc. Below I’ve described all the tools in Snip & Sketch and explained how to use them.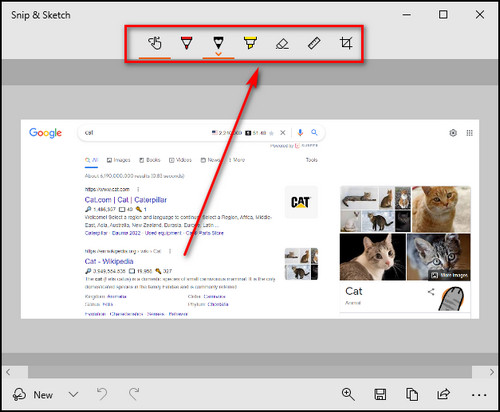
Here are the editing tools in Snip & Sketch:
- Touch Writing lets you drag the mouse, acting as a tool that delivers a particular design.
- Ballpoint Pen acts like a solid line that you can drag and draw.
- Pencil acts as a digital pencil and isn’t as clear as the Ballpoint Pen.
- Highlighter lets you drag a particular section to highlight it.
- Eraser allows you to remove any editing you have done on the image.
- Ruler brings up a scale that you can set at different angles. You draw against it and find out the angles of things on the screen.
- Image Crop grants you to crop the image and modify the size.
Does MS Teams Inform Other Participants When You Take Screenshots?
As of now, MS Teams does not inform other participants when you take screenshots using the Windows built-in app the Snip and Sketch tool, the PrtScr button on your keyboard or third-party apps such as Greenshot, Gyazo and FastStone Capture.
Taking screenshots in a Microsoft Teams meeting doesn’t notify other users, no matter what software or method you use to take the screenshots.
Also, you won’t be able to know if someone records MS Teams meetings using the Xbox Game Bar tool, which is available on Windows computers.
It becomes especially problematic when you are hosting a Teams meeting with a group of participants and have to display confidential information through screen-sharing. And there is no guarantee that someone won’t take a screenshot and save your data.
Also, check out our separate post on fix Microsoft Teams connection issues.
FAQs
How do I submit a photo to a Team?
Follow the steps below to submit a photo to a Team:
- Open Microsoft Teams.
- Go to the Teams tab.
- Select the Team to which you want to submit the photo.
- Click on Attach files under the message box.
- Choose Upload from my computer.
- Select the photo you want to submit.
- Click Open.
Can I take a screenshot of a Team Meeting and use it as a JPEG?
Yes, you can take a screenshot of a Team meeting using the Snip & Sketch app and save the image as a JPEG.
Why is the screenshot not working in Teams?
The screenshot is not working in Teams can be due to corrupted Teams cache files, outdated software and enabling hardware acceleration.
Do Teams inform screenshots?
Microsoft Teams has no way of informing other users or stopping users from taking screenshots.
Final Thoughts
If you capture videos of your MS Teams meetings, it might notify other participants. But in case you take screenshots, no one would know.
That’s why I’ve explained all the steps you need to take screenshots while in a meeting in Microsoft Teams and described different options to edit the screenshots.
Let me know if you have further questions regarding Microsoft Teams or other apps. See you in the comment section.