You’re all ready to start a stream on Twitch. So you sit in front of your PC, fire up the streaming software, and hit Start Stream.
But the streaming software comes up with the dreaded ‘failed to connect message.
How to get rid of it and start streaming? In this post, I’m going to tell the answer to the question.
I’ll describe the different solutions to the issue so that you can start streaming in minutes. So let’s jump into the topic. Ensure to read the post thoroughly till the end.
Why Does It Keep Saying Failed To Connect To Server?
The ‘failed to connect to server’ error keeps saying on streaming softwares like OBS Studio or Streamlabs OBS due to network issues, server issues, a problem with the streaming software or its configuration (bind IP setting, Stream Key error), blockage from the firewall, or hardware issue.
Streaming softwares like OBS Studio or SLOBS show the error message upon failure to connect to the streaming servers when trying to start a stream. The error message ‘failed to connect’ can take various forms depending on the origin of the issue.
If the issue arises from a network or server error, you would see something like “Failed to connect to the streaming server. Please check your internet connection“.
Stream key error results in an error message like “Failed to connect. Could not access the specified channel or stream key, please double-check your stream key”.
If you see the message “Failed it connect to server. Hostname not found. Make sure you entered a valid streaming server and your internet connection/DNS are working correctly”. It could be a DNS error, server error, or problem with the network or firewall. Also, check out the easiest ways to link ea prime gaming with twitch.
Depending on the error message, you can pick the desired solution from the list below or try the fixes one by one.
Things To Check Before Trying The Fixes
The Twitch ‘failed to connect’ problem has several fixes based on the origin of the issue. But before trying those fixes, you can go through the following checklist to rule out the general issues.
These are the common fixes to the problem, irrespective of the type of problem you’re facing. Ever been in a situation where your two favorite twitch streamers started streaming at the same time? Check out our epic post to find out how to watch multiple twitch streams simultaneously.
Here are the things to check:
- Check if you can stream through a different internet connection (if you have access to one) to see if it’s an internet problem.
- Check if restarting the router fixes the issue. You can also reconnect to the internet on your device.
- Try to stream to Twitch using a different device. If it works, the problem is related to the device connectivity or device settings. Your best bet is to reset the connectivity settings or reinstall the streaming software.
- Restart your computer and see if it solves the problem.
- Check if the Twitch servers are up and running.
- Connect to the internet using a wired connection.
After trying the above fixes or workarounds, if the situation doesn’t improve, it’s time to move on to the specific fixes.
How To Fix Twitch Stream Failed To Connect
The ‘failed to connect’ issue has many solutions depending on the cause.
So if you can find the origin of the issue from the error message, don’t hesitate to jump right into the individual fix.
Otherwise, try the fixes one by one until your problem goes away.
Here are the methods to fix the Twitch stream that failed to connect:
1. Run Twitch as Administrator
Restarting the streaming software with administrator rights gets rid of the problem if it was caused due to lack thereof.
The critical thing to notice here is that streaming software like OBS Studio or Streamlabs OBS doesn’t quit entirely when you close them; they minimize themselves in the taskbar.
So you need to exit correctly, then run the software with admin rights.
Moreover, if you’re logged into Twitch through the streaming software, it’s wise to re-login. So, your ublock won’t Block video ads on Twitch?
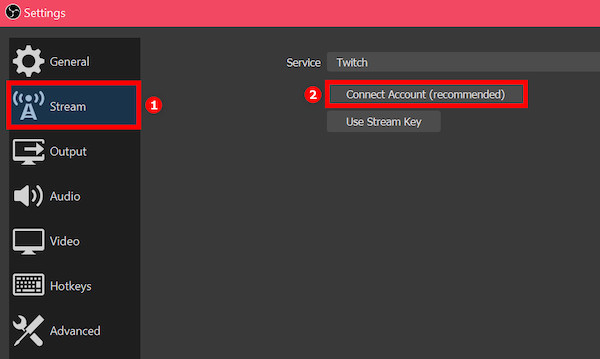
Here are the steps to run twitch as admin:
- Open your streaming software.
- Go to Settings > Stream and disconnect Twitch (if you’re logged in).
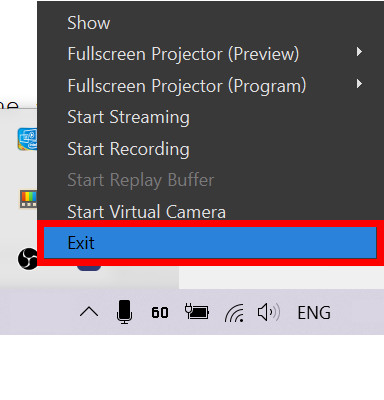
- Exit the streaming software.
- Expand the hidden icons in the taskbar.
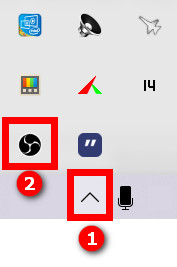
- Right-click on the streaming software icon and exit.
- Use Windows Search to search for the streaming software.
- Select Run As Administrator.
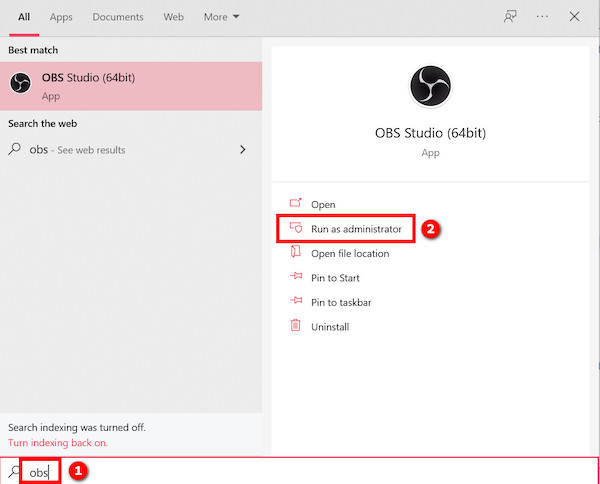
- Select Yes when prompted. The software will launch.
- Go to Settings > Stream and connect your Twitch account.
After going through the fix, see if the ‘failed to connect’ message goes away.
2. Reset the stream key
Resetting the stream key fixed the issue for many users. So it’s an excellent option to try.
If there’s an error between the streaming software and the Twitch stream servers, resetting the stream key can clear the issue. While streaming on twitch, you will face random errors. For Examples Twitch error 3000, twitch error 5000, twitch error 2000, twitch error 6000, twitch error code 4000, and twitch error 1000. I have gathered every possible solution to these error codes. Quickly visit the links to find out.
Follow the steps below:
- Open a desktop browser and go to Twitch.
- Login to your account.
- Select your avatar from the top-right to open the menu.
- Select Creator Dashboard.
- Expand Settings from the right, then select Stream. You’ll see the Primary Stream Key at the top.
- Hit the Reset button next to the Stream Key to reset it.
- Use the Copy button to copy the Stream Key to your clipboard.

- Open the streaming software on your PC.
- Go to Settings > Stream.
- Paste the stream key in the box.
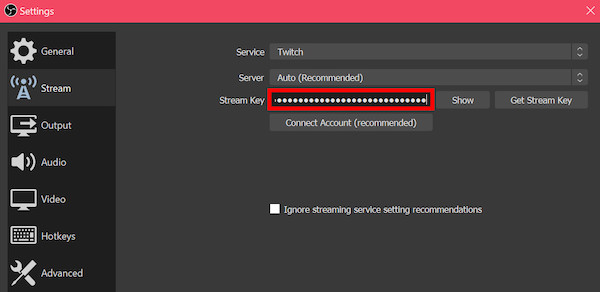
- Save the changes.
Now it’s time to test if the error message went away.
3. Change the Bind IP settings
If the error message indicates a network issue, tinkering with the bind IP option is a viable solution.
Binding an IP means listening or reacting to a particular IP address. If the streaming server is facing an issue while connecting to your PC, changing the bind IP option will eliminate the problem. Did you know, you can completely delete nightbot from twitch channel? Quickly check out our separate post to find out.
I’ll illustrate the steps for OBS Studio, but Streamlabs OBS has an identical way.
Here are the steps:
- Open the streaming software.
- Go to Settings.
- Select Advanced settings from the left menu.
- Scroll down until you see the Network section.
- Select Bind To IP.
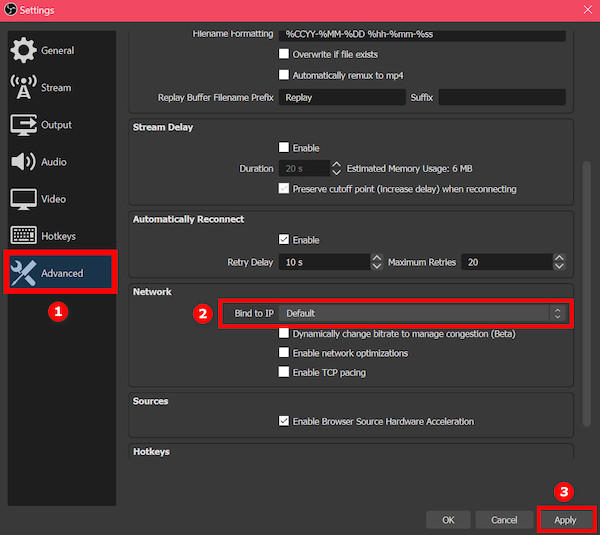
- Select Default. If Default is already selected, select the IP address of your network.
- Apply the change and exit the settings.
Changing the bind IP setting worked well for many Twitch users facing the issue.
4. Choose the streaming server manually
Many things can go wrong with the Twitch streaming servers. Hence you can change the streaming server until you find one that works for you.
If the automatic server selection doesn’t work, selecting the server manually will give you better results.
Follow the steps below:
- Open the streaming software.
- Go to Settings.
- Select Stream from the left menu.
- Expand the Server drop-down.
- Select a server from the list.
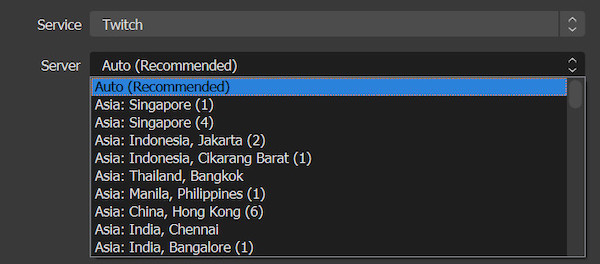
- Apply the change.
- Check if the issue is resolved. If not, repeat the steps above to select another server. Do this until you find one that works.
In some cases, you would see that a server was selected manually when you first opened the server drop-down. If that’s true for you, choose Automatic from the drop-down to let the software find the best server for you.
Some users fixed the issue by selecting Automatic from the drop-down list, then hitting the Stream button and waiting for a while. Finally, switching back to the old server got rid of the issue.
5. Allow streaming software through the firewall
The Windows firewall can block the network connection between the streaming software and the Twitch servers.
To ensure that’s not the case, you need to exclusively allow the streaming software through the firewall.
Windows Defender firewall works excellent to block suspicious network connections. But sometimes, it can block legit connections that cause unexpected network issues.
Follow the steps below to allow the streaming software through the firewall:
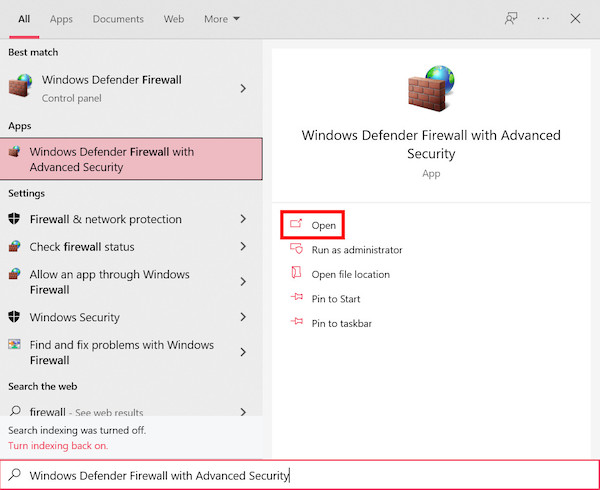
- Press the Windows button.
- Type ‘firewall’. It will open Windows Search and look for the Windows Defender firewall.
- Open Windows Defender Firewall with Advanced Security.
- Select Inbound Rules from the left menu.
- Scroll through the list, and look for any entry corresponding to the streaming software. It’ll ensure the streaming software isn’t blocked from incoming connections.
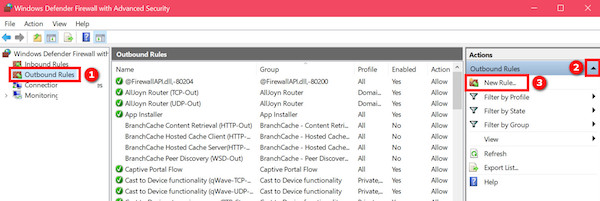
- Go to Outbound rules from the left menu.
- Ensure your streaming software is not blocked from outgoing connections.
- Expand the Outbound Rules Action menu from the right.
- Select New Rule. It will open a new window.
- Select ‘Program,’ then go to the next screen.
- Select This Program Path and select the Browse button. It will open the file explorer.
- Go to the installation folder of the streaming software to select the EXE file of the streaming software. If there are multiple EXE files of your streaming software, select the one that matches the bit number of your OS (32 or 64 bit). OBS Studio is located in the following directory for 64-bit version: C:\Program Files\obs-studio\bin\64bit. Streamlabs OBS is located in: C:\Program Files\Streamlabs Desktop.
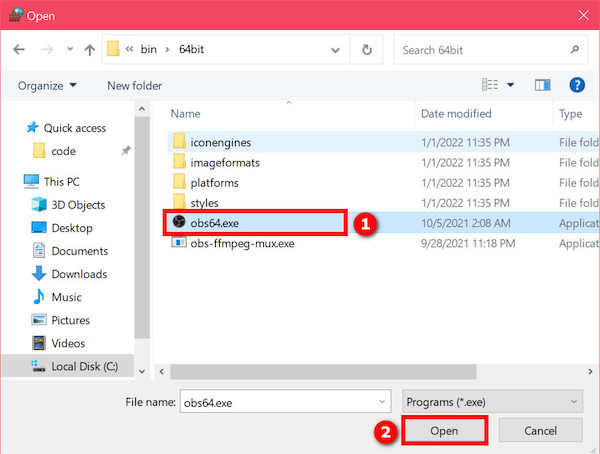
- Select the EXE file. It will put the full path into the box.
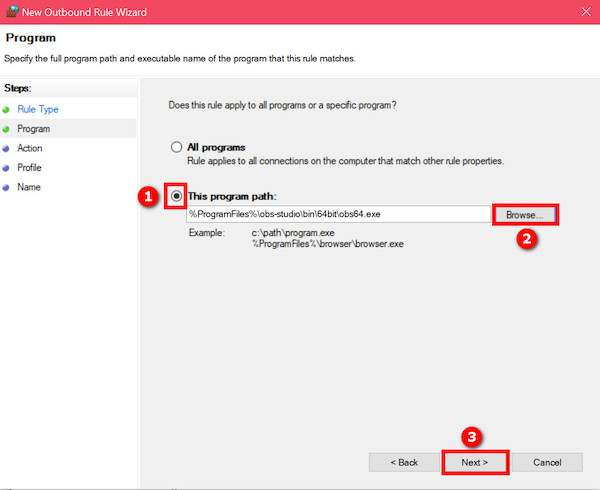
- Select Next.
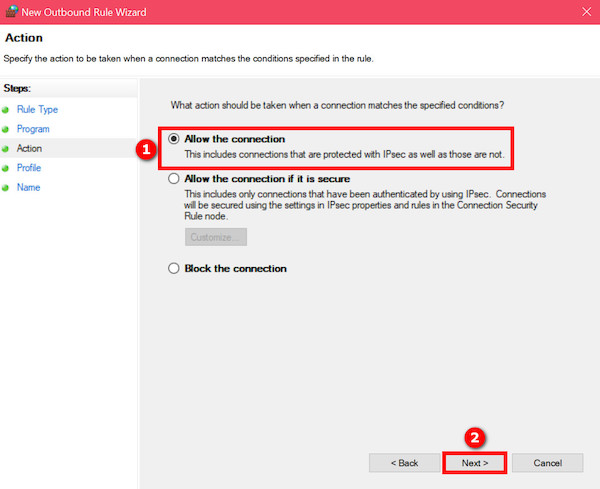
- Choose Allow the Connection and go to the next screen.
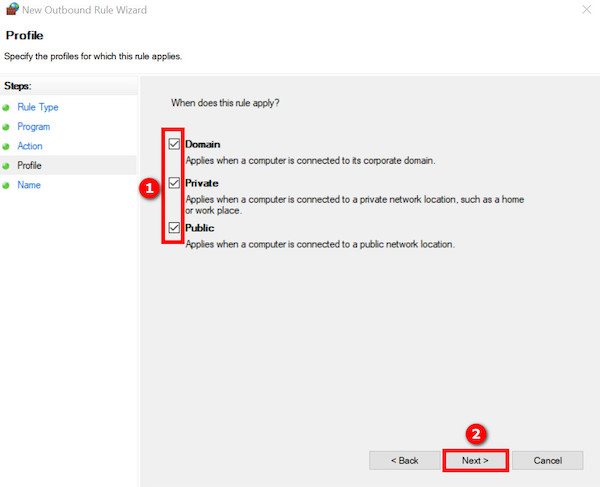
- Tick all the options and go to the next screen.
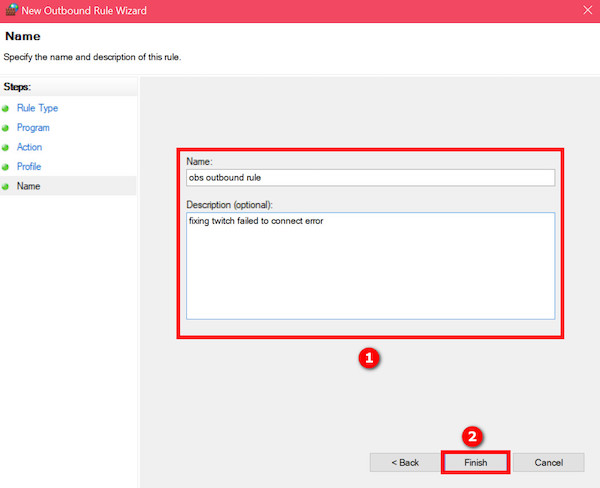
- Enter a name and description as you prefer.
- Select Finish to complete the process.
Now you should see the newly set outbound rule at the top. 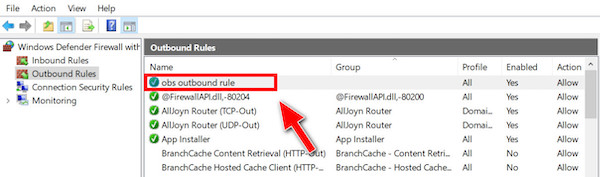
Restart the PC and test the solution.
Final Thoughts
Twitch is the most popular streaming platform. It can be infuriating if you’ve prepared a long time to stream on Twitch, only to get the ‘failed to connect’ message.
Some basic troubleshooting can fix the issue. If it doesn’t, there are some specific solutions to try.