While enjoying Steam, getting shown error codes will certainly annoy you, especially if it pops up and vanishes after every 2-3 minutes.
This is what viewers experience when they’re shown error code 1000. People have claimed to encounter this error while watching Twitch streams through browsers.
Some Redditors claimed to see the message Media Playback Aborted while others saw The Video Download was canceled. No matter which one appears before you, they are one and the same.
The Twitch community has been facing minor issues like error 1000 for a very long time. But as multiple factors are involved, the devs couldn’t come up with a permanent solution. But that doesn’t mean you can’t fix it.
Why do I see error 1000 on Twitch?
The main reason for you to see error 1000 on Twitch is due to browser cookies related to Twitch getting corrupted. It could also happen if you’re using older versions of your browser. Additionally, functions like HTML5 could also interfere with video playback.
Any problem can be solved as long as you know what causes it. So, stay with me to the end if you wish to break free from error code 1000.
How to fix Twitch Error 1000?
Every error code has specific solutions. But not all solutions will work for everyone. So, I have compiled every solution that has proven to fix error 1000.
Here’s how you can fix Twitch error 1000:
1. Clear Cache and Cookies
Corrupt cache and cookies are behind most of the browser and connection-related problems. They accumulate over time in memory. So clearing broken and corrupted cookies might do the trick.
Follow these simple steps to clear cache and cookies:
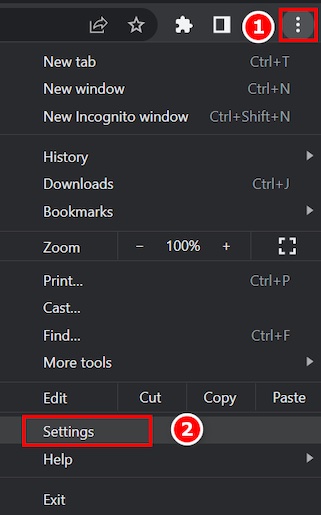
- Open Chrome and select the vertical three dots icon located at the top right corner of the screen.
- Click on Settings.
- Select Privacy and Security.
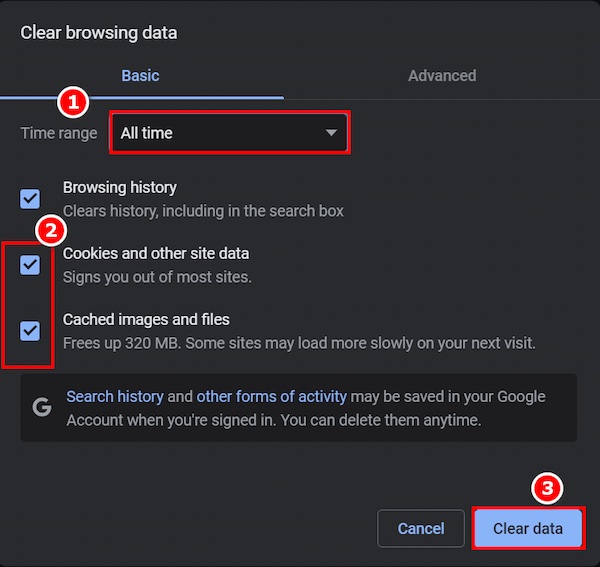
- Select Clear Browsing Data. You will be prompted to a new window.

- Make sure the time range is selected as All time.
- Check the two boxes saying Cookies and other site data and Cached images and files.
- Click on Clear data.
Note: These settings are only applicable for Google Chrome users. But other browsers use more or less the same procedure.
Just go to the settings page of your respective browsers and locate Clear cache and cookies. Check out our separate post to fix adblock not working on twitch anymore on Chrome.
2. Update your Browser Version
It is known worldwide that softwares should be updated at specific intervals. A newer version of software not only comes with better stability but also fixes bugs and other issues.
Most new browsers have a function that allows them to keep themselves updated. So if the automatic update is turned on, your browser will update itself automatically. But if it is not, then you have to do it manually.
Follow these steps to update your Chrome:
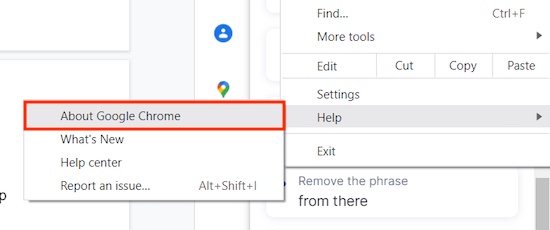
- Open Chrome and select the vertical three dots icon located on the top right corner of the Chrome tab.
- Select Help and click on About Google Chrome.
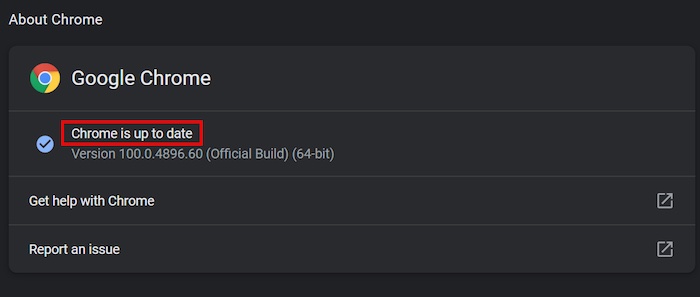
- If Chrome is not of the latest version, you will be notified, and the update will start automatically.
- After the update is finished, click on the Relaunch
3. Disable Hardware Acceleration
Hardware acceleration is a process where certain hardware-enabled machines can offload tasks within specialized parts of the device.
So ultimately, hardware acceleration boosts performance and efficiency, which is a good thing. But it might interfere with Twitch and cause an error 1000. Twitch error code 6000, also referred to as unsupported browser error playback can occur due to an Outdated graphics card. Follow our separate post to know more about this error.
Hence, disabling this feature might be the solution you need.
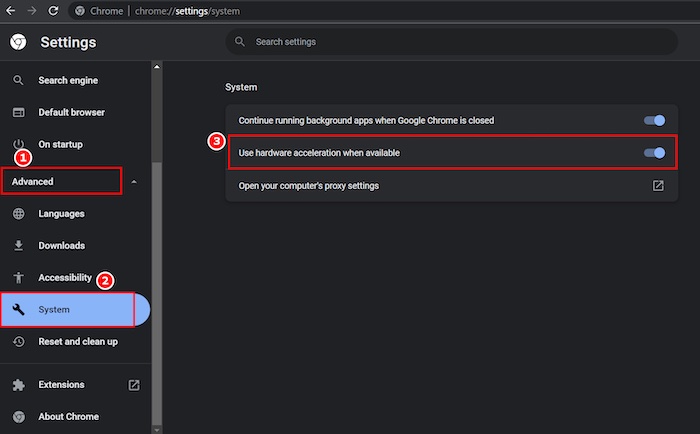
Do the following steps carefully to disable hardware acceleration:
- Open Chrome and select the three dots icon at the upper right corner of your browser.
- Select Settings and click on Advanced.
- Clicking on System, you will see some options.
- Toggle on Use hardware acceleration when available
Hopefully, it will solve your problem. But if it did not, then don’t be disheartened and apply the following method.
4. Reset browser settings
Resetting browser settings is not recommended unless all the previous fixes fail, as It will change all customized settings into defaults.
Follow the instructions below to reset browser settings:
- Open your Chrome browser and click on the three dots icon.
- Click on Settings and then select the Advanced
- Select the Reset and clean up
- Find the option Reset settings to their original default and click on it.
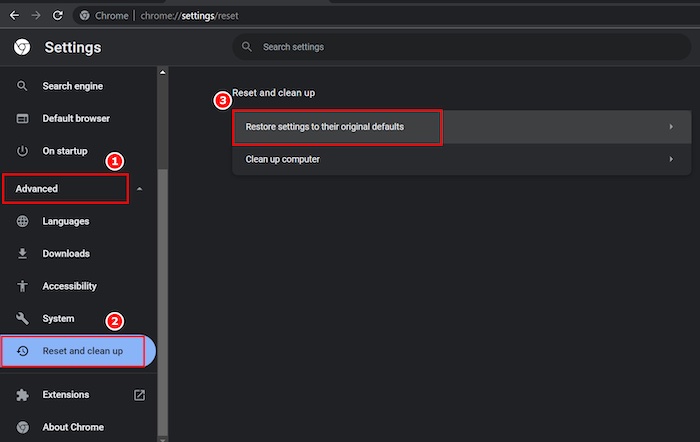
- Click on Reset settings in the pop-up window.
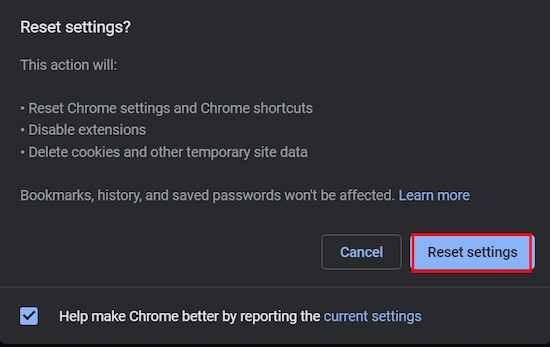
Note: A reset will cost you your Chrome settings, shortcuts, extensions, cookies, temporary site data. So make sure you keep a backup of these settings. But your passwords, history, and bookmarks won’t be affected.
5. Reboot your router
There are some common fixes for many problems regarding networks. Rebooting your router is one of the most known solutions.
Rebooting your router might be a bit difficult if done from the router homepage. In fact, it’s time-consuming, and different routers have different layouts and all. Are you a fan of the Halo infinite game? Then you better check ping and enable fps counter in halo infinite real quick.
There is a simpler way of doing it for all routers, and it’s easier than other options.
Simply follow these steps to reboot your router:
- Turn off the router and then Unplug it from the power outlet.
- Disconnect all other hardware connected with the router.
- Wait for 30 to 60 seconds.
- Then connect all network hardware and plug in the router.
- Switch on the power button of the router.
Note: Waiting for 30 to 60 seconds is essential, so don’t skip this step. Also, maintain caution while unplugging the router as you might get electrocuted. Adult supervision is required.
6. Turn off Browser Extensions
Some browser extensions do not go well with Twitch. You might have enabled them or used them without even knowing. Do not be afraid. All you need to do is disable them, and you’re good to go. Enable or disable CD burning capability in Windows 11 with this registry hack our experts provided.
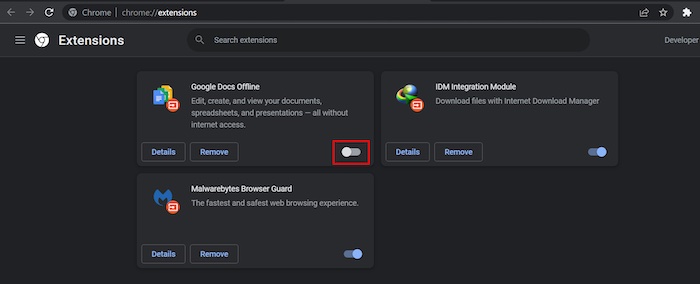
Follow these instructions to turn off browser extensions:
- Open Google Chrome and click on the puzzle piece icon on the top right corner of your window.
- Select Manage Extensions.

- Toggle Off all the extensions that you see in blue. It will be grayed out if disabled.
7. Try a different Browser
Specific browsers might be the cause behind the Twitch error 1000 problem. In this case, switching to another browser might be the solution you need.
People typically use Google Chrome, Firefox, Opera, or Safari. If you use any of these, try something else and see if it makes a difference. Tired of origin not loading on Windows 11? Follow our 2-minutes epic guide to fix this issue.
8. Use the Twitch Desktop App
Twitch has a dedicated software named Twitch Desktop App for streaming, voice call, chat, video call, along with some exciting features like Dark mode, servers, etc.
Using Twitch Desktop App might save you from all those hurdles of changing settings and wasting your precious time.
Just follow these steps to download and use Twitch Desktop App:
- Open your browser and go to Twitch Desktop App Download.
- Select the Download option according to your device.
- After the download finishes, double-click on the executable file and select Install.
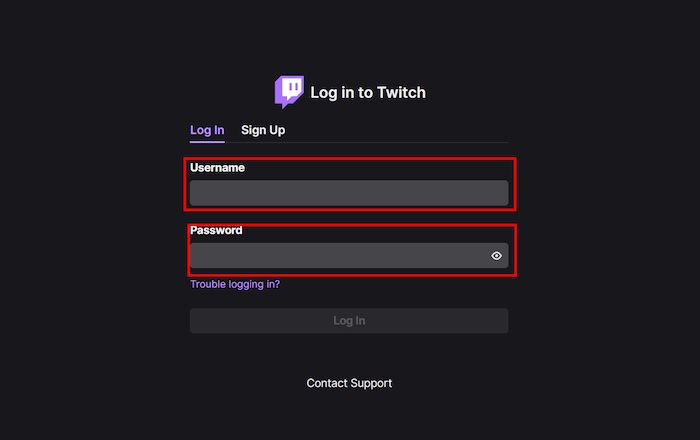
- After completing the installation, enter your Username and Password to log in and enjoy the app.
Note: Do not download Twitch Desktop App from any unsafe sources as it might be infected with a virus. Always use the official website of Twitch to download and install the App.
9. Lower Stream Bitrate
High bitrate sometimes causes a lot of problems. Users who like high-definition videos tend to keep the bitrate too high. When the bitrate exceeds 6000kbps, it causes error messages to pop up.
Twitch imposed a bitrate cap of 6000kbps. Exceeding this limit is a no-go. You will need to download Twitch Studio for this purpose.
Follow these steps to download Twitch studio and to lower stream bitrate:
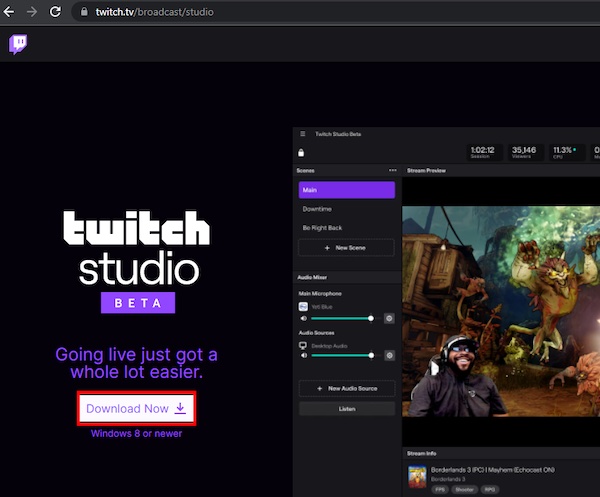
- Go to Twitch Studio.
- Click on Download Now at the bottom left corner.
- Double click on the downloaded file and click Install.
- After the installation is complete, provide your Username and Password to log into Twitch Studio.
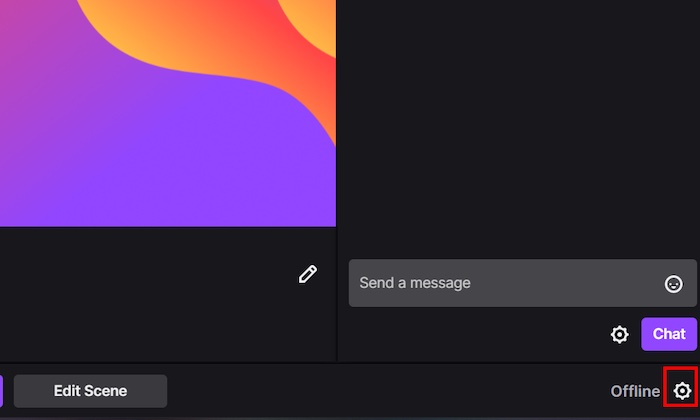
- Click on the Gear icon at the bottom right corner.
- Select Stream Quality and locate the Bitrate(kbps) option
- Set the bitrate to 4000, which should be the default setting.
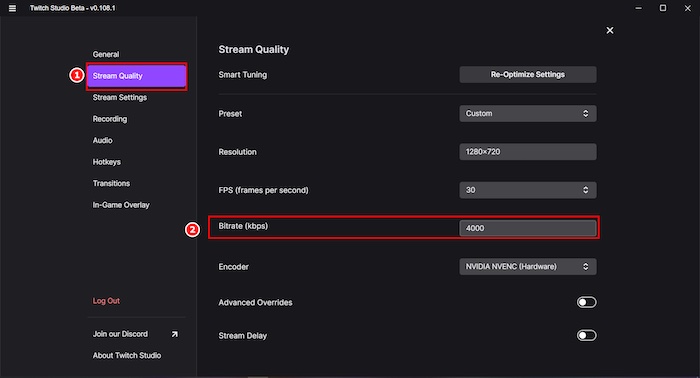
Note: Make sure you do not exceed the bitrate of 6000kbps.
10. Reach out to Twitch Support
If the problem still persists even after trying all the above fixes one by one, your last resort is to contact Twitch Support. You are to fill-up the form and upload a screenshot showing your error. 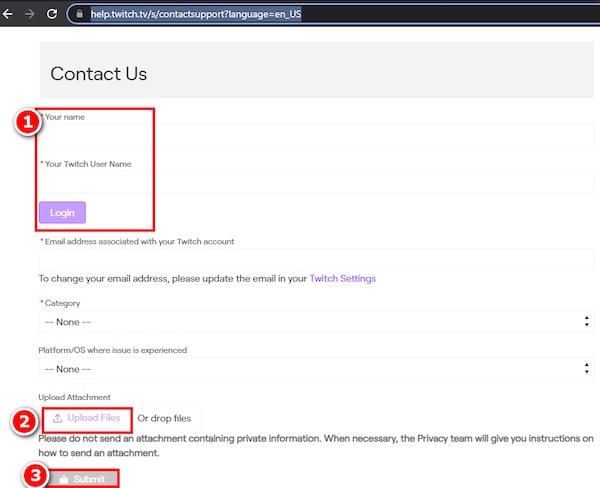
You might have to solve a Recaptcha and then click Submit. Twitch Support will mail you about the issue and try to figure out the specific solution to your problem.
Final Thoughts
Twitch is a giant that has dominated other streaming platforms for a long time. Even if error codes like 1000 appear every now and then, it couldn’t reduce Twitch’s popularity.
As I have explained every little detail about error 1000, you should be able to fix it without breaking a sweat.