Virtualization technology, also known as Hyper-V, is a Windows feature that enables you to build virtual computers on the system without the need for additional software or hardware.
Because of the complexities surrounding it, most people are uninformed of its function and are unsure how to enable it on their computers.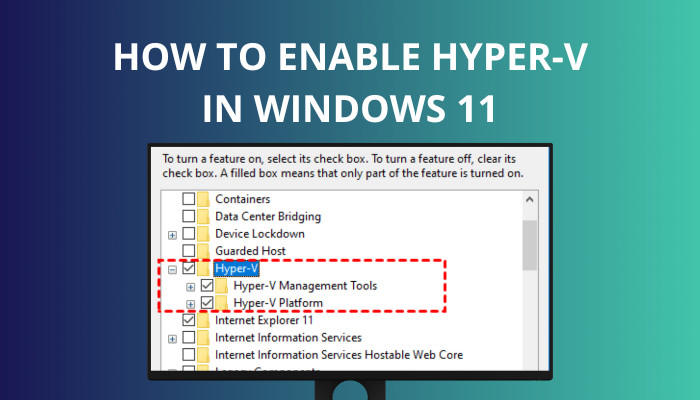
Therefore in this article, I’ll show you 3 separate ways to enable virtualization technology in Windows 11.
Let’s get started.
Also read how to update drivers on Windows 11.
What are the Requirements for Activating Hyper-V on Windows 11
Before you activate Hyper-V on your operating system, make sure the requirements match the specifications of your computer. You should also check that the Virtual Environment is enabled in BIOS.
If Hyper-V is not activated, the option to Allow Hyper-V or its nested menus will be greyed out.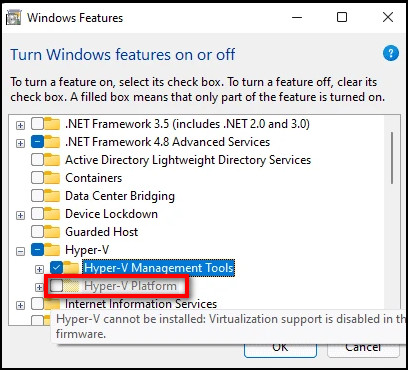 Notes: The steps below are for an Asus motherboard and interface. Because the procedures may differ between brands, I recommend following the manufacturer’s guide.
Here are the steps to activate Hyper-V on the BIOS:
- Restart your PC.
- Press DEL or F2 to enter your BIOS.
- Hit the F7 key on your keyboard to enter Advanced Mode.
- Select CPU Configuration under the Advanced tab.
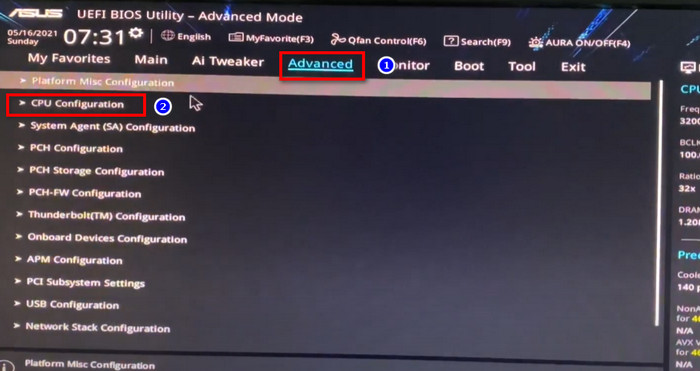
- Scroll down and find the Intel (VMX) Virtualization Technology and Enable it.

Notes: The Home edition of Windows 11 does not support the required Hyper-V Manager. You can acquire the feature by upgrading from Microsoft Windows 11 Home to Windows 11 Pro.
Follow our guide to fix blue screen on Windows 11.
How to Enable Hyper-V in Windows 11
You can activate Virtualization in Microsoft Windows 11 by utilizing the Control Panel, Command Prompt, or PowerShell commands. Before employing these techniques to turn on virtualization, make sure that Hyper-V is enabled in your computer’s BIOS.
Here are the methods to active Hyper-V in Windows 11:
1. Enable Hyper-V Via Control Panel
Virtualization can be enabled using the Windows Control Panel. Simply select the Windows feature turn off and on options from the Control Panel.
Here are the steps to active Hyper-V via the control panel:
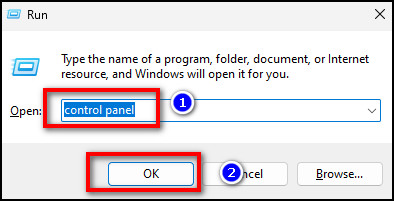
- Press the Win + R key to open Run.
- Type Control Panel and click OK to open the Control Panel.
- Go to Programs and select Programs and Features.
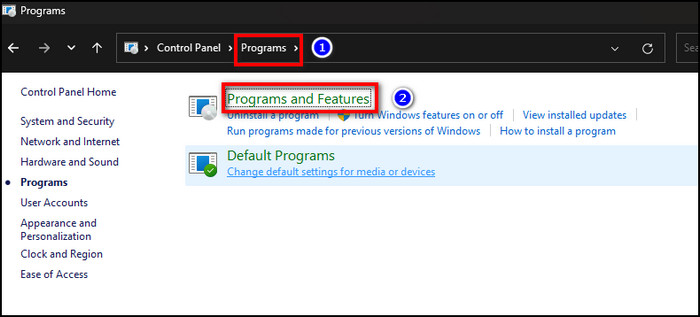
- Click on Turn Windows features on or off.
- Expand Hyper-V, and you will see Hyper-V Management Tools and Hyper-V Platforms.
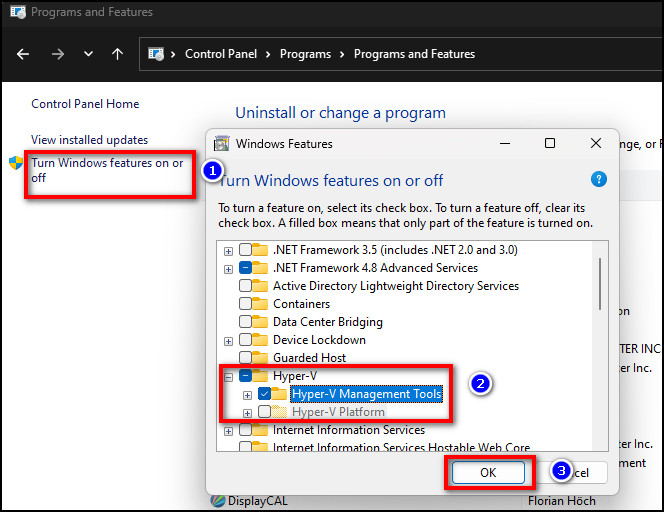
- Select both options and click OK.
- Click on Restart Now to restart, and apply the changes.
After restarting Windows 11, look for Hyper-V and click on Hyper-V Manager to set up a virtual environment.
Also, check out our separate post on how to fix PC won’t go to sleep in Windows 11.
2. Activate Hyper-V Using Command Prompt
You can use Command Prompt to access the Windows DISM (Deployment Image Servicing and Management) and enable virtualization features on your Computer.
Here are the steps to activate Hyper-V using the command prompt:
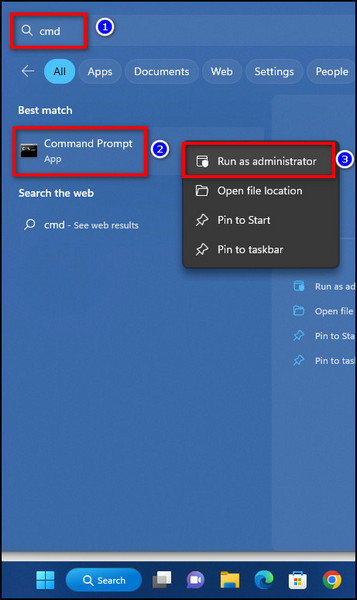
- Press the Win key, and type cmd in the search menu.
- Right-click on Command Prompt and select Run as Administrator.
- Type DISM /Online /Enable-Feature /All /FeatureName:Microsoft-Hyper-V In the Command Prompt window and hit Enter to execute.
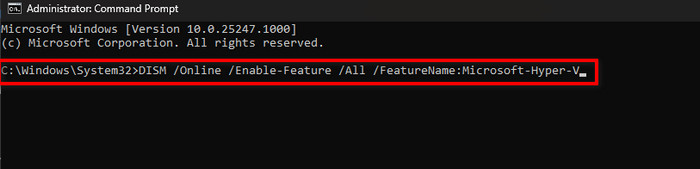
The command prompt will begin enabling the Hyper-V capability and will display the status on your monitor screen.
After the process is finished successfully, restart your computer. Now you can use the Hyper-V Manager to set up a virtual environment.
Check out the easiest way to install active directory users & computers on Windows 11.
3. Enable Hyper-V Using PowerShell
To enable Hyper-V, you can use Windows PowerShell rather than Command Prompt. However, unlike Command Prompt, PowerShell employs the cmdlet to activate additional functions in a Microsoft Windows version.
Here is the procedure to enable Hyper-V using PowerShell:
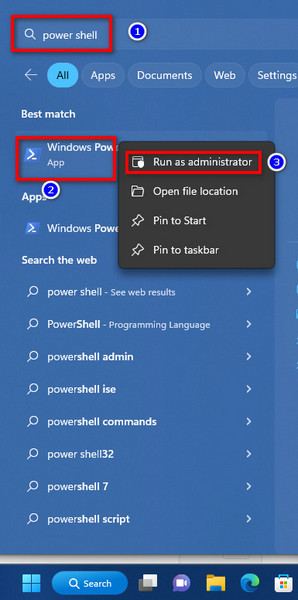
- Press the Win key, and type PowerShell.
- Right-click on PowerShell and select Run as Administrator.
- Type Enable-WindowsOptionalFeature -Online -FeatureName Microsoft-Hyper-V-All In the PowerShell window and hit Enter.

PowerShell will execute the cmdlet and begin the Hyper-V enablement procedure. You will be requested to reboot your computer if the procedure is successful. After restarting, you can utilize the Hyper-V Manager to create a virtual environment.
Also, check out the easiest way to Windows can’t access network drive on Windows 11.
Disable Hyper-V Using PowerShell
If you want to disable Hyper-V on your PC, you can do it using PowerShell.
Here are the steps to disable Hyper-V:
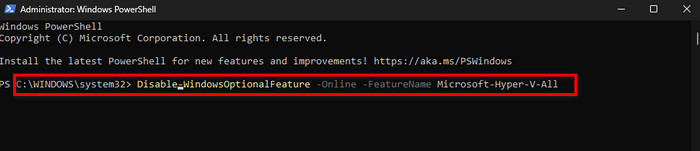
- Open PowerShell as administrator.
- Type Disable-WindowsOptionalFeature -Online -FeatureName Microsoft-Hyper-V-All In the PowerShell window and press Enter.
Wait for the confirmation message to show up on your screen, then shut PowerShell off when it does. Restart your PC to apply the changes.
Why Activate Hyper-V in Windows
By activating Hyper-V, you can use different operating systems by utilizing virtual machines. Additionally, it is quite simple to construct and delete various operating systems and applications using virtualization. You can also use Hyper-V to test different OS and apps in a virtual environment.
In a variety of instances, Hyper-V can be your best alternative. Assume you’re developing software and want to test it all on the same computer. You simply need to enable virtualization on your computer to create a virtual environment. You can now test your software in this simulated space.
Suppose your job requires you to use multiple operating systems. Hyper-V will assist you in creating virtual computers and installing different operating systems on each.
You can also run any apps that do not work on your current operating system. You simply need to enable Hyper-V to install several OS in the virtual space and install the program in the relevant operating system.
Conclusion
Enabling virtualization or Hyper-V in your operating system will save you money and time when simultaneously testing several operating systems and applications on the same platform.
Therefore, I’ve demonstrated in this post how to easily enable Hyper-V in your Windows 11 operating system without any hassle.
If you have any feedback or queries regarding this topic, feel free to leave a comment.