Microsoft made waves with Windows 8 after introducing a new way to boot your system: fast startup. It only takes a couple of seconds to power on and boot into Windows when this option is enabled, so naturally, lots of users loved it and kept it enabled.
The latest versions of Windows also have this feature, but there is one significant difference. Unlike Windows 8, the fast startup option is now greyed out in the Control Panel, restricting you from making any changes.
In other cases, you may not be able to find the fast startup option anywhere in the Control Panel.
Don’t worry; this is not permanent, and you can easily remove the limitation. Since this is a common concern among Windows users, I decided to share my knowledge as an IT technician in this guide.
So, if you are interested in tweaking your PC’s boot-up process, take a quick break and read this article.
Here is the easiest guide to fix drag and drop not working on Windows 11.
Why Is Turn On Fast Startup Greyed Out On Windows?
The turn on fast startup option is greyed out on Windows because you installed a newer build of Windows recently, either manually or through the Windows Updater. However, in some instances, Fast startup is greyed out when your hardware doesn’t support it.
If you installed Windows on an old PC that doesn’t support the Hibernate feature, it would be slightly more complicated to enable Fast startup. You have to allow Hibernation mode before doing that.
If your Fast startup greyed out after an update, it’s because the latest updates have enabled more Administrative privileges. This is not something to be concerned about because it only upgrades the overall security and integrity of your system.
Apart from this, Fast startup also requires some free space to cache some background data to speed up the boot-up process. So, if you have low free space on your HDD or SSD, you may have problems with this feature
Encrypted drives also interfere with the Fast startup option so you should try unmount them before enabling fast startup.
Also read how to update drivers on Windows 11.
How To Fix Turn on Fast Startup Greyed Out?
Before you follow the steps to enable Fast Startup, it’s essential to understand why this option is greyed out or missing on your PC.
Follow these methods to fix turn on Fast Startup greyed out:
1. Allow Administrative Privileges
Since enabling or disabling Fast startup affects the operating system on a system level, Windows restricts Standard and Guest users from making these changes. As a result, if you are logged in as one of them, you will need to enter the Administrator password and grant access.
Follow these steps to allow administrative privileges:
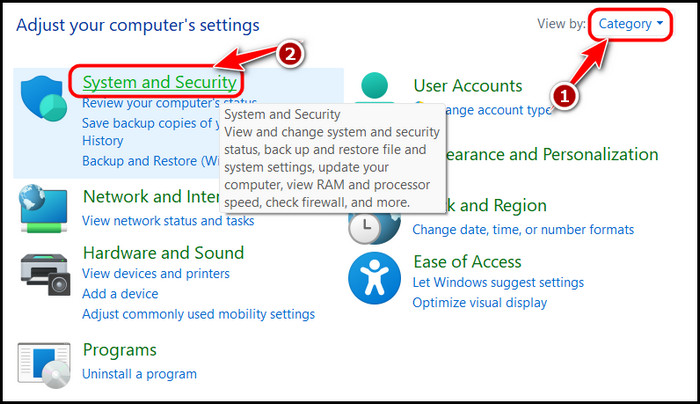
- Launch the Start Menu, search for the Control Panel and launch the first result.

- Select Category on the drop-down menu at the top right corner and then click on System and Security.
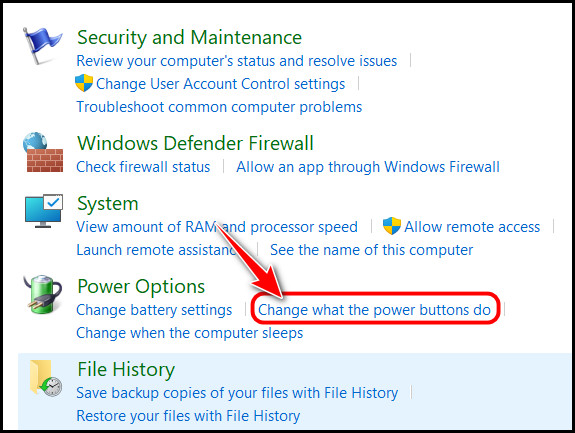
- Select Change what the power buttons do below Power Options on the next page.
- Look for the Change settings that are currently an unavailable option at the top and click on it.
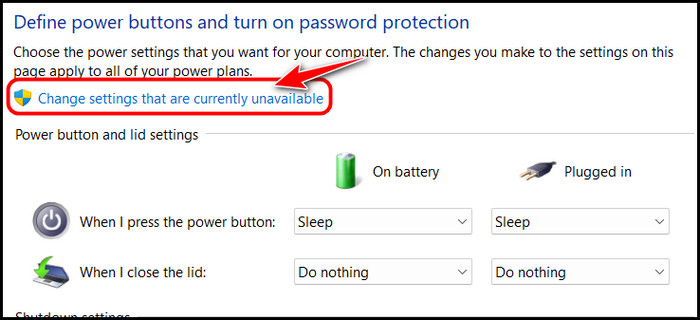
- Tick or untick the checkbox next to Turn on Fast Startup to tweak it. The choice shouldn’t be greyed out anymore.
This method is reported to be working for the majority of users, and it had a high success rate in our testing. Still, if hibernation is disabled or your hardware is unsupported, you should use the following method.
Also, check out the easiest ways to fix no audio after Windows 11 update on PC.
2. Enable Hibernate With CMD
Since Fast Startup works almost identically to Hibernate, your device should support it. If Windows detects that your hardware is low-end, it may disable that option during installation.
So, if you want a fast startup, you must enable the Hibernation mode first.
Follow these steps to enable Hibernate in CMD:
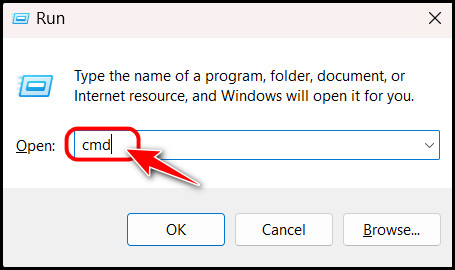
- Press the Windows and R keys at the same time to launch a Run window.
- Type CMD in the text box and press the Ctrl, Shift and Enter keys at the same time to launch it with administrative privileges.
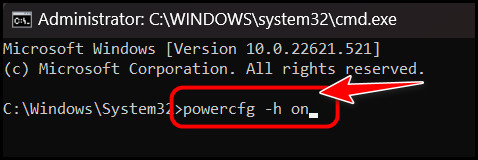
- Type powercfg -h on in the Command Prompt window and press the Enter key to run it.
Reboot your PC and try changing the Fast startup settings following the first method to see if it works now. Since a few users reported that this method did not alter their hibernation configuration, I included another way below.
So, if you don’t see any changes with this method, try the next one.
Follow our guide to update drivers on Windows 11.
3. Enable Hibernate with Registry Editor
You might be wondering why I included the command-line method if you could achieve the same objective through the registry editor, and that’s because this method will be complex for some users, especially those who have been using Windows for less than a year.
Follow these methods to enable Hibernate with Registry Editor:
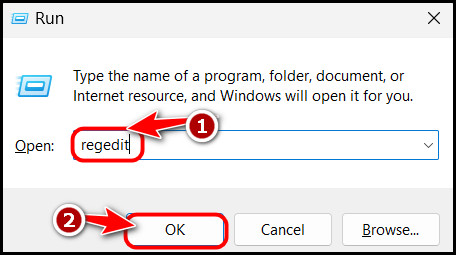
- Launch the Run window once again by pressing the Windows and R keys simultaneously.
- Type regedit in the text field and click on OK.
- Copy the following path to your clipboard, clear the registry editor’s address bar and paste it there. Then, press the Enter key to navigate to that directory.
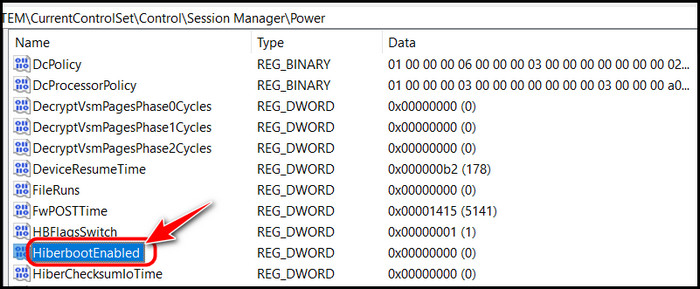
HKEY_LOCAL_MACHINE\SYSTEM\CurrentControlSet\Control\Session Manager\Power
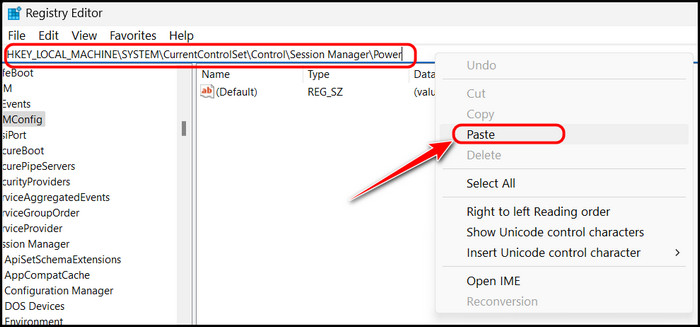
- Locate the HiberBootEnabled registry under the Name column on the right panel and double-click on it.
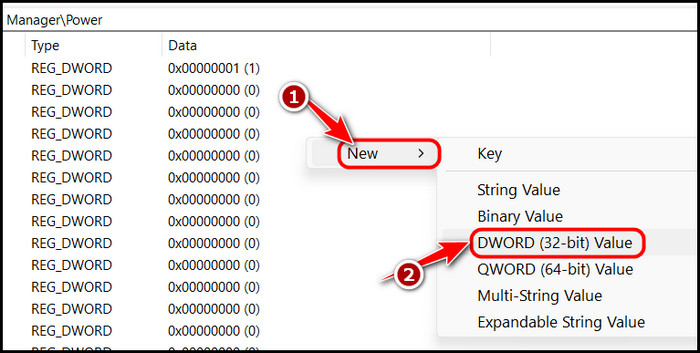
- Right-click on an empty space and select New DWORD (32-bit) value if the HiberBootEnabled Registry is missing on your system. Then, type HiberbootEnabled, press Enter and double-click on it.
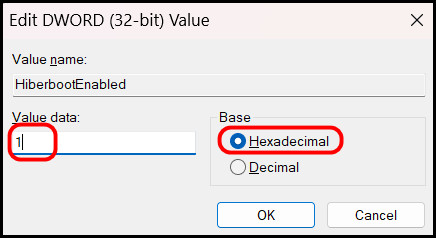
- Clear the Value data field, type 1 and click on OK to save the new configuration. Make sure that the Base is selected as Hexadecimal before doing that.
- Reboot your PC and try following the first method again to enable or disable Fast startup.
Once you save these changes, Fast startup should also be enabled alongside the Hibernate menu. You should be able to confirm this in the Control Panel, but if something seems off, you are free to try the next method, as it won’t affect your current settings.
Follow our easy step-by-step guide to use different SLI on Windows 10.
4. Use Group Policy Editor
All Windows variants, except Windows Home editions, have a hidden Group Policy editor that provides an extra layer of flexibility, allowing you to customize every aspect of Windows.
You can use this to directly enable Fast startup without touching the Control Panel, as long as you have a Windows Professional, Edu or Enterprise system.
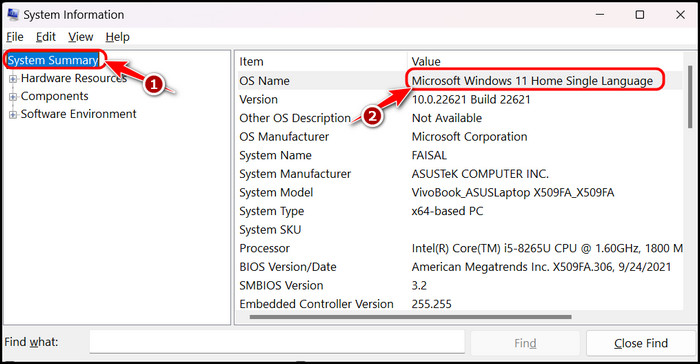
Here are the steps to identify your Windows variant:
- Go to Start, search for System Information and launch the first result.
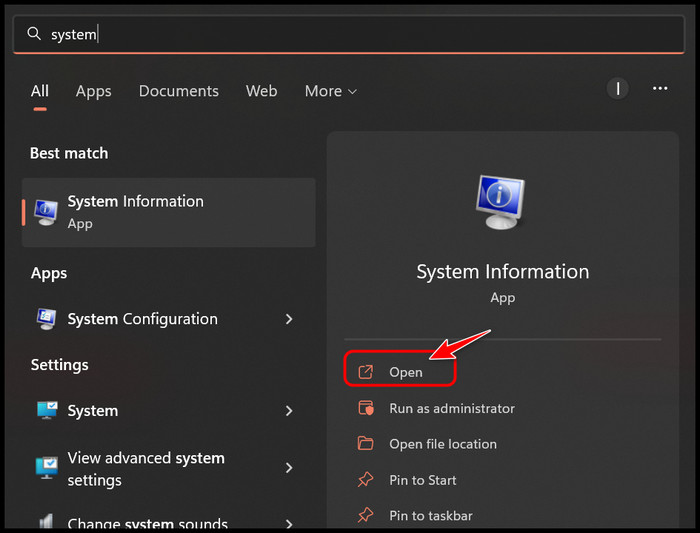
- Select System Summary on the left panel and locate the Value next to the OS Name You should be able to see the Windows variant in the name.
If you are not on a Windows Home edition, follow these steps to use the Group Policy editor to enable fast startup:
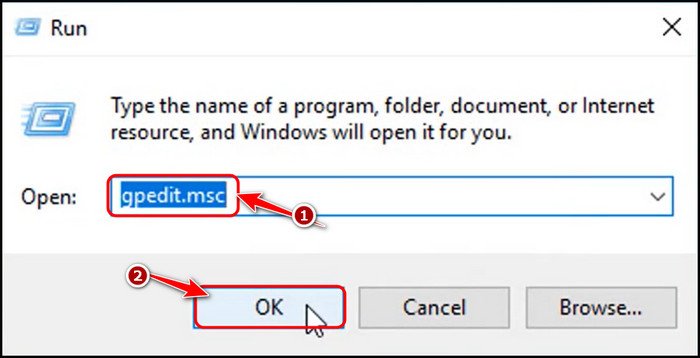
- Use the Windows + R shortcut to launch Run as you did earlier.
- Type gpedit.msc and press the Enter key to launch it.
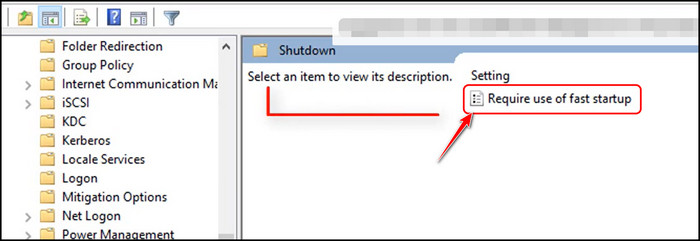
- Browse to the following path using the left panel.
Computer Configuration\Administrative Templates\System\Shutdown
- Double-click on Require use of fast startup setting on the right pane.
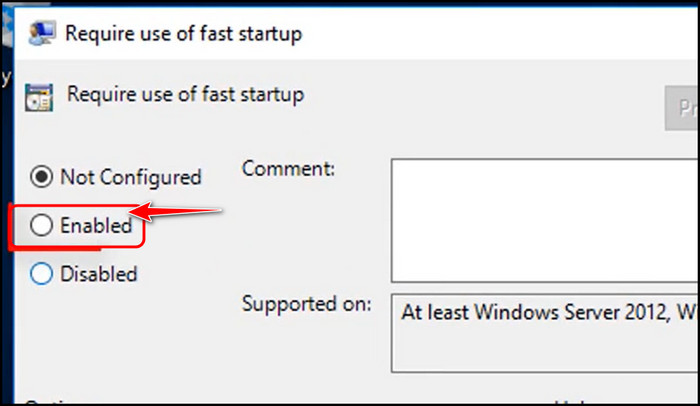
- Choose the Enabled radio button on the next window and click OK to turn on Fast startup.
That’s it! The fast startup should be enabled on your computer by now. If it’s a rare situation and Fast startup is still disabled for you, I’m afraid your hardware is not compatible with the feature. The only solution is manually hibernating instead of shutting down for a similar experience.
Also read how to delete Microsoft Edge in Windows 10/11.
FAQ
Question: Is Windows fast startup bad?
Answer: No, Windows fast startup is not bad by any means. It’s a feature that’s typically left on by default for most users, and there have been no harmful reports so far. However, it’s important to note that it can disrupt some operations like Wake-on LAN or dual boot.
Question: How do I know if my fast boot is disabled?
Answer: You can know if your fast boot is disabled by searching for ‘Change what the power buttons do” in the Control Panel and navigating to it. If the checkbox next to Turn on fast startup is unticked, then the fast boot is disabled.
Question: Is disabling fast Startup safe?
Answer: Yes, disabling fast Startup is entirely safe. It won’t affect your PC’s capability or performance in any way. You may see a slightly slower boot time after disabling fast startup, but that’s it.
Question: Does Windows 11 have a fast startup?
Answer: Yes, Windows 11 has a fast startup. All Windows releases after Windows 8 have this feature, and it works exactly like Windows 8. This option is already enabled by default on all Windows 11 editions.
Final Thoughts
Windows boot times have come a long way since Windows XP. After the introduction of Fast Startup, the boot-up time is now comparable to macOS, which was always ahead.
If your Fast Startup is greyed out, it’s nothing to worry about because it’s the same for everyone. You have to perform some additional steps that I discussed in the previous section to be able to configure those settings.
While Fast Startup is an incredible life-saver, I personally don’t use it because I have Linux installed side-by-side. What’s your excuse? Let me know whether you have fast startup enabled or disabled in the comments.