When you have an overwhelming number of contacts in your Outlook people’s list, it’s hard to find your required ones quickly. Fortunately, Outlook provides the categories option to manage and sort your desired contacts easily.
Willing to try contact categorization in your Outlook account? I can help.
Through this article, I will share my years of Outlook experience to help you organize your contacts with color categories in Outlook with some efficient methods.
Here is the easiest guide on how to change a contact display name in Outlook.
How to Use Contact Categories in Outlook
You can easily use contact categories in MS Outlook by adding color codes to your needed addresses. Plus, you can create your own categorizing criteria and sort out your contacts using the custom categorize rule. You can also add your most used contacts to the favorites list for quick access.
With the Outlook desktop application, organizing your contacts into categories, such as Family, Friends, Business and so on, is quite simple. You can assign each contact to more than one category as well.
However, Outlook Web Access (OWA) does not have the same functionality to label contacts into categorization with color. You can color code emails and calendar events, but not the contacts. You can only add contacts to the favorites list.
A few days back, one of my friends had too many addresses in his contact list; that too, with multiple contacts having the same name. So, he found it quite hard to locate the right number in times of urgency.
I guided him to categorize his contacts with different colors, and all his troubles were gone like magic. If he can execute it, you can do it too. Just follow the methods below as I break them down stepwise.
Note: these steps only apply to the latest versions of Outlook (2013/2016/2019) desktop application & Microsoft 365.
You may also like to read automatically forward emails in Outlook.
Here are the ways to apply contact categories in MS Outlook:
1. Use Existing Categories
Outlook has some default color category options (blue, orange, purple, red, yellow, and green) to separate your contacts with distinct colors. You can color code your desired contacts with just a few clicks.
Here’s how to use built-in color categories to organize contacts in Outlook:
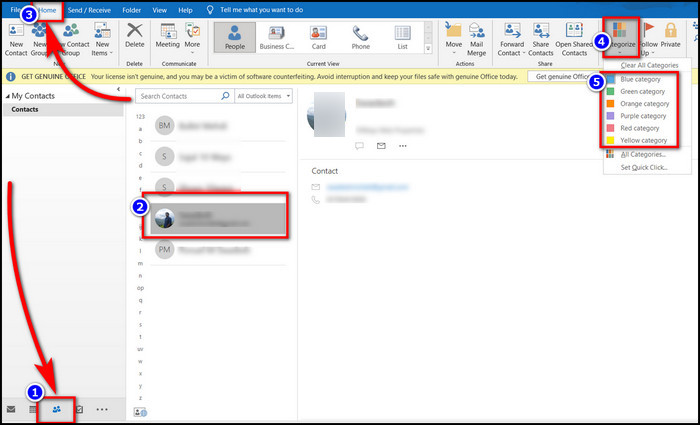
- Launch Outlook and Click on the People icon.
- Select the contact you want to categorize.
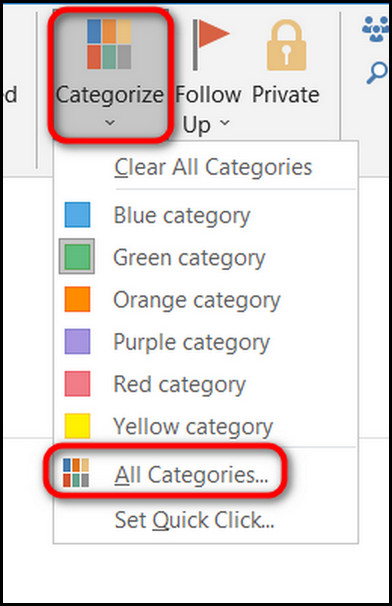
- Click on Categorize under the Tags group of the Home tab.
- Pick the category you want to assign to the contact.
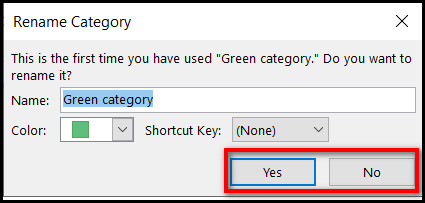
If you choose any category for the first time, a rename option will prompt up.
- Enter a new Name and click Yes to rename the category, or click No to keep the current name.
After that, your selected contact will be categorized into the color you picked. To confirm what category your contact has been assigned to, go to Contacts > View > Change View > List. Any labeled contact categories will appear there.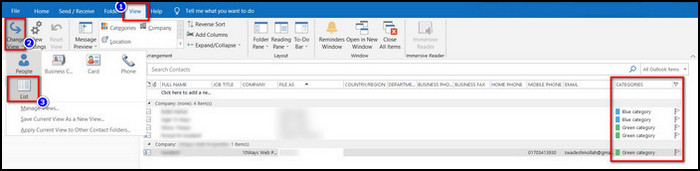
Furthermore, you can manually rename any of the default categories to your benefits. Just go to People > Home > Categorize > All Categories > select a category > Rename > Type new name > OK.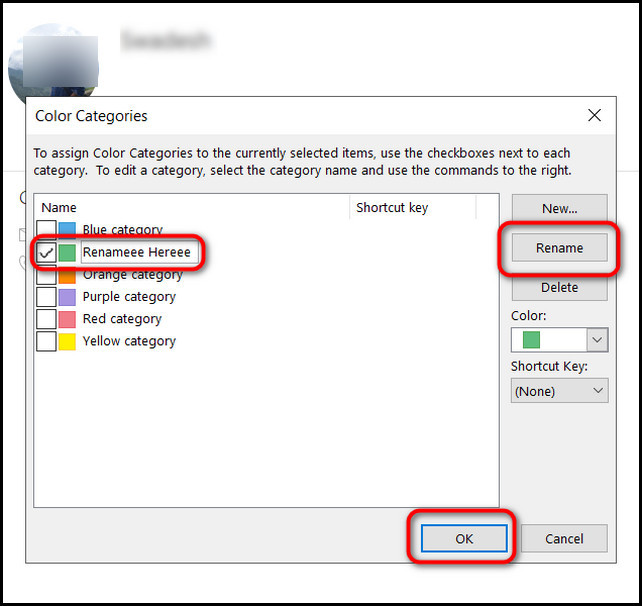
Related contents you should read on how to add Signature to Outlook 365?
2. Create Customized Categories
Sometimes, you may need more categories to organize your large contact list. For such cases, it’s better to create a customized category option for yourself.
Follow these steps to create new categories to group Outlook contacts:
- Open the Outlook application and Click on the People icon.
- Click on Categorize under the Home tab.
- Select All Categories from the drop menu. The Color Categories window will prompt up.
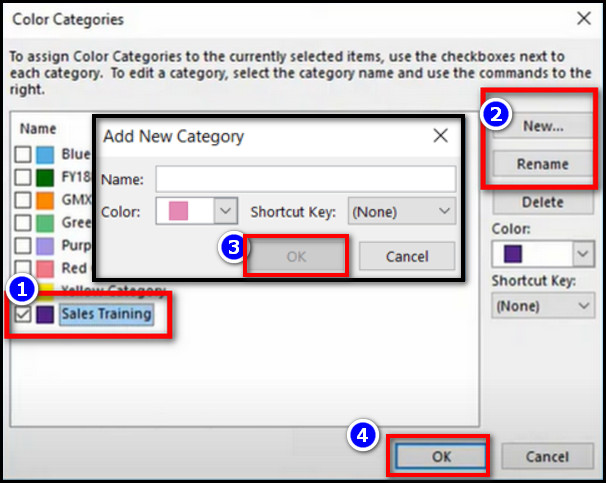
- Select New to create a custom category option.
- Name your category and select a color of your choosing.
- Hit OK to apply the changes.
You can repeat these same steps to add multiple customized categories. Once done, select your desired contact and click on the Categorize drop-down menu.
You will find your newly created category option. Choose it and your contact will be organized under that category.
Read more to add someone to a distribution list in Outlook.
3. Sort Contacts by Color Category
After you categorize all your contacts in Outlook, you should sort the contacts by color to list. This way, all the contacts with the same color categories will be listed one after another.
Here’s how you can sort contacts by color category:
- Open the Outlook application and Click on the People icon.
- Switch to the Home tab.
- Select List under the Current View group.
- Scroll to the right in your contacts list to see the Categories column.
- Click the Categories column header to sort the list by color.
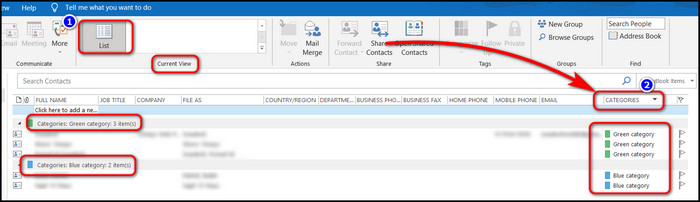
After that, you’ll see a subheading for each color category with a list of all the contacts.
Follow our guide to add BCC in Outlook calendar invite.
4. Add to Favorite(s) List
Alternatively, you can shortlist your most used contacts into a favorite list. This will allow you to find and connect with your contacts quickly. Most importantly, you can do this in the Outlook web version as well.
Here are the steps to add contacts to Outlook’s favorite list:
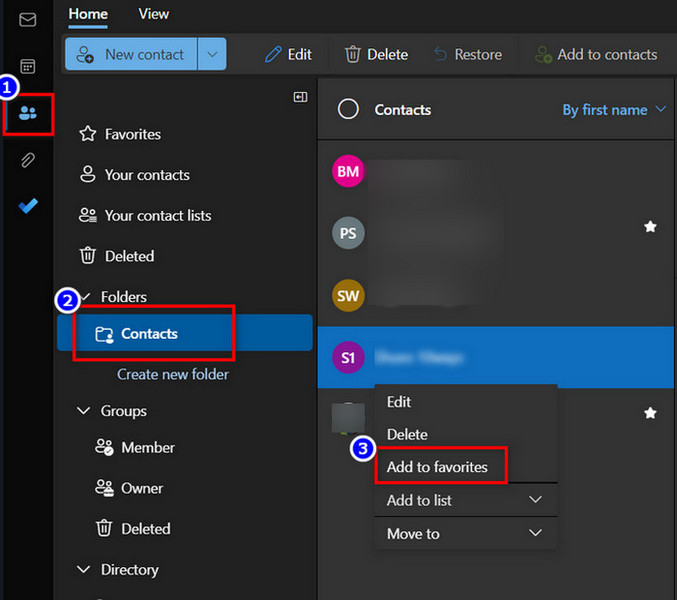
- Launch Outlook and Click on the People icon.
- Open Contacts.
- Right-click on any of your desired contacts.
- Select the Add to Favorites option.
Once done, you will see a star mark next to the contact you just added to the favorite list. To view the contact’s favorite list in the Outlook desktop app, move your mouse over the People icon in the Navigation bar. 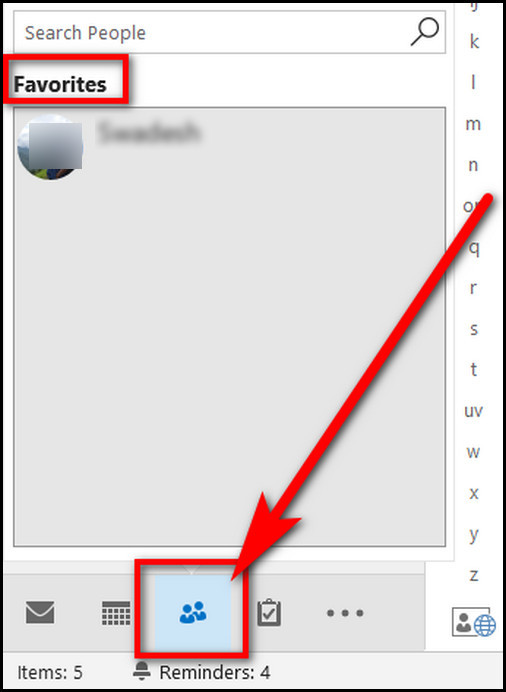
For Outlook Web Access (OWA), click on the Favorites button inside the People option to view the favorite contact list. 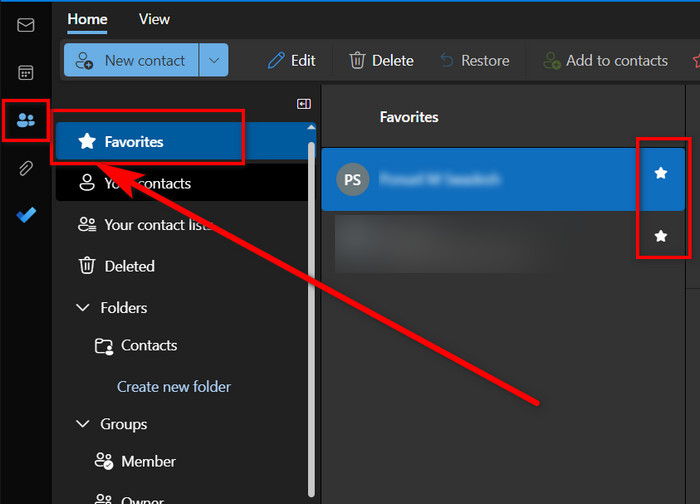
FAQs
How to view the categorized contact list on Outlook?
To view the categorized contact list, go to People > Contacts > View > Change View > List.
Why can’t I use categories in Outlook?
The Categorize menu item is available only if you use POP3 for your emails. So, if you have emails with IMAP protocol, you can not use categories in Outlook.
How do I use categories in Outlook 365?
To use categories in Outlook 365, select a contact, right-click on it and select the Categorize option. Pick your desired color for the category.
Final Words
Properly utilizing the contact categorization feature can be handy in identifying your required contacts, thus saving a lot of time.
Ultimately, I was delighted to guide you through this article, and hopefully, you now know the effective ways to use color categories in MS outlook contacts.
Feel free to ask any questions regarding Outlook in the comment section below. I am always here to help.