You can insert many shapes, objects, images, etc., in a document you create using Microsoft Word. They can be used to represent ideas graphically or to make your document more attractive and interesting.
That being said, these shapes and objects need to appear organized so that the document is visually pleasing. Otherwise, they won’t have any positive effect on beautifying your document.
You can organize shapes effortlessly in Word by using the aligning tool. In this guide, you will find out the different kinds of alignments you can apply to your shapes, what they do and the method of aligning shapes and objects properly in MS Word.
So, go through the guide’s content to properly align shapes and objects in Microsoft Word.
Read more on how to change language in Microsoft Word.
How To Use The Align Tool In MS Word?
Microsoft Word offers you an array of alignment options in the Layout tab of your Word document. You can align all or selected shapes in your document to the left, right, top, bottom or middle edge or margin of your document or align them to each other’s edges.
To access the aligning tool, you must click on the Align option in the Layout tab of MS Word. The alignment tool in Word lets you arrange your shapes horizontally and vertically. 
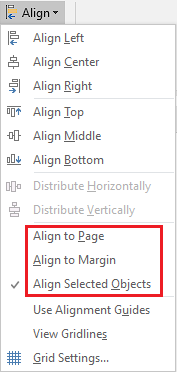
You can also choose whether you want to align the objects with the edges of the page, the margin or the shapes/objects/items by selecting Align To Page, Align To Margin or Align Selected Items, respectively. 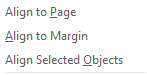
Align To Page will arrange the items on the edges of your document’s page, Align To Margin will arrange items according to the margin and Align Selected Items will arrange items with the shape that is nearest to the applied alignment (top, bottom, and left, right or middle).
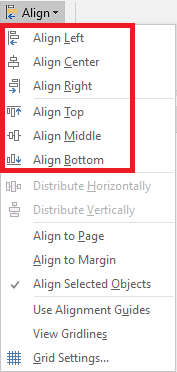
Horizontally, you can align your shapes using the Align Top, Align Middle and Align Bottom options to arrange your shapes with the page, margin or edge of selected shapes (whichever is selected). 
Similarly, you can apply vertical alignment to arrange shapes by selecting the Align Left, Align Center and Align Right options. 
You will have to know how to properly use the Align tool to align your shapes exactly as you wish them to appear on your document. So, make sure to go through the aligning functions presented here before learning how to align your shapes in Word described in the next section.
Find out how to use Microsoft Word read aloud.
How Do I Align Shapes In Microsoft Word?
Aligning shapes in a Word document to appear however you want is a simple task if you know how to use the Align tool in Microsoft Word. The details about different alignment options are given in the previous section. Know how the alignment tool works to accurately arrange your shapes.
If you haven’t gone through the functions of the Align tool, I suggest you go through the description in the former section before aligning the shapes and objects in your doc file.
If you have already gone through how Align works, you can start to align shapes by applying the process shown here.
Follow these steps on how to align shapes in MS Word:
- Use Ctrl + Left-click to select the shapes that you want to align.
- Go to the Layout tab and click on the Align option.
- Choose the position of alignment by selecting the page, margin or selected items option.
- Click on the Align option again and select the alignment type you want to apply.
By going through this process, you can select all or some shapes in your document as you wish and align them accordingly. This way, you can arrange all the shapes, objects and images in your document in any way you desire.
Here is the easiest guide to print in Microsoft Word.
How To Use Gridlines To Align Shapes In MS Word?
Besides aligning shapes with the Align tool in Microsoft Word, you can also move around your shapes manually. You have to click and hold your shapes and move them around freely. In this case, you can turn on gridlines in your document to reference your shape’s position.
Gridlines can be easily set on your document’s page in MS Word.
To turn on gridlines in Word, go to the Layout tab > click on the Align option > View Gridlines. 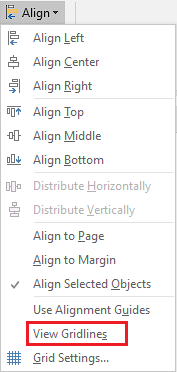
Then you will see that gridlines have appeared in the pages of your document. You can now refer to the lines to determine the right position to place your shapes while moving them manually by clicking and holding them.
Quickly visit the links to find out how to double space in MS Word.
Conclusion
Donning to tidy visuals is important when you are creating a document. It can be easier to express your thoughts using visual information, but you must also arrange them properly.
So, to align the shapes and images in your document, you can always use the Align tool in MS word by learning the way to use it from this guide.