Windows has a built-in tool you can leverage to manage users in Windows. Also known as Local User Group and Managemen Console, it is present as an option in the Computer Management tool.
However, only Windows 10 Pro, Enterprise and Education comes preinstalled with it. If you are on Windows 11 Home, you will not see the Local Users tab. This does not mean you cannot use this feature.
Here I will discuss how you can enable local user management in Windows 11 and some common functions you can perform with it.
Let’s begin.
Also read how to update drivers on Windows 11.
How to Enable Local User Group and Management Console
For Windows 11 Home users, the ability to manage users and permissions is not available. This is in line with other functionalities that only the Pro versions enjoy, such as Active Directory, Users Management, Group Policy and so on.
You can enable local users in Windows 11 Home using a third-party tool. You can download it from GitHub. Once you do that, you can enjoy the features of this app without the need to upgrade to Windows 11 Pro.
Let’s look at how you can do this.
Windows 11 Home
Here are the steps to enable Local Users Group and Management Console in Windows 11 Home:
- Go to the GitHub page for the Local User Management app.
- Look for lusrmgr and click on the link.
- Download the file lusrmgr.exe file under Assets.
- Open the app when the download is completed.
The app looks similar to Windows Management Console but only has the Local User Management options. You can perform different tasks using this application which I will show in the next section.
Follow our guide to fix blue screen on Windows 11.
Windows 11 Pro
Windows 11 Pro, in contrast, comes with full support for managing local users and setting permissions for them. You can access it from the Computer Management tool and command prompt.
Here is how you can find it:
From the Computer Management Tool
Here are the steps to open local user groups from Computer Management:
- Go to the Start Menu and start searching for Computer Management.
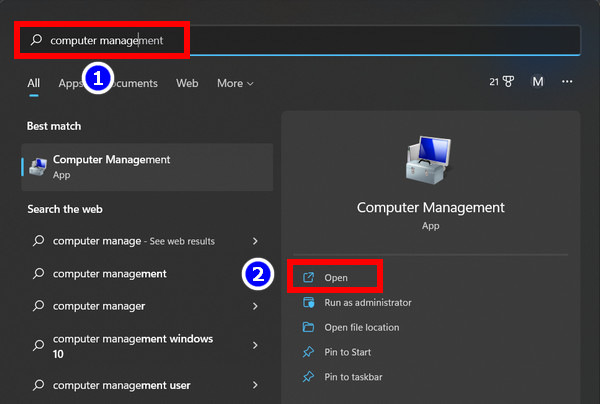
- Open the app and go to Local Users present in the left tab.
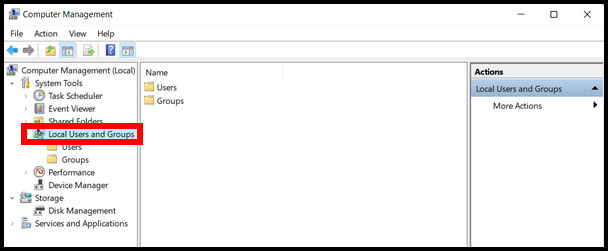
You will find the list of all the users who have access to your computer here.
Here is the easiest guide to fix drag and drop not working on Windows 11.
Using the Command Prompt
If you are a command aficionado, typing commands to open applications will be a faster task than navigating through the UI. And you can use this command to open the Local user’s application instantly.
Let’s look at the steps to open local user groups using cmd:
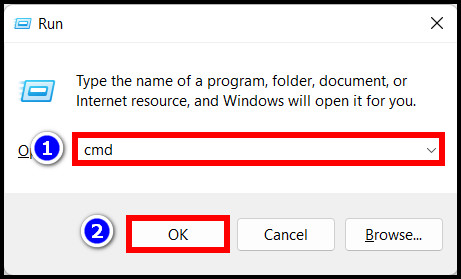
- Press Win + R, type cmd in the dialog box and click Ok.
- Type the following lusrmgr.msc and press enter.
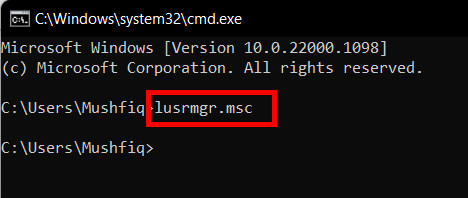
The local user’s app will open in a new window.
From the Run window
These are the steps to open Computer Management from Run in Windows:
- Press Win + R to open the Run window.
- Enter lusrmgr.msc and press Ok.
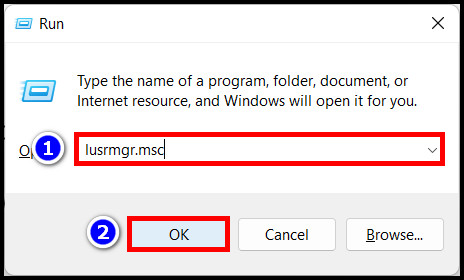
Now you can manage users using this application.
Check out the easiest way to install active directory users & computers on Windows 11.
How to Manage Local Users and Groups in Windows 11
You can perform tasks like adding a user the same way as you would in Windows 11 Pro. The option to create a group and add users there is also present.
Add a User
These are the steps to add a user in Local Users and Groups in Windows 11 Home:
- Open the Local Users App that you downloaded before.
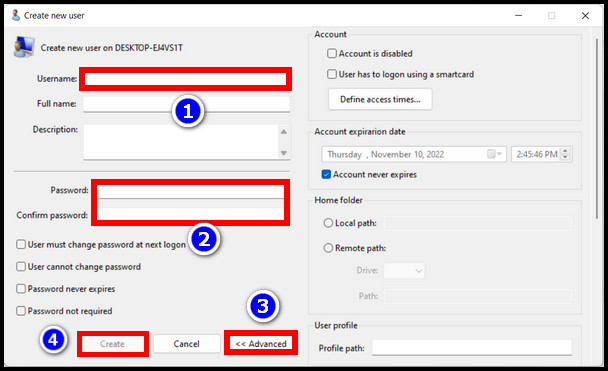
- Click the Users tab and go to Create new user.

- Enter the user name and set a password.
- In the Advanced Settings add access times and add to groups if needed.
- Press the Create button when everything is configured.
After adding the user, you can see the newly created user in the existing user list.
Add/Remove a User to a Group
Groups are a great feature for adding different users to a selected section. Let’s say, you can create a group and add the user accounts of your kids there.
But first, you need to create a new group and add users there.
These are the steps to create a new group in Local Users and Groups:
- Open the Start Menu and search for lusrmgr.msc.
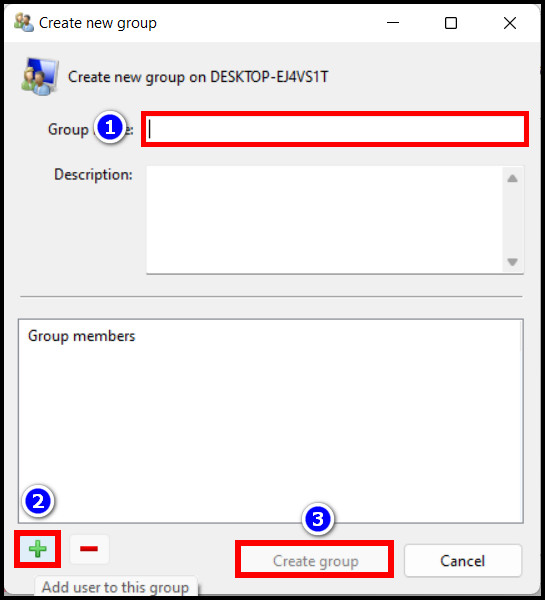
- Click on Groups and go to Create new group.
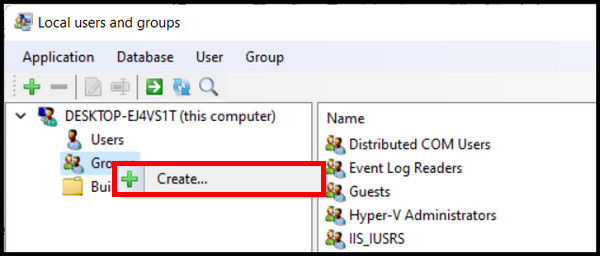
- Enter a group name.
- Click on the + sign and select the users to add to this group.
- Click on Create group.
The selected users are placed in a new group now.
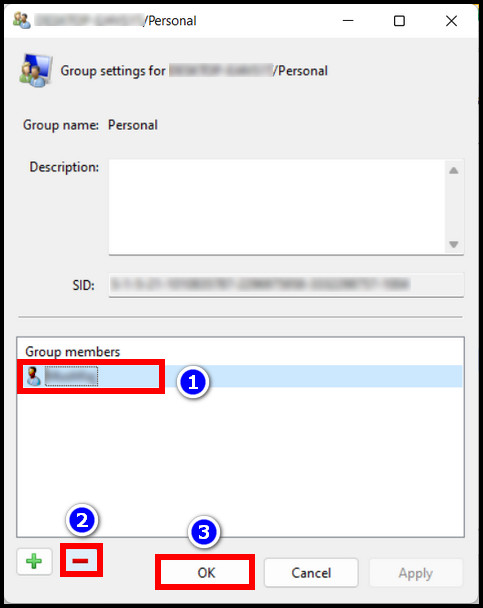
To remove a user from a group, you must select the user from the group and click on the minus (−) sign. This way, the user is removed.
Follow our guide to fix Windows can’t access network drive on Windows 11.
Frequently Asked Questions
How do I find users and groups in Windows 11?
To open local users, you need to open Computer Management. To do this, go to Start Menu > Control Panel > Computer Management > Local Users > Groups.
Why is local users and groups missing from Computer Management?
Windows 11 Home does not come with Local users and groups installed. You can find this feature only in Win 11 Professional and Education versions.
Final Words
In this article, I have explained how you can bring the local user’s group functionality to Windows 10 Home. And you will not miss out on anything.
That’s all for today.
Until next time. It’s goodbye.