Outlook is still a convenient email client app and is famous for its outstanding mailing service. Along with mailing, Outlook provides meeting management, calendaring, task managing, note-taking, journal logging, etc.
As it is compatible with most email addresses, the inbox might get messy with many emails. So, it becomes hard to keep track of the essential emails among many.
To get rid of this problem, you must organize emails. But, it is time consuming and needs lots of patience. But you can quickly eliminate this problem by moving essential emails to a folder or organizing them into different folders.
If you don’t know how to move emails to folders in Outlook, let me teach you through this article. So, keep reading till the end, and you will find it much more manageable.
Let’s begin!
How to Automatically Move Emails to a Folder in Outlook App
You must set up rules in Outlook to move emails automatically to a folder in the Outlook desktop app. It’s convenient because all you need to do is set up some simple rules in Outlook. If you are using Outlook to access all your email accounts, the inbox becomes disordered for sure.
So, follow the steps below to give it a cleaner look and automatically move emails to a folder.
Note: The steps below only apply to Outlook 2016 or the newer version.
Here are the steps to move emails to a folder in the Outlook desktop app:
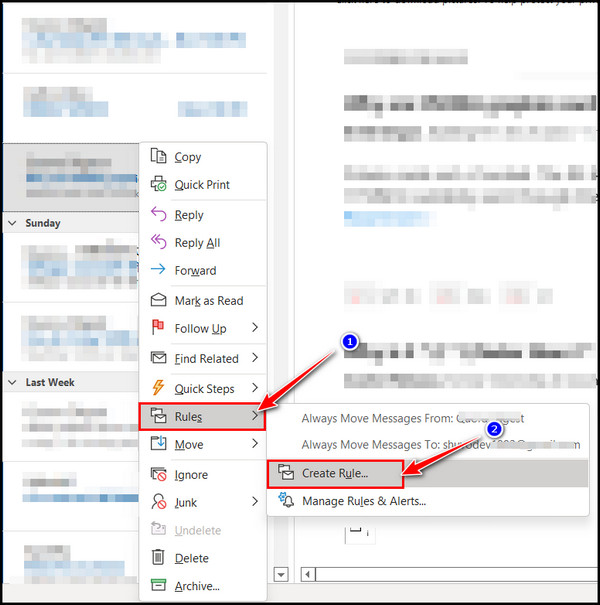
- Launch Outlook and right-click on the email that you want to move.
- Click on Rules > Create Rule.
- Check the box for From (sender) You can check the box for Subject contains or leave it. In this Subject contain box, you can specify for which subject you want to move it to another folder.
- Check the box for Send to and select other accounts to move the emails there. Don’t check it if you don’t want to.
- Check the box for Move the item to folder option from the Do the following section.
- Choose the preferred folder where you want to move the emails.
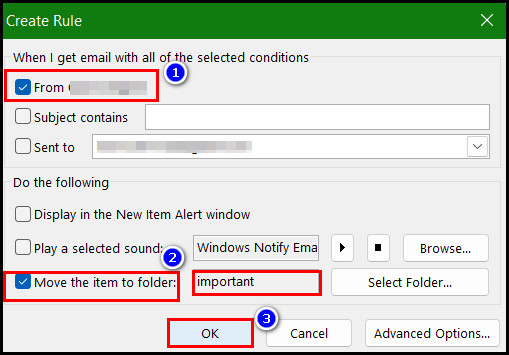
- Click on the Ok button, and a confirmation window will prompt.
- Check the box for Run this rule now on messages already in the current folder.
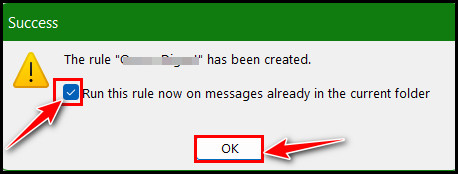
- Click the OK button again.
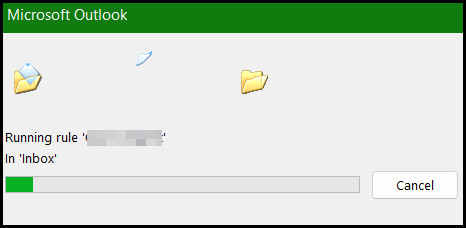
All the messages from the selected sender will now move to the chosen folder. Repeat the process for every email you want to move to another folder.
Also read how to add new Mailbox in Outlook easily.
How to Move Emails to a Folder in Outlook Older Versions
However, if you use older versions like Outlook 2007, 2010 or 2013, the steps are similar to the new version except for some. The Outlook 2013 steps differ from outlook 2007 and 2010 also. So, follow the steps below to move emails to a folder in Outlook older versions automatically.
Here are the steps to move emails to a folder in Outlook older versions:
For Outlook 2013
- Open the Email that you want to send to a specific folder.
- Click on the Home tab.
- Go to Rules and click on the drop-down menu.
- Select Create Rules.
- Choose Always Move Message From (Sender).
- Select the folder where you want to move the emails.
- Click on OK to save the changes.
For Outlook 2010 & 2007
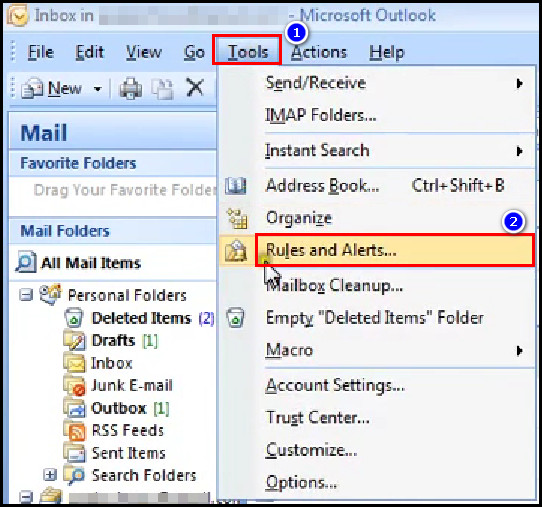
- Click on the Tools tab from the ribbon.
- Select Rules and Alerts from the context menu.
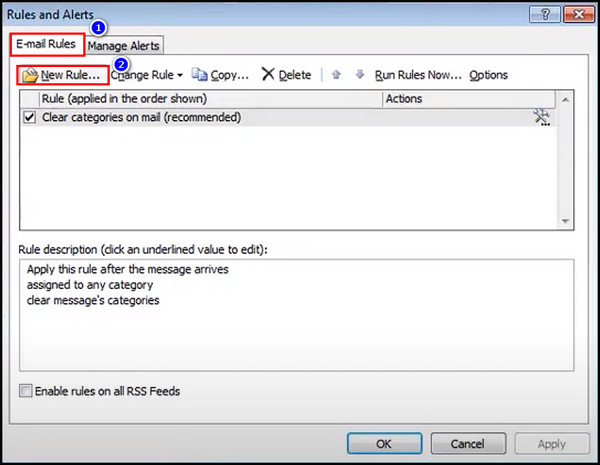
- Click on the E-mail Rules tab and select New Rules.
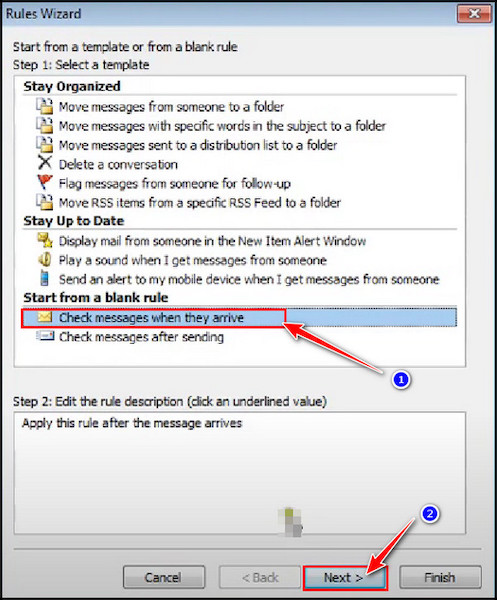
- Select Check messages when they arrive under Start from a blank rule section.
- Click the Next button.
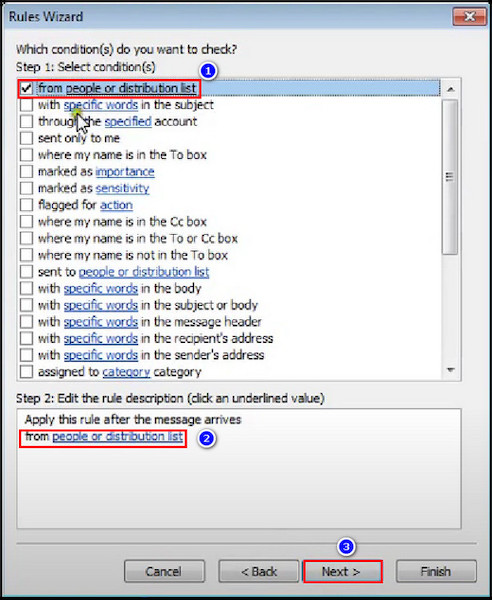
- Check the boxes for the from people or distribution list
- Click the from people or distribution list option under Step 2: Edit the rule description.
- Choose the email addresses that you want to move to the folder. Click on Form and click OK.
- Click the Next button and check the box to move it to the specified folder.
- Select the specified folder and click OK. Click the Next button after that.

- Click the Finish button.
Now all the messages will redirect to the specific folder automatically.
Follow our ultimate guide if you want to fix Outlook not making notification sound.
How to Move Emails to a Folder in Outlook for Mac
As a Mac user, you know Outlook for Mac version is pretty straightforward. Most options are quite the same, but some differences exist. So, follow the below steps to redirect emails automatically to a folder in Outlook for Mac.
Here are the steps to move emails automatically to a folder in Outlook for Mac:
- Take the cursor to the top of the screen and select Home.
- Click on the Rules drop-down icon.
- Choose the Create Rule option from the context menu.
- Choose what conditions you want to run this rule. Conditions like whether you get an email from a specific person or others.
- Ensure the Move to folder option is selected under the Do the Following section.
- Pick the specific folder after clicking on the Choose folder field.
- Click on the + (Plus) button from the right side to add an action.
- Select the Mark as read option after clicking on the Choose an Action menu.
- Click on the OK button.
After clicking the OK button will save the changes you made. All the emails from the selected person or others will move to the selected folder.
How to Move Emails to a Folder in Outlook Web App
Whether you are using the Outlook web app version or the office 365 outlook version, the steps are the same for both to move emails to a folder. So, without further delay, let’s look at the below steps to move emails to a folder in Outlook for Office 365 or the standard web app version.
Here are the steps to move emails to a folder in Outlook for Office 365:
- Log in to Outlook for office 365 or the web app version.
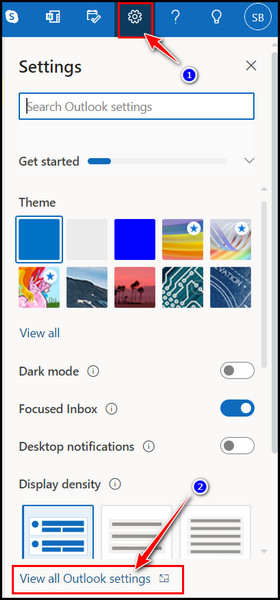
- Click on the Settings icon from the top right corner to open Settings.
- Select View all Outlook settings.
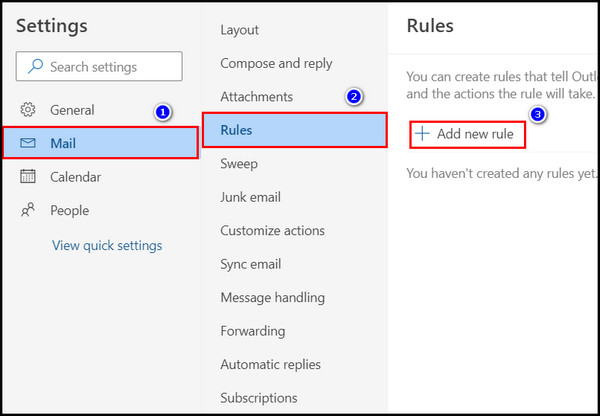
- Choose Mail from the left pane and select Rules.
- Select Add new rule.
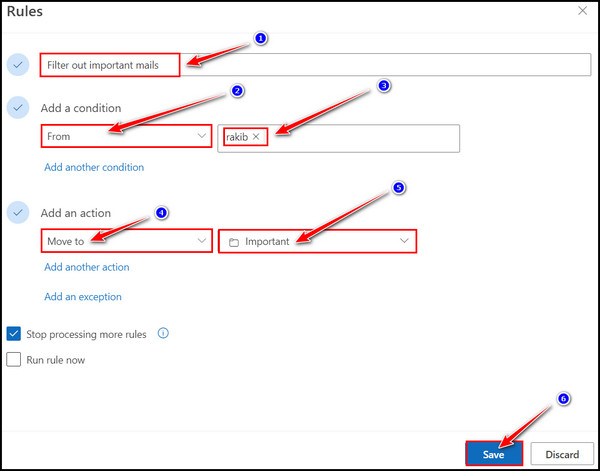
- Give the rule a name.
- Click on the Add an action menu and choose From.
- Type in the email address that you want to move all the emails of that address to another folder.
- Click on the Add an action button again and select Move to.
- Select the desired folder where you want to move the emails.
All the settings and rules will save automatically. From now on, you won’t see the sender’s mail in the inbox. You will find them in the selected folder.
Follow our guide to fix Outlook zoom add-in not working.
FAQs
How do I move emails automatically to a folder in Outlook from a sender?
Right-click on the mail and click on Rules > Create Rule. Check the box for From senders option and check another box for Move the item to the folder. Select the folder where you want to redirect all emails. Click the OK button.
How do I move emails automatically to a folder in Outlook by date?
Go to Mail > Rules from Settings and click on the plus icon to create a new rule. Name the rule and click on the drop-down arrow to add an action. Choose Before and select the date. For the next, choose the After option and select the date. Choose Move to as the Add an action and choose a folder.
Where is the Rules button in Outlook?
Click on the File tab from the ribbon. Look at the right pane, and you will find the Manage Rules & Alert section.
Wrapping Up
When you use multiple email accounts in Outlook, it becomes messy and hard to find all the important emails among many emails. That’s why arranging all the crucial emails in several folders is essential for accessing them quickly.
Outlook has given such an option to the users to filter out emails in a folder by setting up specific rules. In this article, I have concluded the complete guideline for sending emails automatically to another folder.
I hope you have gone through every step and successfully moved all the required emails to a folder. Don’t forget to ask me for further assistance in the comment box. Happy mailing!