Putting images along with the text in an email makes it look attractive.
It decreases the chance of people skipping to read the email, especially if it is a long one.
Adding images to the email inside the text is sometimes necessary.
If you put the image in the email body in between texts, it will not look good. You need to specify how Outlook should wrap the text around the image.
This post will guide you through the steps to wrap text around the image. You will also learn how to wrap text around a signature image in Outlook.
So keep reading the post till the end.
Some more guides on why change the alignment of an image in Outlook.
How To Wrap Text Around Image In Outlook
In Outlook, you can wrap text around a picture manually or set up a default wrap text style to apply for all inserted images automatically.
Follow the methods below to wrap text around the image in Outlook:
1. Wrap text around the image manually
If you only have one or two images in the email body, then it is best to manually wrap text around the image.
Follow the steps below to manually wrap text around picture in Outlook:
- Open the Outlook desktop app.
- Open the email where you want to wrap text around an image.
- Insert some texts into the email body.
- Insert a picture into the email body.
- Select the image to activate the Picture Tools.
- Go to the Picture Format tab from the top.
- Click on Wrap Text from the top. A dropdown list will appear containing different text wrapping options.
- Select the text wrapping style from the list.
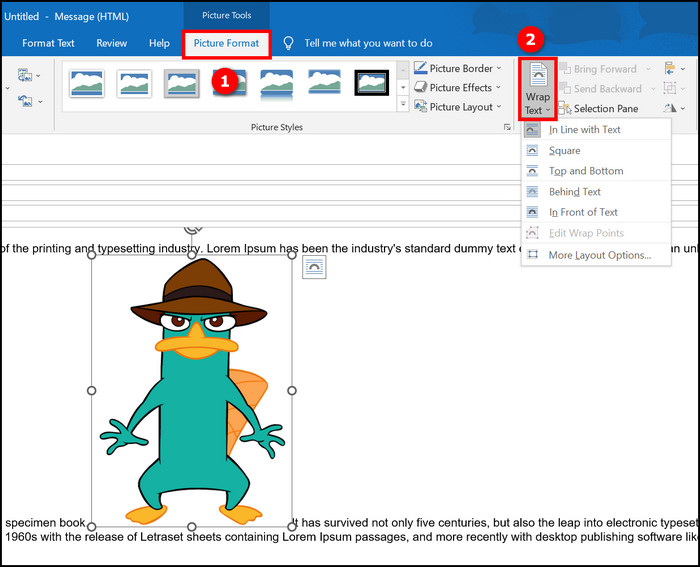
- If you cannot find the required text wrapping style on the dropdown list, click on More Layout Options on the dropdown list. The Layout window will appear.

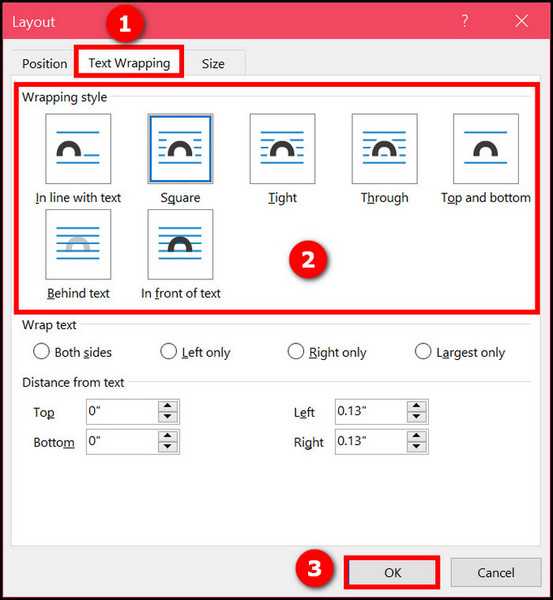
- Go to the Text Wrapping tab.
- Select the Wrapping style. You will see the following options:
- In line with text – The image will occupy as much space as needed in line with the text.
- Square – Text will wrap around the image with broad and equal spacing on all four sides.
- Tight – Text will wrap around the image with very little spacing on all sides.
- Through – Text will fill in the small gaps around the image.
- Top and bottom – Text will only be on the top and bottom sides of the image, with no text on the left and right of the image.
- Behind text – Text will display over the image (as if the image does not exist).
- In front of text – The image will display over the text (as if the text does not exist).
- Select the Wrap text option to specify on which side the text will wrap. You can choose between Both sides, Left only, Right only, or Largest only.
- Specify the spacing between the text and image through the Distance from text option. You can select the spacing of the four sides separately.
- Click on OK to apply the changes.
As you can see, wrapping text around picture works in Outlook the same way as in Word or other Microsoft Office apps.
You may also like to read about solve Outlook Rules not working in Windows 10.
2. Wrap text around the image automatically
If you have many images in your email body, it’s best to opt-in for the automatic text wrapping. It will save valuable time and also produce a more consistent result across the email body.
Follow the steps below to wrap text around the picture automatically:
- Open the Outlook desktop app.
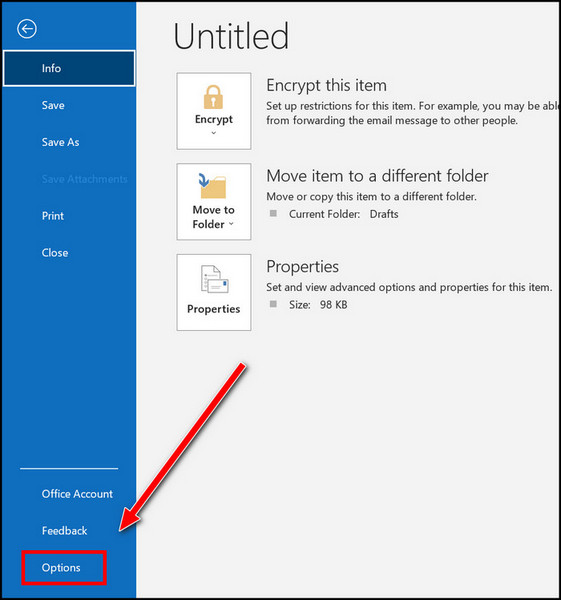
- Go to the File tab from the top-left corner.
- Click on Options from the left menu. The Outlook Options window will appear.
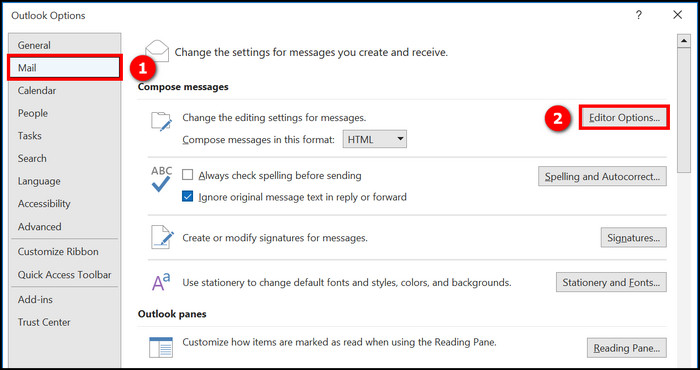
- Select Mail on the left menu.
- Click on the Editor Options button under the Compose messages section. The Editor Options dialogue box will open.
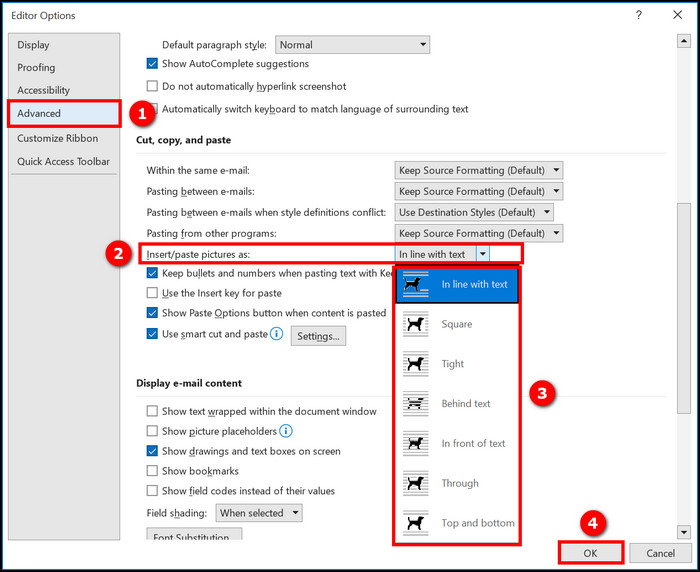
- Select Advanced from the left menu.
- Scroll down to the Cut, copy and paste section.
- Click on the dropdown next to the “Insert/paste picture as” option. A dropdown list containing different text wrapping styles will open.
- Select a text wrapping style from the dropdown list. I discussed how the different text wrapping styles function in the previous method.
- Click OK on the Editor Options window to close it.
- Click OK on the Outlook Options window to close it.
Now all images you insert into an email body will have the text wrapping style you just specified.
Here is a pro tip:
You can configure to wrap text around pictures automatically using this method so that all inserted pictures have a default text wrapping. If you do not like one or two specific text wrapping in the email body, then select the wrap text style for them manually using the previous method.
If you are using the Outlook 2007 software, you need to go to Tools > Options.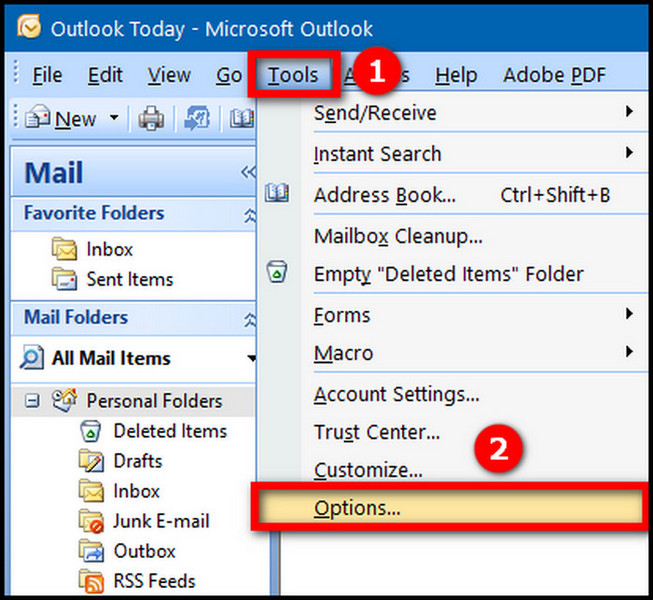
Switch to the Mail Format tab and click on the Editor Options button below.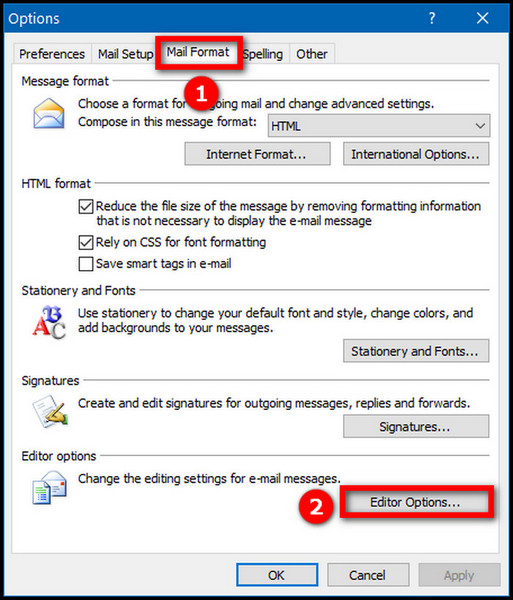
The rest of the steps are similar to as stated above. You will go to Advanced from the left menu, then find the “Insert/paste picture as” option under the Cut, copy and paste section. Select a text wrapping style from the list and save the changes. 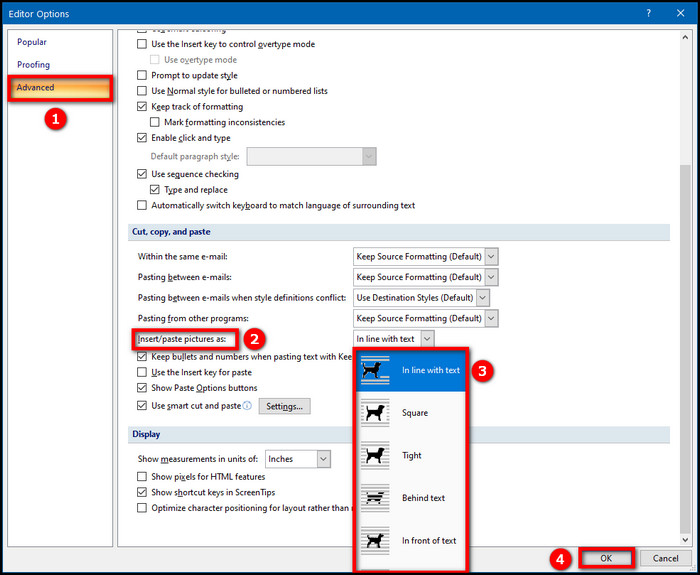
Related contents you should read about how to add signature to Outlook 365, But before that, go through our epic guide on Spam filter in Outlook not blocking Junk Mail.
How Do I Wrap Text Around A Picture In Outlook Signature
Outlook signatures are an essential part of email. It helps to identify yourself in a professional manner, increasing engagement and the chance of getting a reply.
To make Outlook signatures look professional, most people add a picture of the company logo or branding in addition to the information text.
If you want to have a similar Outlook signature with an image on it, you need to wrap the text around the image and align them perfectly.
But there is no option to wrap text in the signature editor of Outlook. So you need to do it in the Outlook email body and then paste the signature in the signature editor.
Here is the procedure to wrap text around a picture in Outlook signature:
- Open the Outlook desktop app.
- Go to the File tab from the top-left corner.
- Click on Options from the left menu. The Outlook Options window will appear.
- Click on Mail from the left menu.
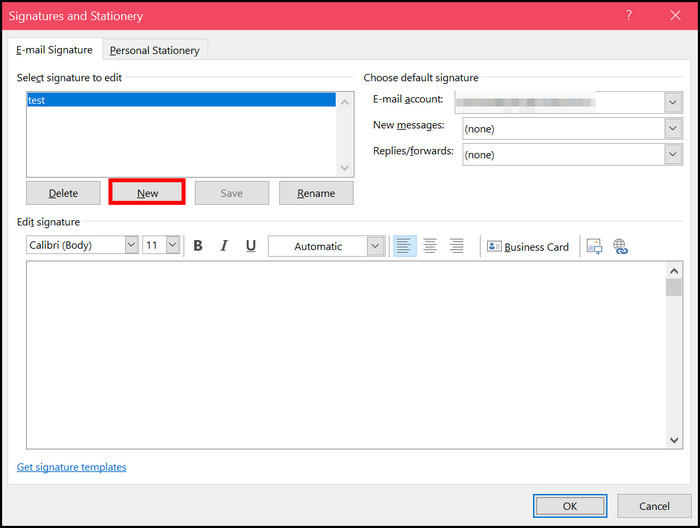
- Click on the Signatures button. The “Signatures and Stationery” window will open.

- Create a new signature by adding text (Name, position, company name, contacts, Gmail, etc.) and an image. The image will not appear as you want it to. You will fix it in the following steps.
- Click on OK to save the signature.
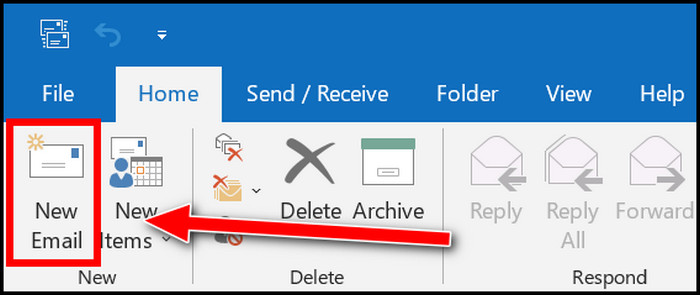
- Go back to the main window of Outlook.
- Go to the Home tab and click on New Email.
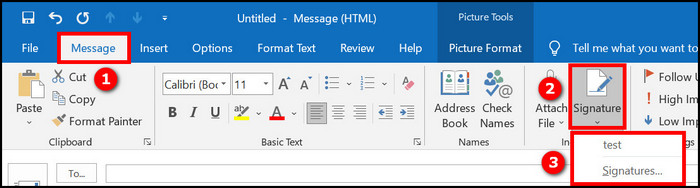
- Go to the Message tab from the top.
- Click on the Signature option to open the dropdown list containing all saved signatures.
- Select the signature you just created. You will see the signature appear in the email.
- Select the image in the signature.
- Go to the Format tab from the top.
- Click on the Wrap Text option from the top.
- Select the text wrapping style from the list. Click on More Layout Options if you cannot find the required text wrapping style on the dropdown list.
- Go to the Text Wrapping tab in the Layout window.
- Select the text wrapping style, spacing between the text and image and other options here.
- Click on OK to save the changes.
- Move the signature text and image if needed.
- Copy the signature with the perfectly positioned image.
- Go to the Message tab from the top.
- Click on the Signature option to open the dropdown list.
- Click on “Signatures…”
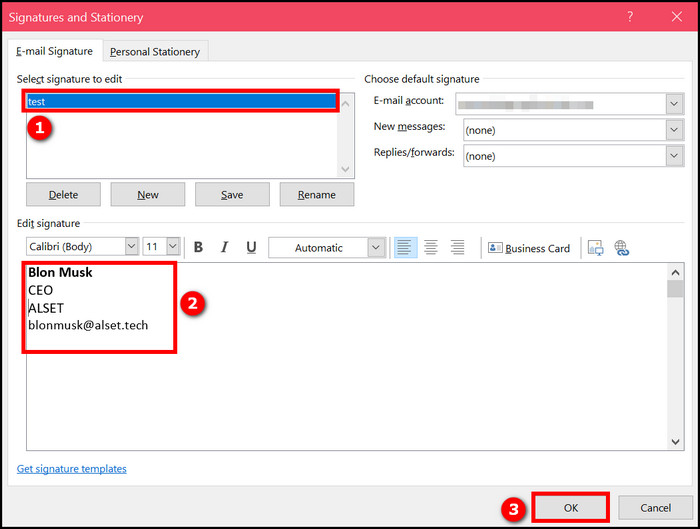
- Select the newly created signature from the “Select signature to edit” list.
- Clear all the contents in the “Edit signature” box below and paste the copied signature. The image will not show up in the box but do not worry, as it will show up when you apply the signature in an email.
- Click on the OK button to save the signature.
Now create a new email and add the signature. You should see the text perfectly wrapped around the image.
Some more guides on add Outlook calendar to Apple calendar, Check out the easiest way to add picture on Outlook email, Follow our guide to fix Outlook Rules not running automatically.
Final Thoughts
It is essential to know about wrapping text around an image in Outlook if you want to add images.
There are various styling options to wrap texts around the image. Depending on your text and the type of the image, you will apply different styles.
You can manually wrap the text for every image or set a default wrap text style to be applied to all images.
Outlook signatures also need to use the wrap text functionality, as the Outlook signature editor does not have the wrap text option.