So you are a hardcore Apple user, But a few days ago you saw Windows 11 on your colleague’s laptop and it seemed pretty interesting.
You even want to try it out yourself. What do now, right? Well, don’t you worry.
As a veteran system integrator, I’ll guide you step by step on how to install and upgrade to Windows 11 on Mac using boot Camp.
Keep Reading to find out how to upgrade your Mac device to Windows 11.
What is Boot Camp?
Boot Camp Assistant is an integrated MacOS software that allows Mac users to sideload Windows operating system in a user-allocated space. Basically, it allows you to install Windows on your Macbook, mac mini or iMac and gives you the option to boot macOS or Windows while starting up the system.

Though the systems can’t be used simultaneously, you won’t need to own another system to use Windows. It doesn’t destroy you current hard disk partitions. Just makes a new one for the Windows Operating System you are going to use.
This feature was first introduced with Mac OS X Leopard and supported Windows XP and Windows Vista. The current Boot camp Assistant version is 6.0 and supports 64bit versions of Windows 10 and Windows 11. It’s fairly simple to use and comes as integrated software.
This is not a virtualization of the Windows system, you are directly installing Windows on your Mac device alongside macOS.
This is a life-saving feature for a lot of people such as a developer who needs to test his app on a windows based environment. Or if someone wants to try out Windows for a change. And it’s user friendly enough so that anyone can try it out. Pretty neat if you ask me.
Also read how to update drivers on Windows 11.
How to install Windows 11 on Mac Using Boot Camp
There are a few different ways to sideload Windows 11 on a Mac machine. I’m going to guide you through the easiest way I have come across. It might sound a little complicated but from my perspective, it’s the cleanest way to go not to mention reliable.
N.B. This method is for Intel-based macOS devices only. You can’t install Windows 11 with Boot Camp on M1 devices. Their in-house silicon just doesn’t support that. You can use Parallels for your M1 Devices.
To go throw this method, you’ll need-
- A system that runs Mac OS (Macbook, Mac Mini, Mac Pro, iMac)
- A USB Drive with 8GB storage capacity
- A decent enough Internet Connection
Here are the steps to install windows 11 on Mac using Bootcamp
1. Download Windows ISO files
First, you’ll have to download the latest ISO file of Windows 10 and Windows 11. We’ll need both of those for your Windows 11 installation.
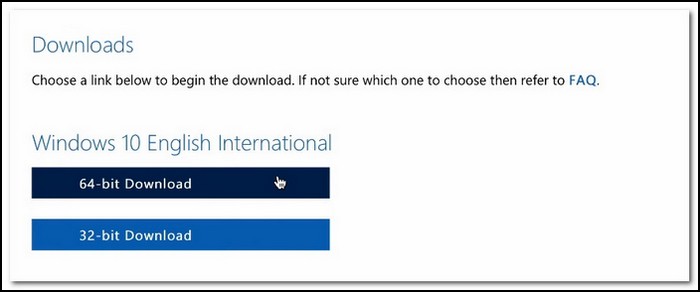
- Download the Windows 10 (64bit) ISO file from the Official Microsoft page.
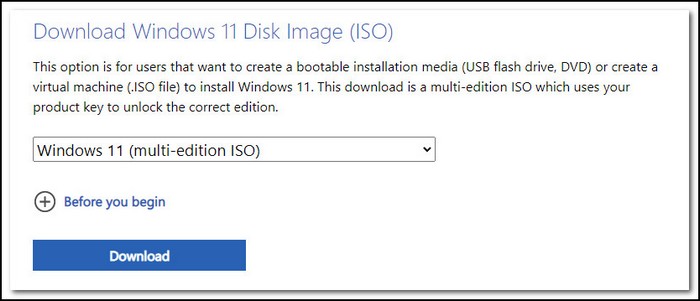
- Download The Windows 11 ISO file.
2. Create Installation Media
Once the download is complete, we’ll move on to the next phase.
- Insert your USB Drive into the system.
- Go to Go > Utilities > Boot Camp Assistant
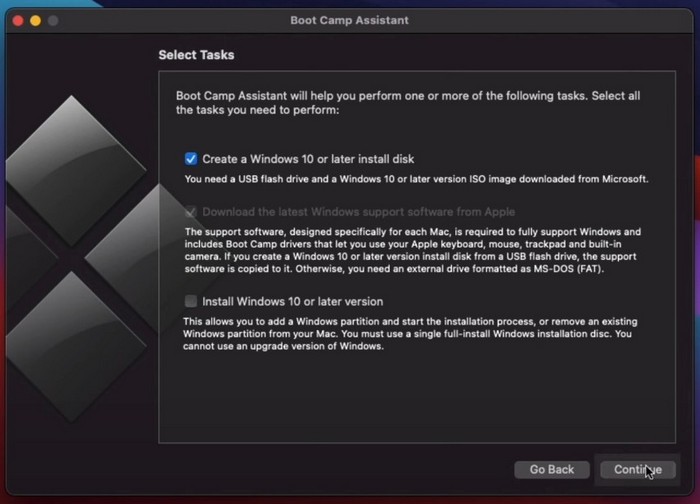
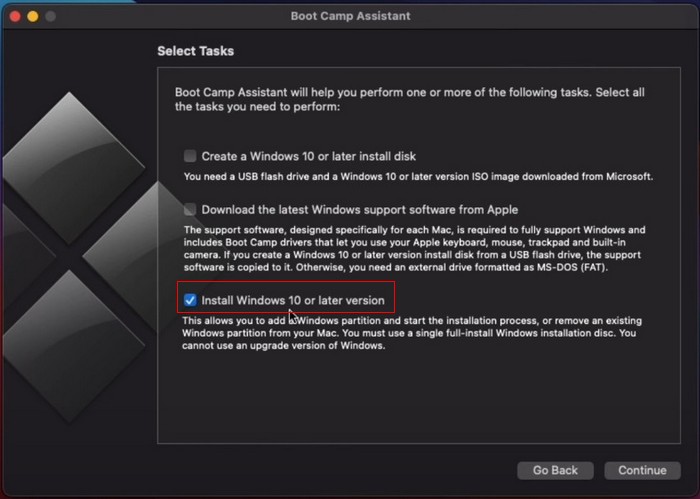
- Click Continue. On the next page uncheck Install Windows 10 or later Version. (All three options will be checked by default.). Click ‘Continue’.
- Select your Window 10 ISO file and USB drive from the list. Hit Continue. Once done, hit Quit.
- Remove the USB drive and Plug it in again.
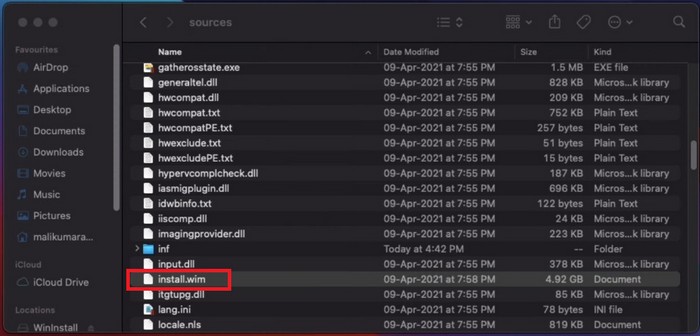
- Open the Drive > go to sources folder.
- Find the install.wim file and delete that. (From the ‘Trash’ too)
- Open the Windows 11 ISO file. Might take a few seconds to mount.
- Go to sources folder of the Windows 11 ISO file, and find install.wim, copy the file and paste it into the USB drive’s ‘sources folder’. It’s a 4-5GB file so might take a while.
Once done, your Installation Media is ready to go.
Also, check out our separate post on how to fix PC won’t go to sleep in Windows 11.
3. Install Windows 11 using Boot Camp
To start the process
- Go to Go > Utilities > Boot Camp Assistant
- Select Continue. On the next window select only the third option Install Windows 10 or later version (Deselect the first two options) and click Continue.
- In the Create Partition for Windows, allocate the amount of space you want to use for Windows.
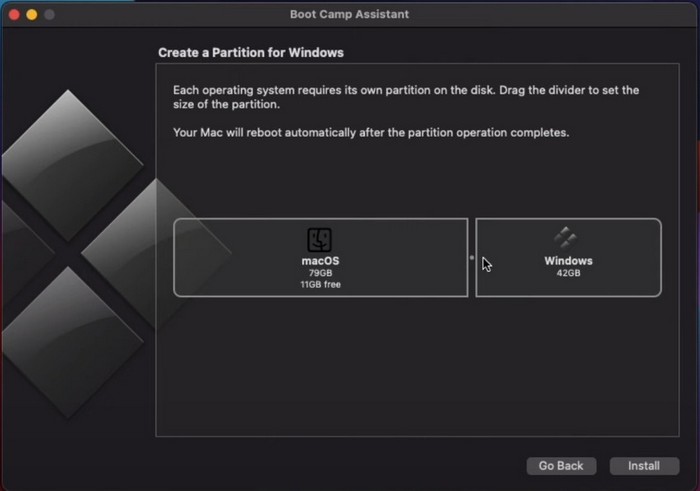
- Click Install. The Boot Camp Assistant will create partitions and start the Windows Setup process.
- Click Next > select I don’t have a product key > Select Windows 11 Pro (Or any version you want to.) & Next > Check Accept the License Agreement & click Next.
- Carefully select the partition that mentions BOOTCAMP and click Next.
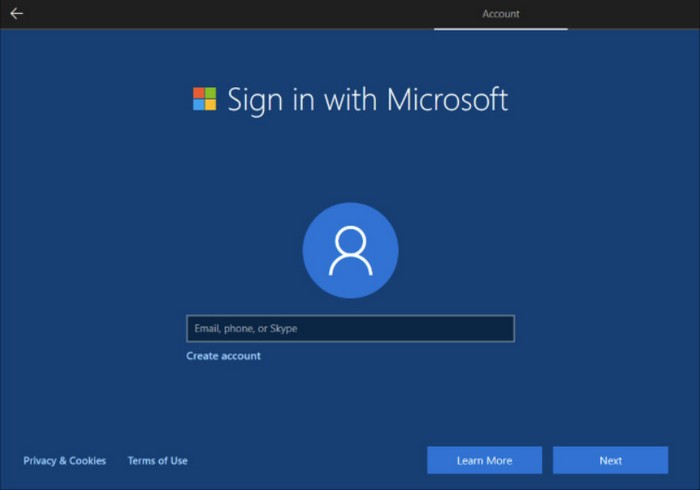
- Windows will install and restart the system. Setup the next settings and account names according to your choosing.
- After this process, once you are in Windows Desktop, Go to ‘Computer’ > WinInstall’ (USB Drive) > BootCamp > Setup.
- Install that ‘Boot Camp’ software and Restart.
Voila! Windows 11 is now successfully installed. You can use Boot Camp Assistant to switch between macOS and Windows. You can also press the ‘Option’ key right after the start-up sound which will prompt the Boot options of macOS and Windows.
Check out the easiest way to install active directory users & computers on Windows 11.
How to upgrade from Windows 10 to Windows 11 Using Boot Camp
On the other hand, if Windows 10 is already installed in your Mac System and you want to just upgrade to Windows 11, you can do that as well.
- Download Windows ISO files
You’ll need the Windows 11 ISO file. Download it file from here.
2. Download Media Creation Tool
- Go to this github page
- Click on ‘Code’ > ‘Download Zip’
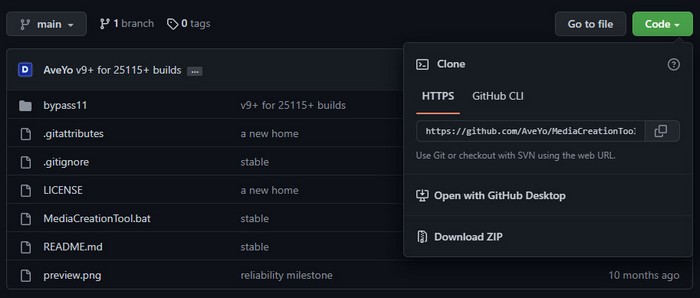
- Unzip the downloaded file.
3. Upgrade Windows 10 to Windows 11
- Go to the previously Unzipped folder bat-main > bypass11 >. Open Skip_TPM_Check_on_Dynamic_Update.cmd as administrator
(Select More info > Run Anyway if necessary)
- Now open the Windows 11 ISO you downloaded previously.
- Follow the necessary prompts and make sure the network connection is stable.
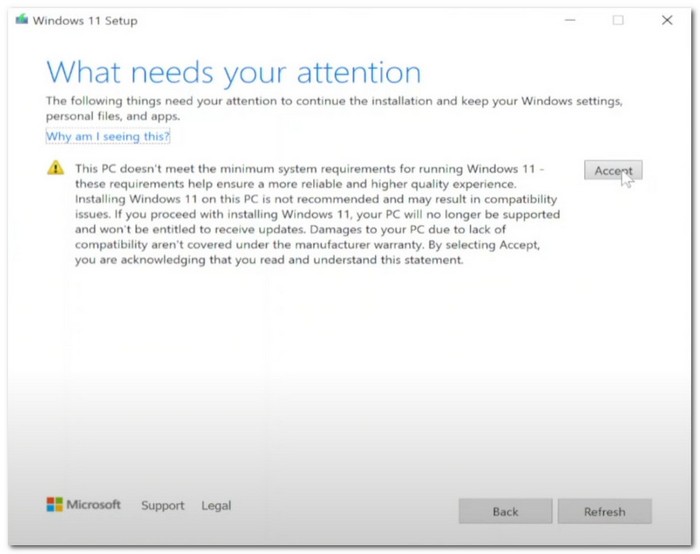
- Hit Accept on the PC doesn’t meet the minimum requirement notice.
- Now the setup will automatically do the rest of the process. It will take a while.
- Once done, the system will restart.
Congratulations, you’ve successfully upgraded to Windows 11.
Follow our guide to fix Windows can’t access network drive on Windows 11.
FAQ
Q: Can I sideload any Linux Distribution with the help of Boot Camp?
A: Unfortunately, you can’t. Right now Boot Camp Assistant only supports Windows Operating Systems. But there are a few alternative third-party ways to install or sideload Linux on Apple Systems as well. I would recommend you to use rEFInd. But as third-party software, rEFInd doesn’t ensure that smooth an experience.
Conclusion
As a power user, a developer, or just a curious person, you might need to use different Operating Systems in a single device. And Boot Camp is an excellent example of achieving that.
Now you can use this app to run the latest and greatest Microsoft has to offer on your Mac system whenever you want.