Looking for a way to make your document headings or cover page stand out? Simply integrate WordArt with your Word files to make them pop. After you read this guide, you will stop using the boring and commonly used heading styles and use WordArt in every document.
WordArt is by no means a new feature, but it’s surprising how few people know about it. It was one of the first things I learned when using Microsoft Word for the first time when I was in fourth grade, and I still use it regularly whenever I want an inspiring design for my document.
If you are still hesitating about whether to use it or not, just skim over the next few words in the next section, and I promise you will want to use it in your next document.
Read more on how to change language in Microsoft Word.
What is WordArt in Word?
WordArt in Word is a collection of pre-customized text styles that can be added as an editable overlay in Microsoft Word, and it’s primarily used for decorating your documents. If you don’t like the preset styles, you can tweak them to your preferences.
You can completely change the styling of individual components of WordArt, including the text shadows and reflections, along with its shape outline and styles. This means you can create unique WordArt designs in an instant.
As I mentioned earlier, the WordArt text is not inserted as regular text but as an overlay. For this reason, you can also adjust some properties that are typically available for images in Word, like the text wrapping style, height, width, and rotation.
I use WordArt mostly for the cover page and some headings, but you are free to explore your design ideas once you get familiar with this feature.
I’m sure you can’t wait to try it out, so let’s skip the waiting and get right into it.
Find out how to use Microsoft Word read aloud.
How to Use WordArt in Microsoft Word?
You can use WordArt in Microsoft Word by switching to the Insert tab from the top toolbar and expanding the WordArt drop-down menu in the Text category. From there, you can click on any of the previews to insert a WordArt overlay into your document. You can tweak its design later.
Although there are multiple versions of MS Office in use nowadays, like Office 2007, 2010, 2021 and Microsoft 365, you can access WordArt in every version using this method.
The same applies to Mac users. Since the user interfaces for MS Word is identical in both macOS and Windows, you can follow the same steps for both operating systems.
Follow these steps to use WordArt in Microsoft Word:
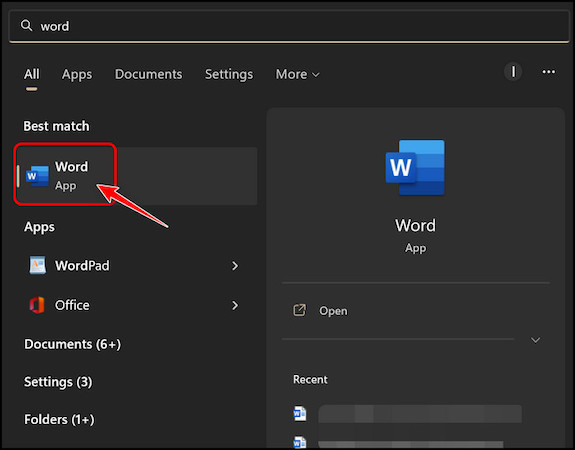
- Click on the Windows icon at the bottom left corner of the taskbar, search for Microsoft Word and click on the first result to launch it.
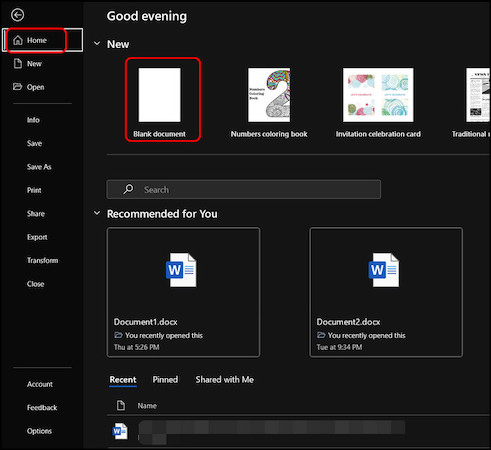
- Go to the New tab from the left panel and open an existing document or create a blank one.
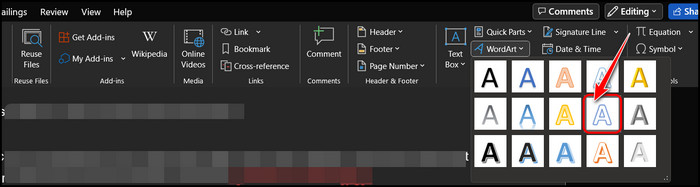
- Switch to the Insert tab from the top menu bar.

- Move your mouse cursor to the Text section on the top left corner and expand the WordArt drop-down menu inside it.

- Select any style from the list to apply it in your document at your text cursor position.
- Type something in place of the ‘Your text here’ text to apply the WordArt style to that text.
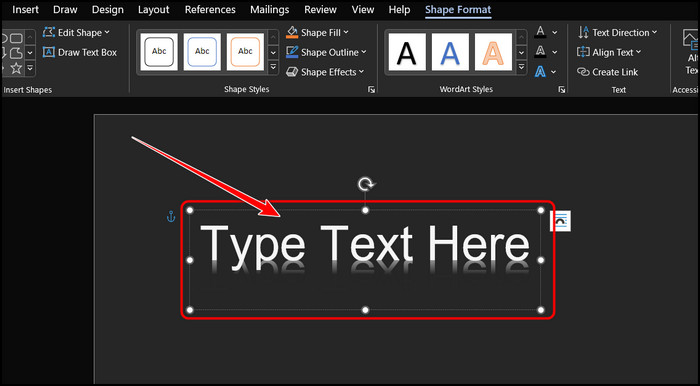
As you can see, it’s not exactly a challenge to insert WordArt in MS Word if you know what to click. One point to keep in mind is that you can also replace existing text with WordArt directly by highlighting the text before selecting a WordArt style.
However, you will rarely want to use the WordArt styles that are built in. Instead, you will probably customize every aspect of it and make it fit your content.
Check out the next section to learn all about its customization features.
Here is the easiest guide to print in Microsoft Word.
How to Format WordArt in Word?
You can format WordArt in Word by going to the temporary Shape Format tab on the top menu bar. You will see all the customization areas divided into sections. From this tab, you can change colors, add reflections, shadows, 3D rotation, change Shape appearance, and much more.
Basically, whatever formatting you want to do with WordArt, like bending text or curving its shape, you can do it through the Shape Format tab. Therefore, I am going to talk about every category in that tab in detail below.
Here are some categories you can use to format WordArt in Word:
1. Shape Styles Category
As the name suggests, you can tweak every aspect of your WordArt shape from this section. If you expand the preset styles menu on the left side, you can choose a variety of pre-built shape styles. This will apply the effect to the entire WordArt overlay area, not just the text. 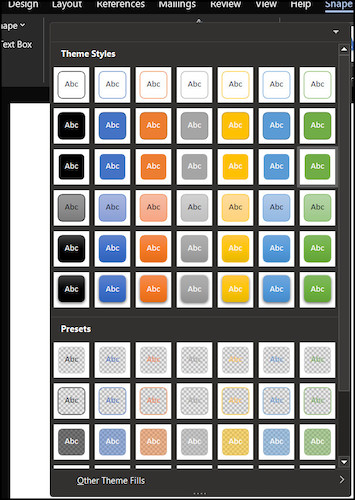 Expanding the Shape Outline menu and choosing a color will change the border color of the WordArt overlay area.
 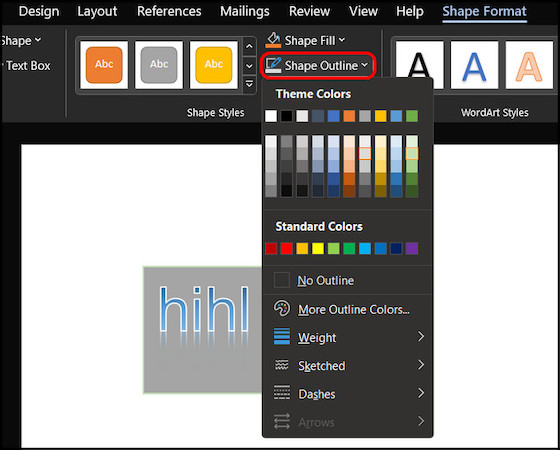 On the other hand, changing the color after expanding the Shape Fill menu will tweak the colors inside the overlay area. You can also see a preview of its changes by simply hovering your mouse cursor on top of any color.
 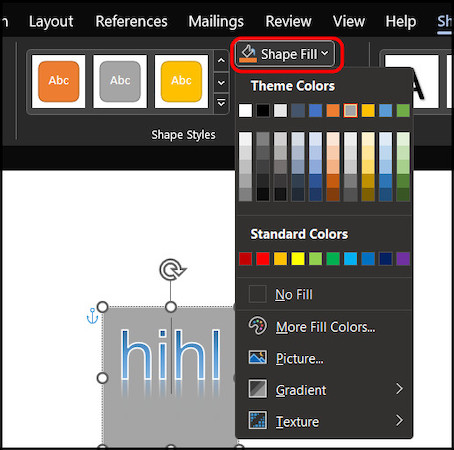 The most exciting thing you can do here is applying decorative edits by expanding the Shape Effects menu and selecting one of the effects. For each effect, you will find more than 20 additional styles to choose from.
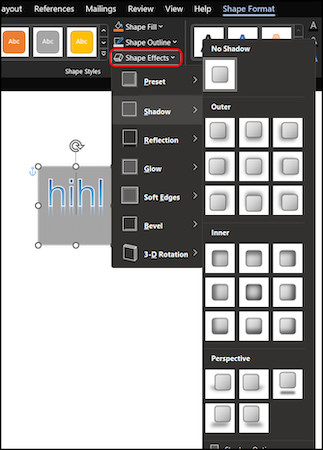
Quickly visit the links to find out how to double space in MS Word.
2. WordArt Styles Category
If you change your mind after selecting a WordArt preset and want to switch to another one, there’s no need to delete the existing one and start over again. You can simply switch between all the styles by expanding the menu on the left side of this section. 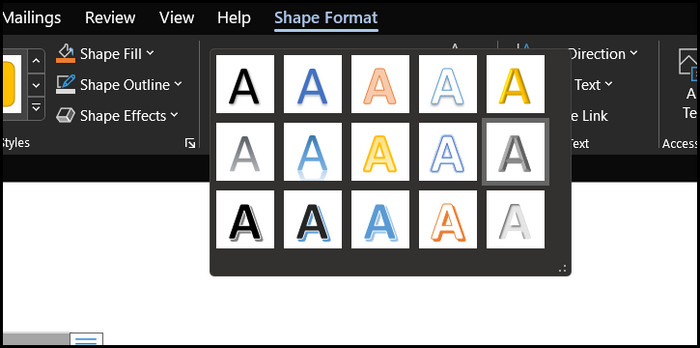 You can change the colors of the styles using the two buttons in the top right corner. This changes colors differently for every WordArt style, so you have to tweak it a few times to get what you want.
The button below them both will let you insert effects exactly like Shape Effects but to the text instead of the shape. 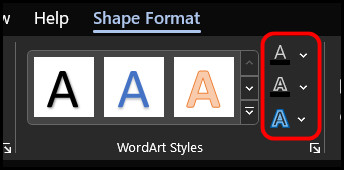
Follow our ultimate guide if you want to fix Microsoft Word won’t open.
3. Text Category
If you are looking for a way to bend or rotate your text, you can do so by expanding the Text Direction menu in this section. 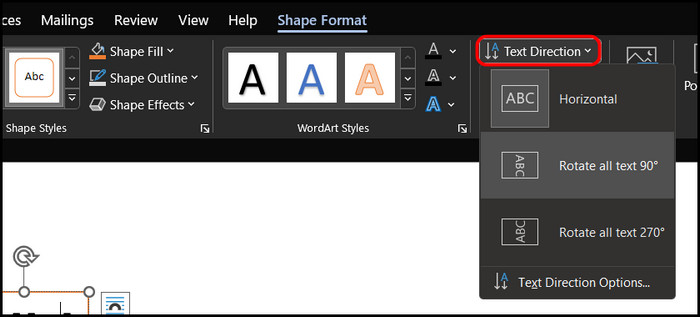 You can also change the text’s alignment or create a link from here.
4. Accessibility Category
I rarely use this, but if you think disabled people will read your document, then you may want to add an Alt Text.
Basically, you have to write a short description about what’s written in the WordArt or its meaning so people who can’t read or are blind can use a text-reader and still understand the WordArt’s content. 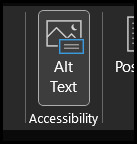
5. Arrange Category
This entire section consists of tools that you would normally use for pictures in Microsoft Word. The Align and Rotate buttons here are different from the ones in the Text section.
You can also change the text wrapping configuration or position of the WordArt from here. 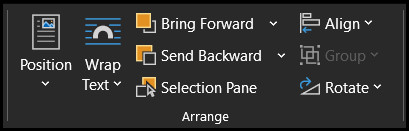
6. Size Category
You can change the two values in this section to tweak the width and height of the WordArt overlay, just like an image. As the icons next to them depict, the top one will change the height, whereas the bottom will affect the width. 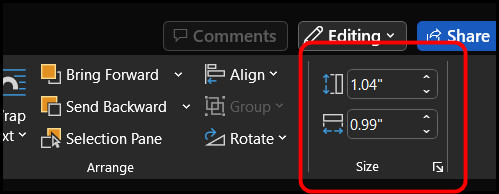
Final Thoughts
To summarize, integrating WordArt elements into a document is a piece of cake, even for rookie users. However, the complicated part is coming up with a design that fits your document.
Microsoft makes this process quite easy, thanks to the Shape Format tab. After showing you the instructions for adding WordArt in the first section, I outlined every tool and its purpose in the second part of this guide.
What do you think? Will you use WordArt for your next document? Leave your thoughts below.