Using a horizontal line, you can separate different sections of the document, which makes the document look professional.
You can also use lines to guide the text flow or separate columns, making the text more pleasing to read.
This post will guide you through the different methods of inserting lines in Microsoft Word. You will learn about adding horizontal and vertical lines using Microsoft Word.
You will also learn how to modify or format the line afterward and delete it if needed.
So keep reading the post till the end.
You may also like to read about how to flip quotation marks in Word easily?
How To Insert A Horizontal Line In Word
Inserting horizontal lines or horizontal rules is a fundamental aspect of Microsoft Word. It helps to separate the different sections and make the document more readable.
Follow the methods below to insert line in Microsoft Word:
1. Use Three-Character Shortcuts
AutoFormat is a handy functionality of Microsoft Word and other word processors that changes the formatting of the text as you type it.
Using AutoFormat, you can easily insert a full-width horizontal line in Word through the use of three character shortcuts.
Here are the steps to insert line in Word:
- Open the document in Microsoft Word.
- Place the cursor on the blank line where you will be adding a horizontal line. Ensure no text is present on the line where you will insert a horizontal line. It is better to have empty lines above and below the target line.
- Type three or more hyphens (—) in a row.

- Press Enter.

You will see a solid line that has the same width as the text on the page.
The horizontal line will appear beneath the last line of text. If you want to move the horizontal line further down, place the cursor at the end of the text above the line and press Enter.
Aside from the solid line, different other styles are also available for the horizontal line. You can have horizontal lines with different styles using different shortcuts. Here is a table:
| Shortcut | Line Type |
|---|---|
| Equal signs (===) | plain double line |
| Tildes (~~~) | wavy line |
| Asterisks (***) | dotted line |
| Underscores (___) | single bold line |
| Number signs (###) | triple line |
| Hyphens (---) | single bold line |

2. Use Borders
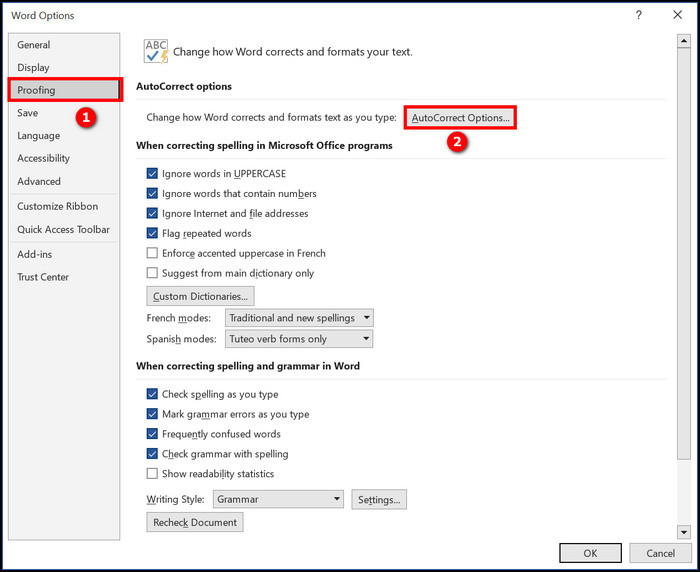
The previous AutoFormat method makes use of the Autocorrect option in Word to apply the shortcut. If you do not like to have AutoCorrect turned on, then you can follow this method to insert a horizontal line using the Borders option.
Here are the steps to add a horizontal line using borders:
- Place the cursor where you want to add the horizontal line. Ensure there is no text on the line.
- Go to the Home tab.
- Click on the Borders button. A dropdown menu will appear.
- Select Horizontal Line from the dropdown menu.

You will see a horizontal line at the place of the cursor.
Related content you should read about Microsoft Word not pasting correctly.
3. Use Shapes
You can use the different line shapes available to draw a horizontal line in Word.
Here is the procedure to insert horizontal lines using Shapes:
- Open the document in Word.
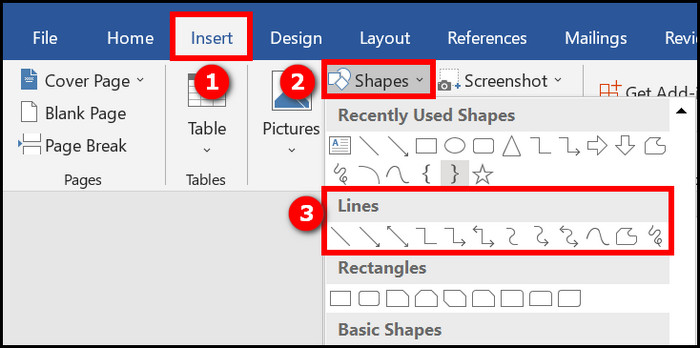
- Go to the Insert tab.
- Click on the Shapes button under the Illustrations group. A dropdown menu will appear.
- Select any line from the dropdown menu.
- Draw the line on the document. While pressing the Shift key, click on the position where the line will start, then hold the click and drag the cursor to the end of the line. Now release the click, and the line will appear.
You will notice small dots at the two ends of the line when it is selected. You can use these dots as handles to resize and rotate the line. Place the cursor over the line, and it will change to a plus sign. Then you can click and drag to move it.
Related guide on how to fix unable to zoom in Microsoft Word?
How To Insert A Vertical Line In Word
For decoration purposes or to separate columns, you might need to insert a vertical line in Microsoft Word.
Follow the methods below to add a vertical line in Word:
1. Use Bar Tabs
A bar tab is used to create columns and separate them using a line. We are going to use it to add vertical lines.
Here are the steps to insert a vertical line using a bar tab:
- Select the paragraph where you want to insert a vertical line.
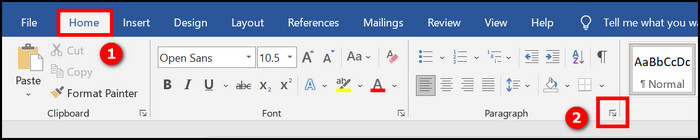
- Go to the Home tab.
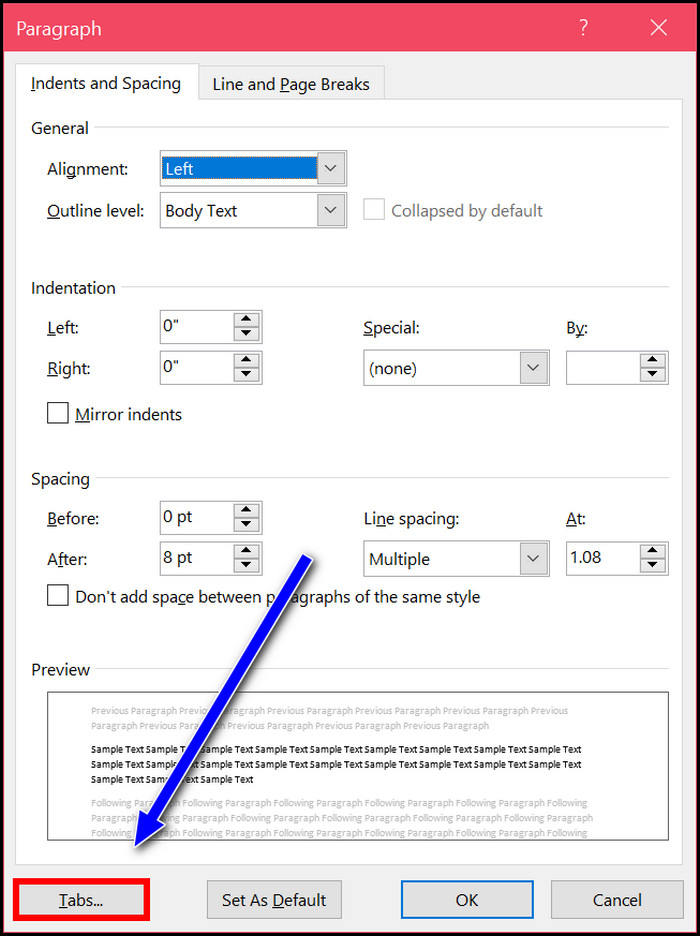
- Click on the arrow on the bottom-right of the Paragraph section in the top ribbon. It will open the Paragraph dialogue box.
- Click on the Tabs button at the bottom.
- Type the vertical line position measurement in the Tab Stop Position box. You can take the help of the ruler at the top.
- Select Bar in the Alignment section.
- Click on the Set button and then the OK button.

You will see a vertical line or bar inserted in the selected paragraph.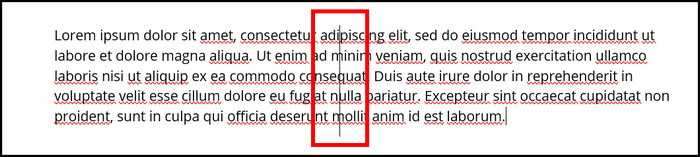
2. Use Borders
In addition to horizontal lines, you can enter vertical lines using borders.
Here are the steps to insert vertical lines using borders:
- Select the paragraph where you want to enter the vertical line.
- Go to the Home tab.
- Click on the arrow beside the Borders button. A dropdown list will appear.
- Select the Left Border or the Right Border to add a vertical line to the left or right of the paragraph.
Using borders is useful if you want to add attention to a specific paragraph in your document.
Also related to this guide on Microsoft Word: quotation marks not working.
3. Use Shapes
You can use the line shape to insert a vertical line in Word.
Here is the procedure to insert a vertical line using Shapes:
- Open the document in Word.
- Go to the Insert tab.
- Click on the Shapes button under the Illustrations group. A dropdown menu will appear.
- Select a suitable line from the dropdown menu.
- Draw the line on the document. Press and hold the Shift key, and click on the position where the line will start, then hold the click and drag the cursor to the end of the line. Now release the click, and the line will appear.
You will see two small dots around the line when it is selected. You can use these dots as handles to resize and rotate the line.
Read more on Microsoft Word paste function not working.
How To Format Lines In Word
Once you have inserted the horizontal or vertical line in Word, you can format it (change the color, thickness, etc.) as needed.
Here are the methods to format the line in Word:
1. Double-click The Line
If you have entered the horizontal line using the Borders > Horizontal Line option, then you can double-click on the line to bring up the Format Horizontal Line dialogue box.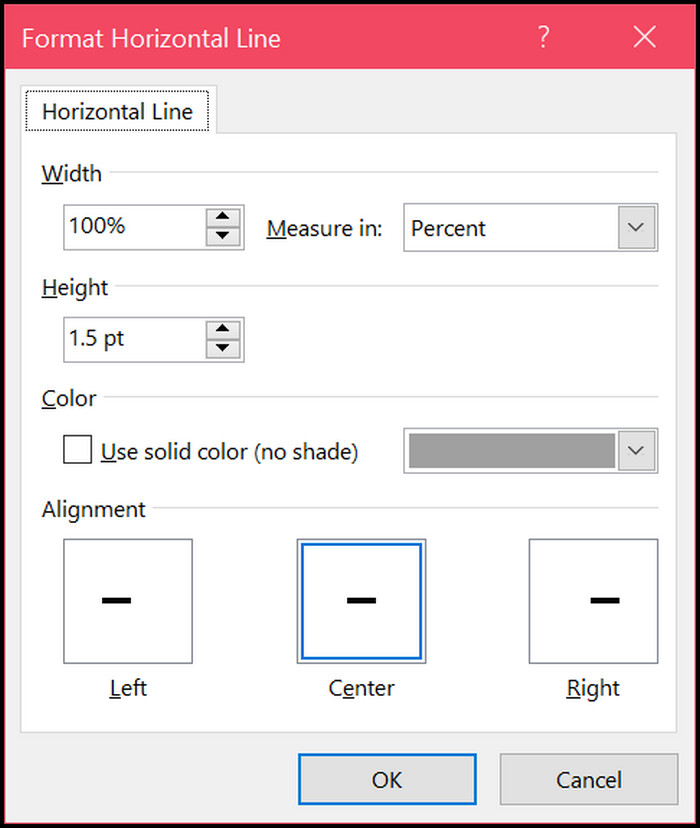
Here you can change the width, height, alignment, color, etc., of the horizontal line.
2. Go To Borders And Shading Option
If you have entered the horizontal line using the three-character shortcuts, this method is for you.
The three-character shortcut inserts a bottom border at the end of the preceding paragraph. So you need to select the paragraph above the horizontal line and go to the Home tab. Then click on the arrow beside the Borders button and select Borders and Shading. 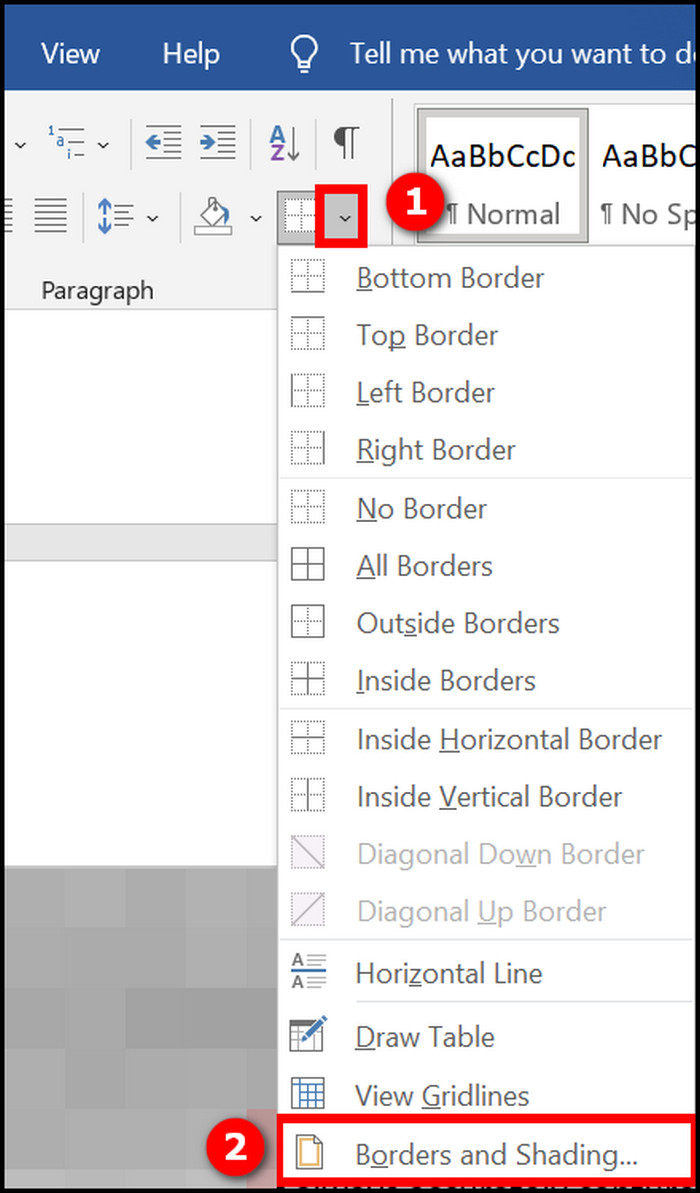 In the Borders and Shading dialogue box, change the width, style, color, etc., and click OK. With the paragraph selected, again click on the arrow next to the Borders button and apply Bottom Border to see the changes.
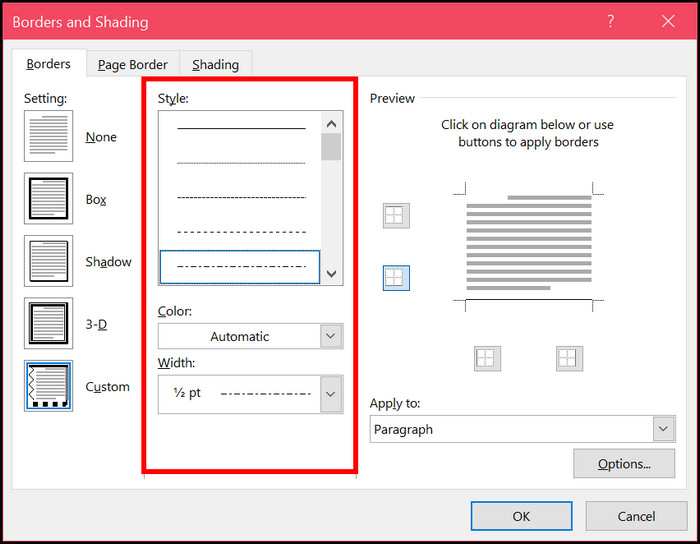
3. Use The Shape Format Tab
If you have drawn a line using the Shapes option, then you need to double-click on the line to bring up the Shape Format tab at the top. Click on Shape Outline and change the color, weight, style, etc.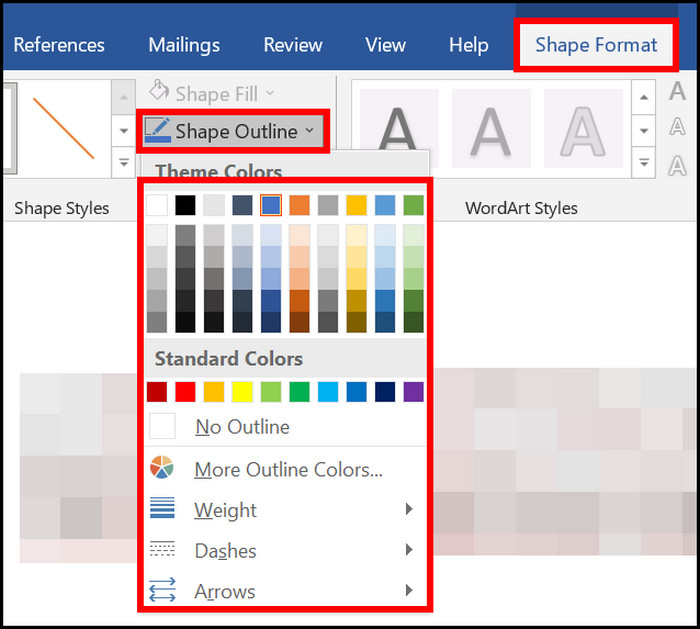
Final Thoughts
Horizontal lines help to separate different content and make the text more readable in a document. If you want to make the document look professional and more readable, you can add some horizontal lines as required.
There are different ways to add horizontal and vertical lines in Word, for example, the AutoFormat shortcut, borders, shapes and tab bars. After adding the line, you can follow the appropriate steps to change the formatting.