Worksheets with enormous detailed and complex data can become difficult to understand and analyze. It looks messed up seeing long rows with tons of data.
Fortunately, Microsoft Excel allows you to group the rows to organize your data. It gives a clean and obvious view of the data on your Excel worksheets.
I’ve seen many people use Excel data sheets without grouping the data. Some don’t know the proper procedures, and others find it daunting to group the rows.
If you are wondering about a way to simplify your worksheet rows, you’re in the right place.
This article will explain the procedures to group rows in Excel using different straightforward ways.
Without wasting any time, let’s start.
Read more on how to Randomize a List in Excel.
Download Practice Worksheet
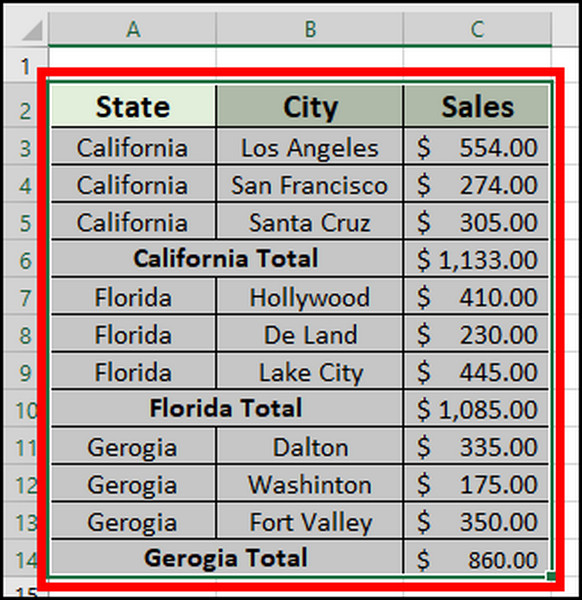
The following worksheet contains the steps of every procedure. Download the Microsoft Excel worksheet from below to practice the methods covered in this article.
How to Group Rows in Microsoft Excel
Using the Group option from the Data tab, you can group rows in Microsoft Excel. There are multiple ways to select the rows before doing the group. Consider reading the instruction below to learn how to group rows in MS Excel.
Here are the steps to group rows in Microsoft Excel:
- Launch Microsoft Excel on your PC.
- Open your Excel data file.
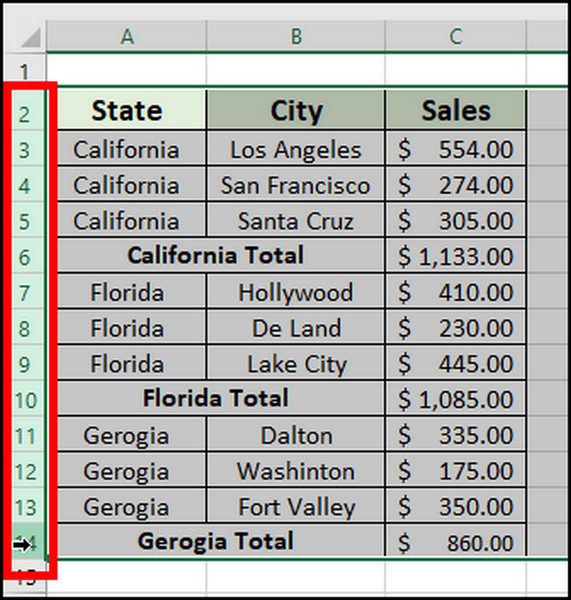
- Select the Row Headings.
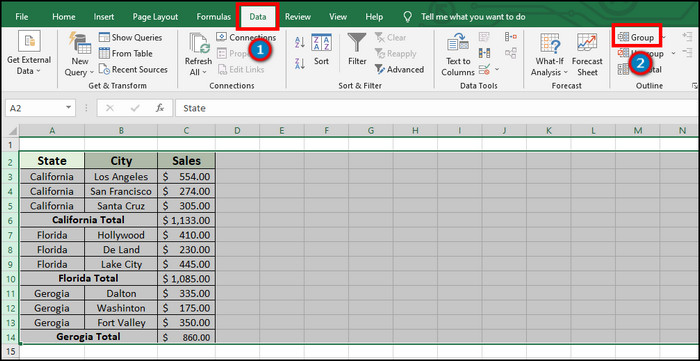
- Go to the Data tab from the ribbon.
- Click on Group from the Outline section.
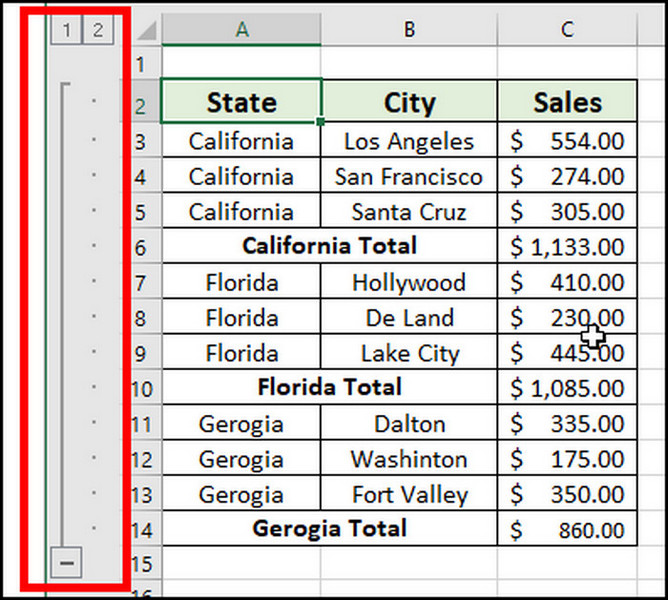
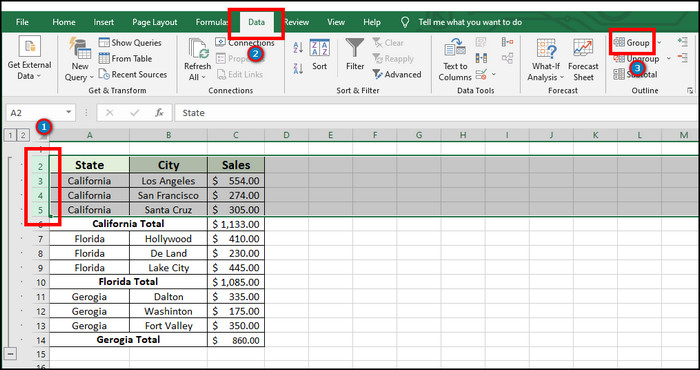
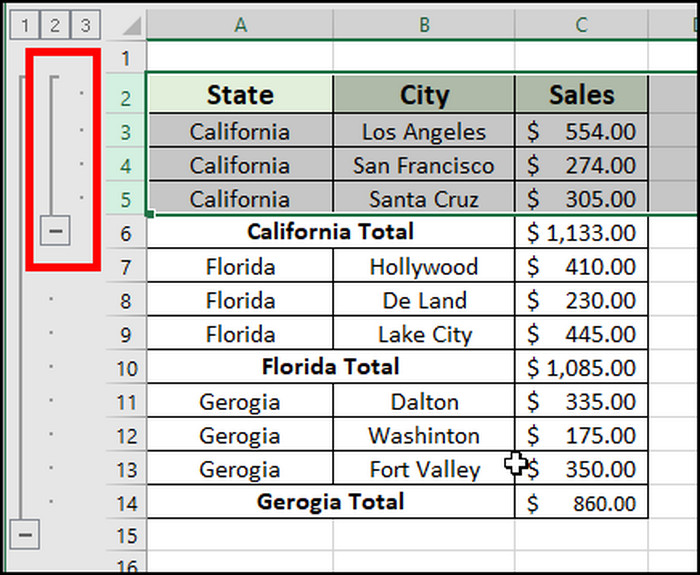
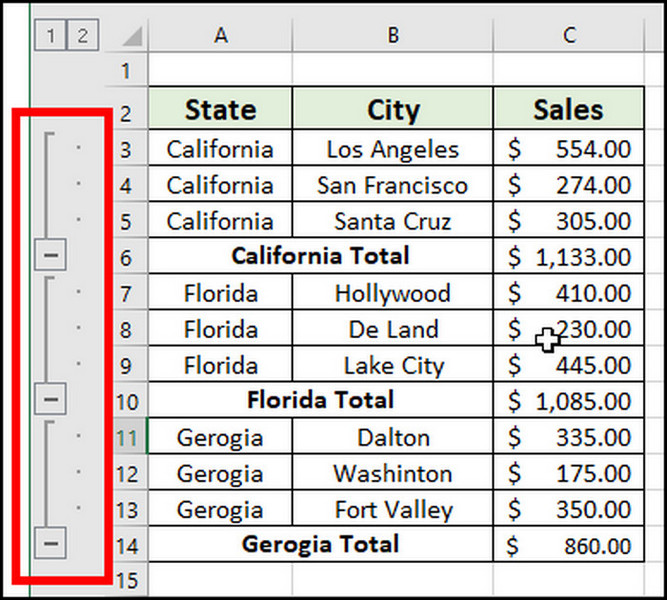
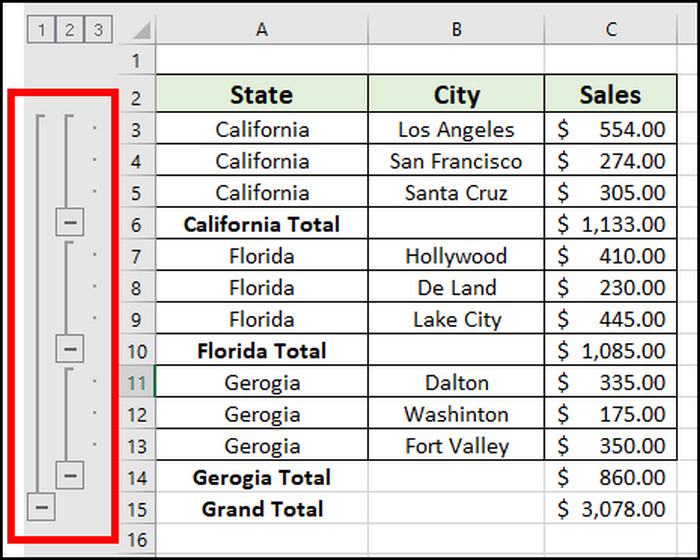
It will create a group of the selected rows. You can click on the ( – ) button to minimize the group. Press on ( + ) button to expand them.
There is another way to group the rows. Follow the procedures below to learn about them.
You may also like to read: how to Shade Every Other Row in Excel.
Here is the process of grouping rows in Excel:
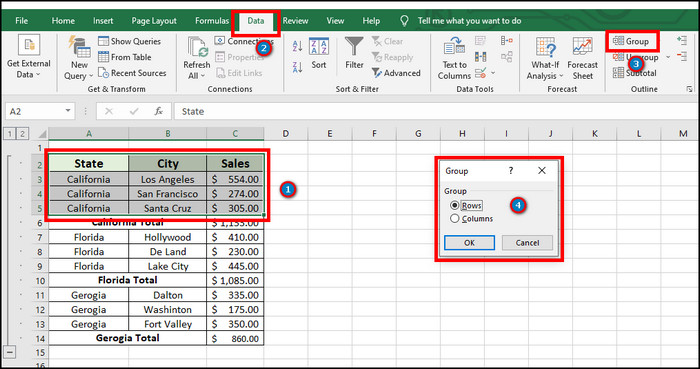
- Open your Excel data file.
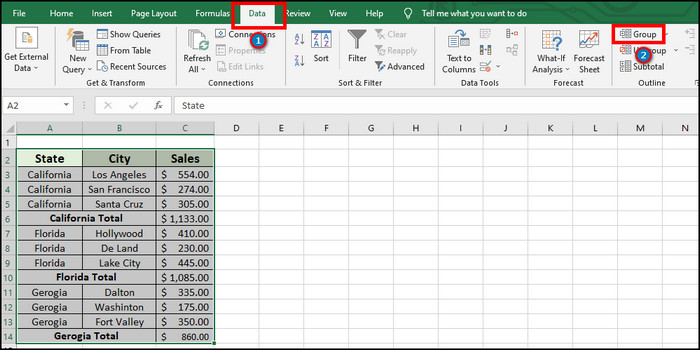
- Select the rows you want to group.
- Navigate to the Data tab from the top ribbon.
- Press the Group button from the Outline section.
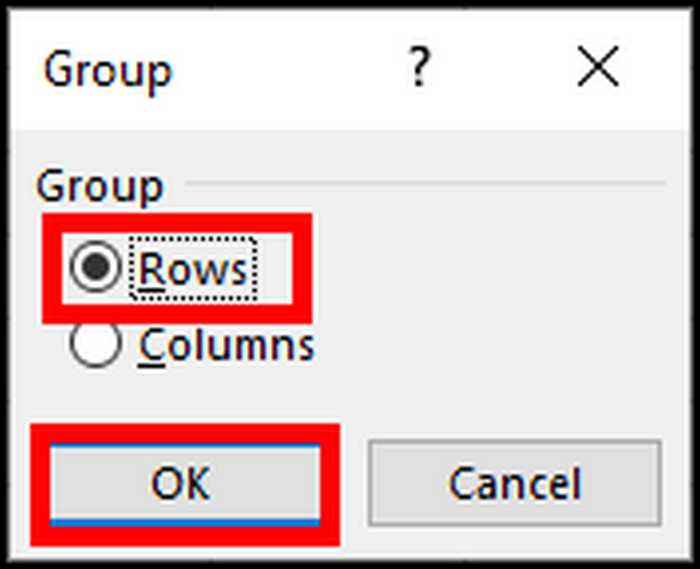
- Choose the radio button beside Row from the pop-up window.
- Click on OK.

This will create a group of your selected rows. To create nested rows, keep reading the following passage.
Check out our separate post on how to Post Bank Statement in Excel to Quickbooks.
How to Create Nested Groups in Different Rows in Excel
By creating a group of rows inside a group, you can make a nested group.
There are two different methods to create a nested group. You can select the row range or row headings for grouping rows. The following steps will guide you through creating nested groups in different rows.
Here are the procedures to create a nested group in different rows in excel:
- Open Microsoft Excel.
- Go to your Excel data sheet.
- Select the Row Headings from the left side.
- Press on Group from the Data tab to create a group.
- Select Row Headings inside of the previous group.
- Click on the Group button from the Outline section in the Data tab.
It will create a nested group inside of your previous group. Also, there is an additional way to create a nested group. Consider reading the steps below to learn about the process.
Here are the procedures to create a nested group in different rows in Excel:
- Launch MS Excel.
- Open the Excel sheet.
- Select the rows for making a group.
- Go to the Data tab from the ribbon.
- Click on the Group button from the Outline section.
- Select the radio button beside the Row from the Group window.
- Press the OK button.
- Select rows inside of the previous group.
- Navigate to the Data tab and click on Group.
- Choose the radio button beside Row.
- Click on OK to create a nested group.
You can press the ( – ) button to minimize the group and ( + ) to expand them. It’s also possible to create groups using shortcuts. You will find the procedures in the following passage.
Also, check out our separate post on Microsoft Excel Freezing or Slow.
How to Group Rows Using Shortcuts in MS Excel
Using the Shift + Alt + Right Arrow key on Windows and Command + Up Arrow + K key on Mac, you can effortlessly group the rows in Excel. Read the instructions carefully to save time by using shortcuts.
Here are the steps to group rows using shortcuts in Excel:
- Open the Excel data sheet.
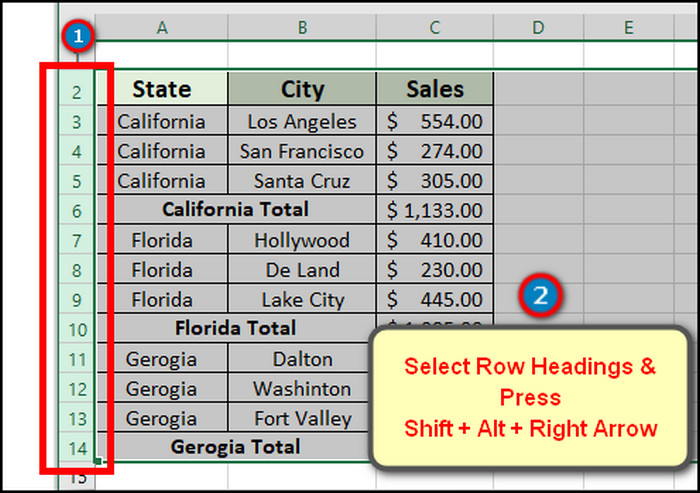
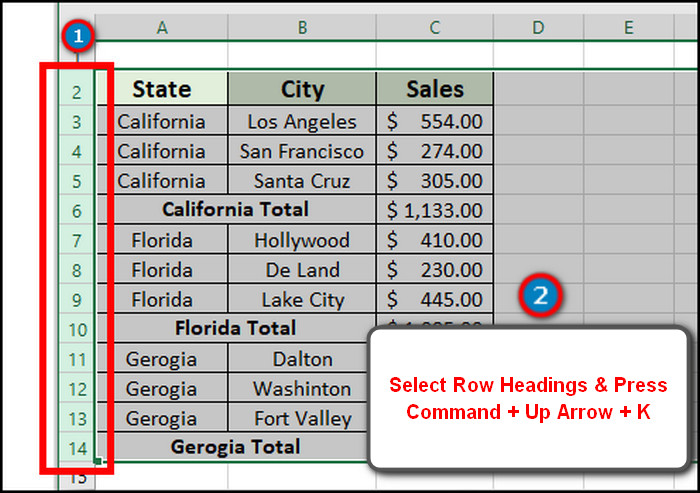
- Select the rows from the Row Headings.
- Press the Shift + Alt + Right Arrow ( → ) button to group rows on Windows.
- Click the Command ( ⌘ ) + Up Arrow ( ↑ ) + K button to group rows on Mac.
This process will group the rows on your Excel data sheets. Also, you can create groups using additional shortcut methods.
Here are the ways to create group rows using shortcuts in Excel:
- Open Excel data sheet from MS Excel.
- Select the rows you want to group.
- Click the Shift + Alt + Right Arrow ( → ) button to group rows on Windows.
- Press the Command ( ⌘ ) + Up Arrow ( ↑ ) + K button to group rows on Mac.
- Select Rows from the Group window.
- Press on OK.
Using the shortcut will allow you to group rows in a short time. If you want to group rows using an auto outline, the following passage will help you.
How to Group Rows Using Auto Outline in Excel
By using the auto outline option in Excel, you can easily group the rows. Manually creating multiple groups can become complicated. Let me guide you with the auto outline process to group the rows in a single click from below.
Here are the steps to group rows using an auto outline in Microsoft Excel:
- Open the Excel Sheet from your Microsoft Excel application.
- Select the rows or row headings you want to group.
- Go to the Data tab from the top ribbon.
- Click on the drop-down menu beside the Group from the Outline section.
- Press on Auto Outline.
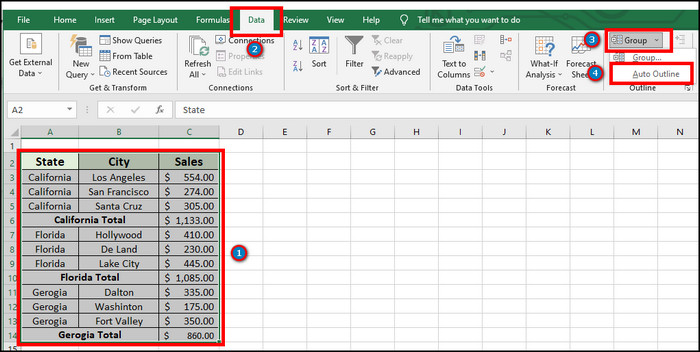
It will automatically group the selected rows. But, you’ll need subtotal to use an auto outline. Otherwise, it will provide an error.
If your datasheet doesn’t have a subtotal, you can group the rows using the subtotal method. The following passage will describe the ways to group rows using subtotal in Excel.
How to Group Rows Using Subtotal in Excel
If you want to make a group and apply a function, the subtotal is a straightforward way to do so. You can apply different functions in different columns using the subtotal option. Consider reading the process carefully from below to learn about the subtotal method.
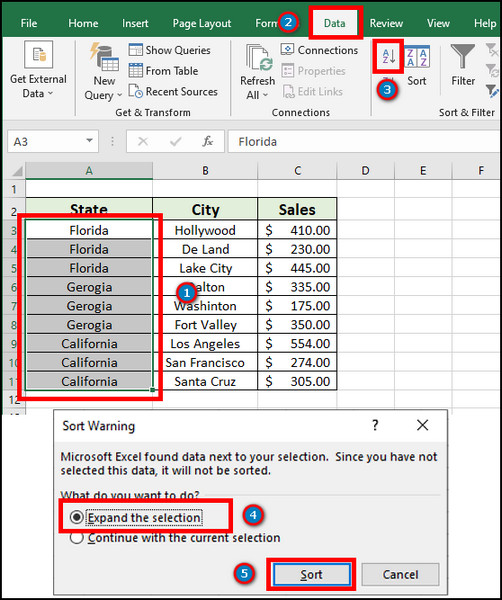
Here are the procedures to sort the data in MS Excel:
- Launch MS Excel.
- Open the Excel sheets.
- Select all the rows you want to sort.
- Navigate to the Data tab.
- Click on the Sort A to Z button from the Sort & Filter section.
- Choose the radio button beside Expand the selection from the dialogue box.
- Press on Sort.
After sorting the row, you can group the rows using subtotal. You’ll find the procedures below.
Here are the methods to group rows using subtotal in Microsoft Excel:
- Select the data range you want to group.
- Click on Subtotal from the Outline section in the Data tab.
- Select column, function and subtotal column from the dialogue box.
- Check the box before the Summary below data.
- Press on OK.

The process will create a group for each category. All the rows will nest in the main group.
If you’ve grouped an unnecessary row, you can find the process to ungroup the rows below.
How to Ungroup Rows in Microsoft Excel
Did you group rows by mistake? You can ungroup the rows using the Ungroup button from the Data tab. The following instructions will guide you to ungroup rows by selecting the row headings and the row range.
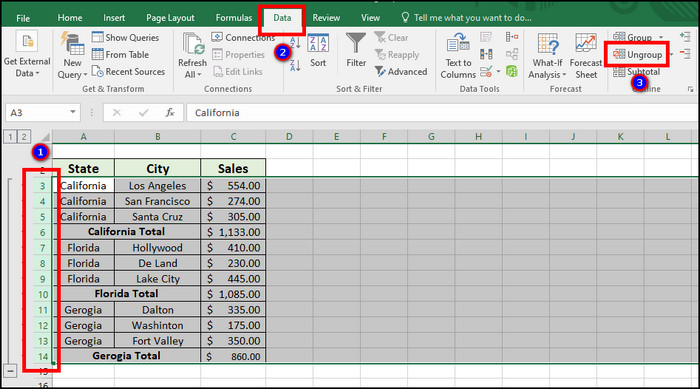
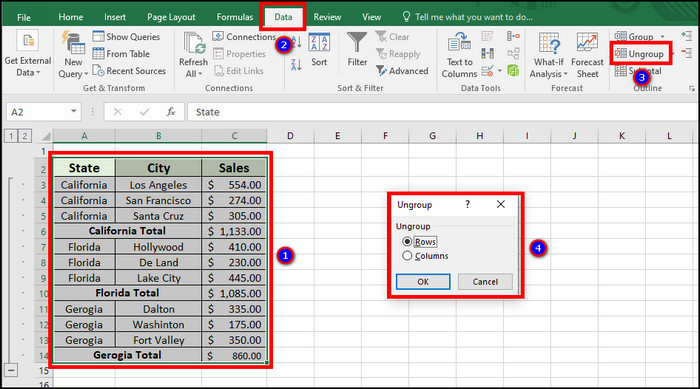
Here are the procedures to ungroup rows in Microsoft Excel:
- Open the Microsoft Excel application.
- Go to your Excel data sheet.
- Select the Row Headings from the left.
- Navigate to the Data tab from the ribbon.
- Press the Ungroup button from the Outline section.
Also, there are additional ways to ungroup rows. Read the following steps to learn about it.
Here are the ways to ungroup rows in MS Excel:
- Go to the Excel sheet.
- Select the rows.
- Go to the Data tab from the top ribbon.
- Click on the Ungroup button from the Outline section.
- Select the radio button beside Row from the pop-up window.
- Click on OK.
It will remove the group from the selected rows. If you have a nested group, you can continue the process to ungroup them.
Related guide: how to Freeze A Row On Excel Easily.
How to Ungroup Rows Using Shortcut in Microsoft Excel
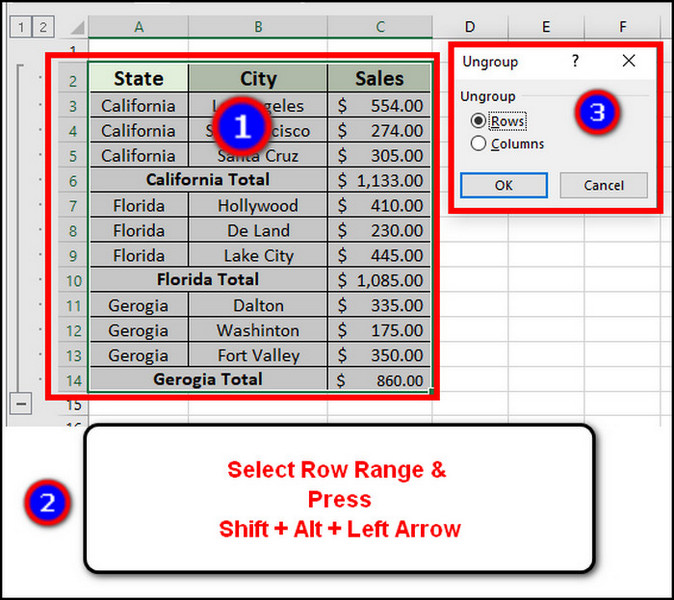
Using shortcuts is an effortless way to ungroup rows. By pressing the Shift + Alt + Left Arrow key on Windows and Command + Up Arrow + J button on Mac, you can ungroup a row. The procedures below will describe the methods in detail.
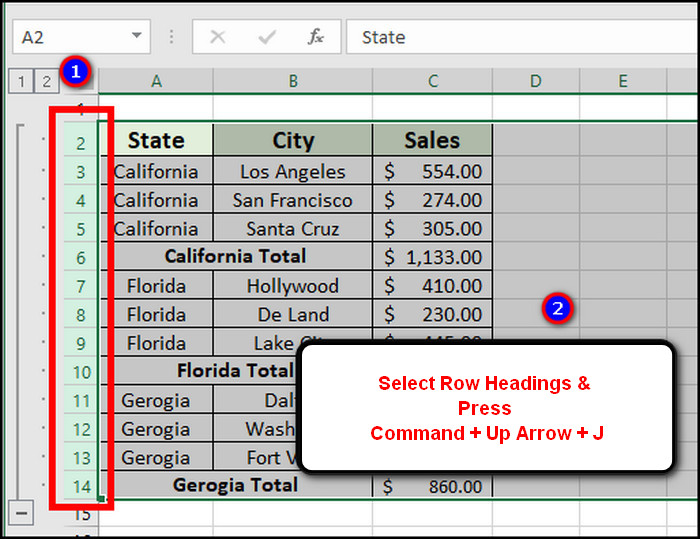
Here is the process to ungroup rows using shortcuts in MS Excel:
- Open the datasheet from the Microsoft Excel application.
- Select the rows from the Row Headings.
- Click the Shift + Alt + Left Arrow ( ← ) button to ungroup rows on Windows.
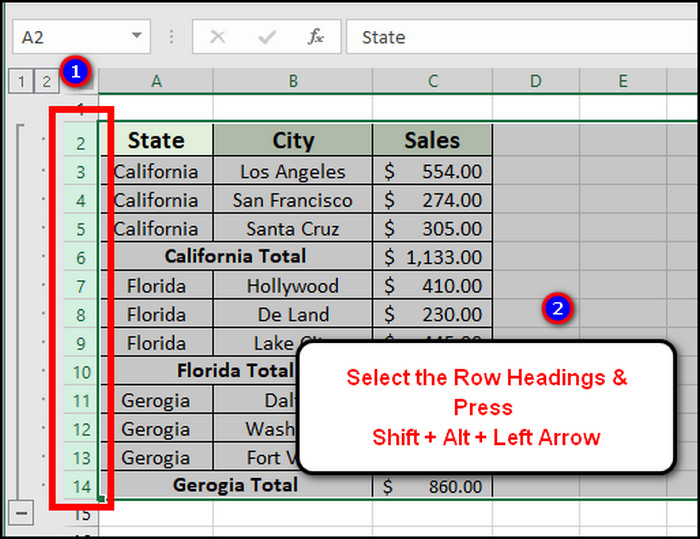
- Press the Command ( ⌘ ) + Up Arrow ( ↑ ) + J button to ungroup rows on Mac.
Also, you can use an additional method to ungroup an unnecessary row by using the instructions below.
Here are the ways to ungroup rows using shortcuts in Excel:
- Launch MS Excel.
- Open Excel data sheet.
- Select the rows you want to ungroup.
- Press the Shift + Alt + Left Arrow ( ← ) button to ungroup rows on Windows.
- Click the Command ( ⌘ ) + Up Arrow ( ↑ ) + J button to ungroup rows on Mac.
- Select the radio button before Rows from the Group window.
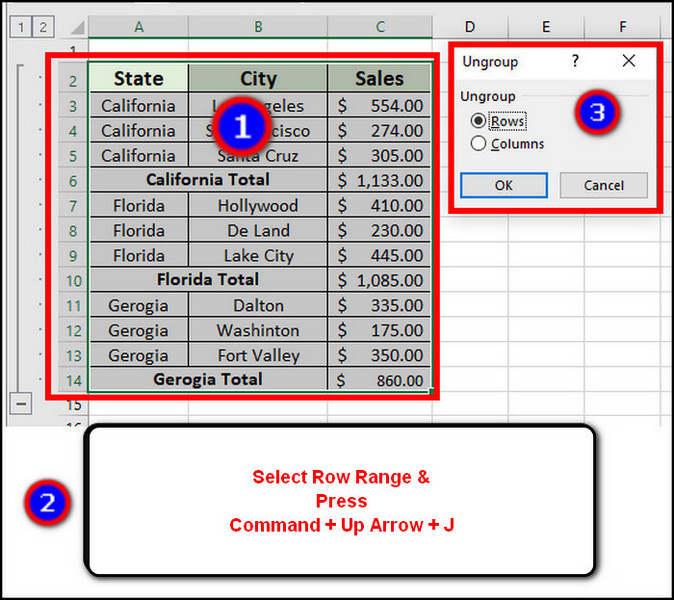
- Press the OK button.
Frequently Asked Questions
How to group rows in Excel?
To group rows in Microsoft Excel, select Rows > go to Data > press on Group. It will create a collapsible group of rows in Excel.
How to ungroup rows in Excel?
To ungroup rows in Excel, Select Rows > Go to Data > Press on Ungroup. It will remove the collapsible group of rows in MS Excel.
How to group rows in a spreadsheet?
To group rows in a spreadsheet with shortcut, select the Rows > press Shift + Alt + Right Arrow Key.
Conclusions
Grouping row is a fantastic feature to make your Excel worksheet simple and clean. But, many people miss the opportunity by not applying for the option.
In this article, I’ve provided the most straightforward way to group rows, and I hope you’ve found it easy.
Don’t forget to share your experience after using the group feature in the comment box below.
Cheers!