Did you purchase a new mouse recently? If yes, you might be caught in the same situation as several others where your mouse doesn’t seem to work with your PC.
This issue is more familiar with products from Logitech, but mice from other companies also have a similar problem at times. Don’t worry, in most cases, your mouse is working just fine. Instead, your PC is causing the problem.
I faced a similar issue twice in the past, but I managed to fix it after trying a dozen fixes.
However, you won’t need to try many fixes if you read this article. So, just grab a cup of coffee and move on to the next section.
Also read how to update drivers on Windows 11.
Why Is My Logitech Mouse Suddenly Not Working?
I’m not only referring to papers or other touchpad alternatives when I refer to incompatible surfaces. Some touchpads are also known to cause issues with your mouse.
I would recommend using a touchpad that’s made out of a rigid substrate, like glass, as those are typically more responsive to movements. Also, make sure that moving your mouse around is comfortable and there’s no strain.
Another known reason for this issue is the recent update to Windows 11. While Windows 11 is a massive improvement and brings a ton of new features, it’s known to have some stability issues.
As a result, if you are running a Windows 11 OS, you are more likely to face the mouse not working issue.
Also, check out our separate post on how to fix PC won’t go to sleep in Windows 11.
How To Fix Windows 11 Logitech Mouse Not Working
All of the fixes listed in this section were tested by me and confirmed to be working on all mice at the time of writing. Since all mice are made from similar components, there is nothing too different in them.
So, sit back, relax and try out each of these fixes with a calm mind.
Follow these methods to fix Windows 11 Logitech mouse not working:
1. Check The Cables (Wired Mouse)
While a wired mouse is typically more responsive and less buggy, they are accompanied by an annoyingly long cable. You need to take care of this cable to avoid issues with your mouse.
So, go ahead and inspect every tiny detail of that cable to find any damage. If you don’t see any problems, you are good to go for the following method.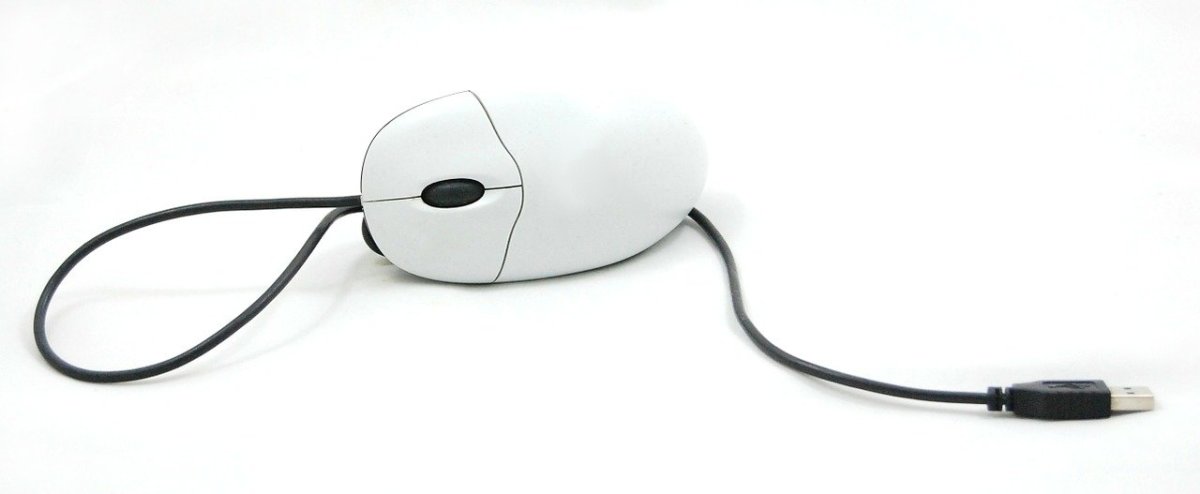
However, if the cable appears to be torn or damaged, you don’t have any choice but to get a replacement.
Follow our guide to fixing Windows can’t access network drive on Windows 11.
2. Switch USB Ports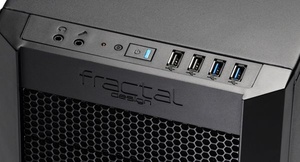
This applies to both wired and wireless mice, as they both have a component that needs to be connected to a USB port on your PC. The wired ones have a cable, whereas the wireless ones have a separate USB dongle.
You need to remove the USB dongle or cable from the port that it’s currently connected to and reconnect it through a different port. Then, check if you can see any difference.
If your mouse starts working, you have another problem on your hands; your USB port is damaged. I’m afraid there’s no way to fix that without replacing the motherboard.
One point to keep in mind while switching USB ports is to connect the USB dongle or cable through a USB 2.0 port. The USB 3.0 ports should be reserved for your pen drive or portable HDD.
Moreover, mice are known to stop working with USB 3.0 ports due to driver compatibility issues.
Follow our guide to fix blue screen on Windows 11.
3. Reboot Your System
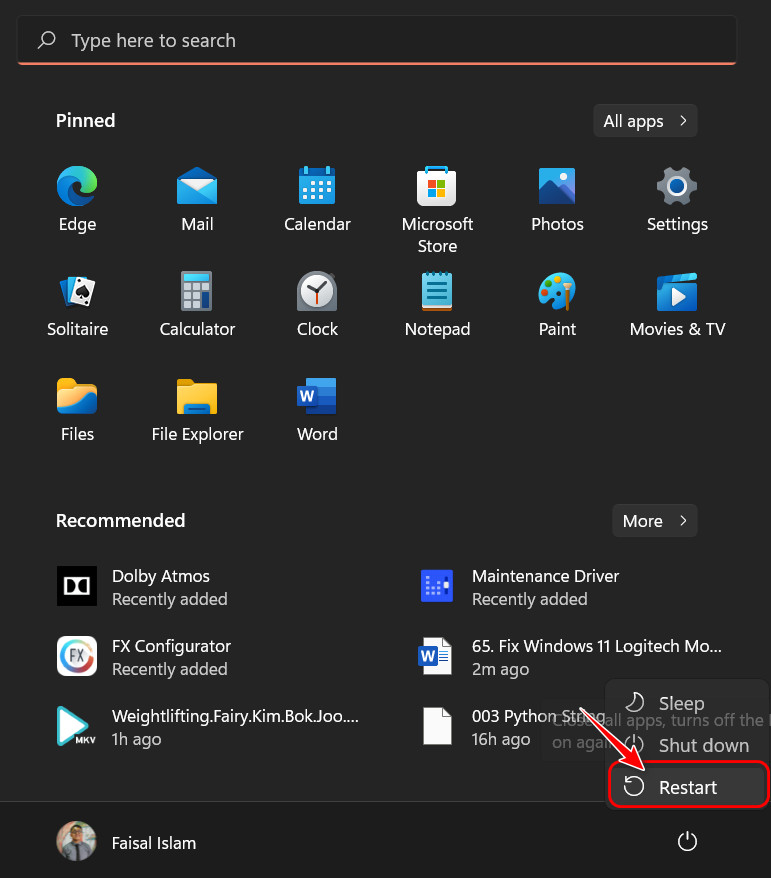
Sometimes, issues like this occur from temporary bugs or problems in the OS. This is more likely if you are running Windows 11 since it’s not polished yet.
These issues typically don’t persist after a reboot, so that’s the best way to know if it’s a temporary or permanent issue. You can perform a reboot by going to the Start menu at the bottom left corner of your taskbar, selecting the power icon, and selecting Restart.
Find out how to fix lock screen stucked on Windows 11.
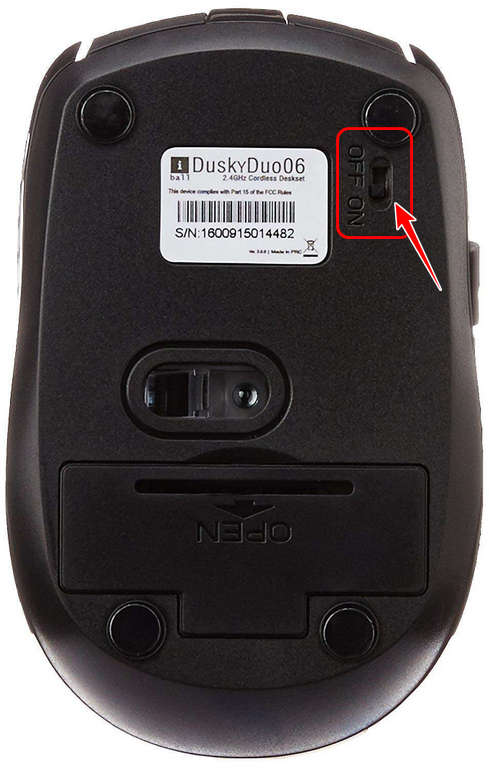
4. Turn On the Hardware Switch (Wireless Mouse)
Everyone has their first time using a wireless mouse, and if it’s yours, you might not know that wireless mice need to be turned on through a switch.
It’s nothing to be embarrassed about because I had the same experience when I was young. It’s not too difficult to locate the switch since it’s typically labeled as On/Off.
5. Update/Install Mouse Drivers
If your PC already has the required drivers for your mouse, I suggest updating them through the device manager. Otherwise, you must install and set them up to properly use your mouse.
Follow these steps to update mouse drivers:
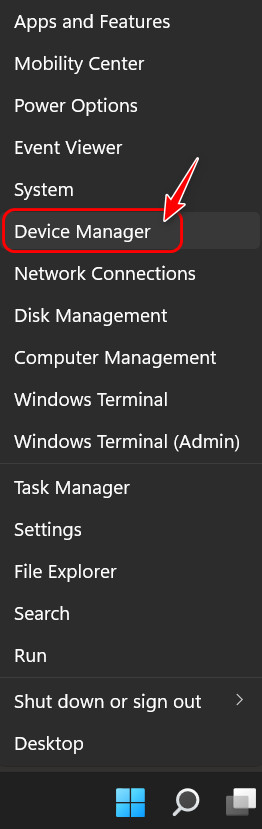
- Press the Windows and X keys at the same time to launch a list of quick options above your taskbar.
- Look for Device Manager from the list and select it.
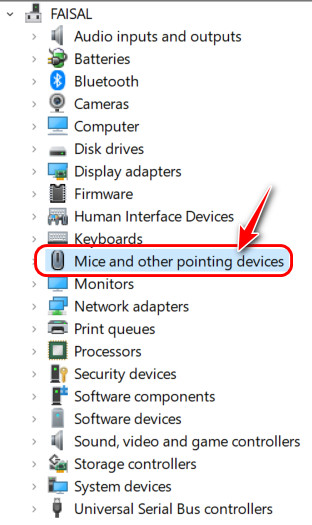
- Locate Mice and other pointing devices in the list and double-click on it.
- Select a device in the expanded section, right-click on it and select Update driver.
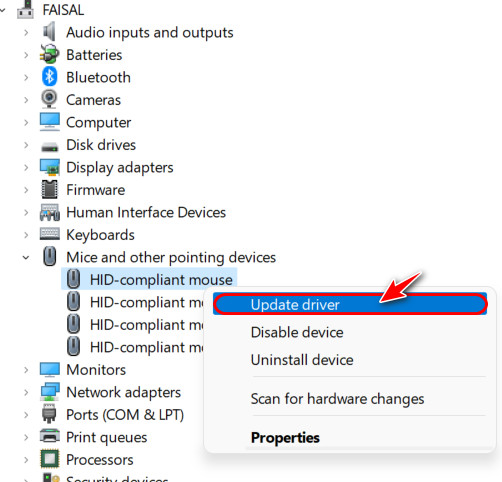
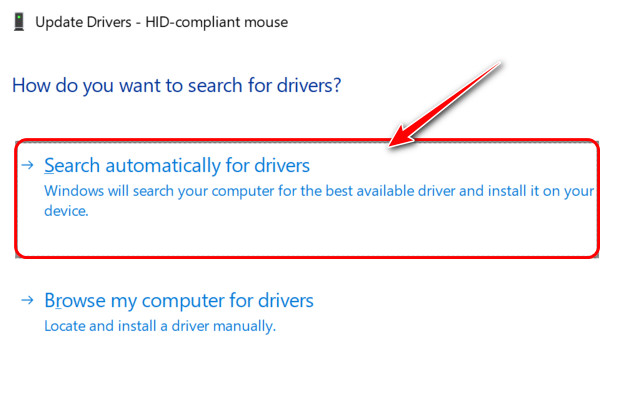
- Wait for a new window to appear and select ‘Search automatically for drivers’. Note that you need to have a working internet connection before clicking.
- If there were multiple devices in the Mice and other pointing devices section, repeat the Update driver process for each device.
What about if you had no Mouse drivers installed, to begin with? Well, in that case, you need to install it manually.
Follow these steps to install mouse drivers:
- Look up your mouse model name and number in Google along with the company name. For example, Logitech VX Revolution Driver.
- Locate a result from a reliable website by visiting each individual link.

- Scroll to the Download section of the web page and select the Download button for the correct operating system and architecture. Note that this will vary from website to website.

- Launch the downloaded installer and follow the instructions to set it up and reboot your PC.
Note that you shouldn’t download any driver software from a shady or unreliable website. There is always the risk of installing malware onto your PC.
6. Scan and Fix System Errors
As I mentioned at the start of this article, a possible cause of this problem is corrupted system files. If that is your issue, Windows can automatically detect those files and fix the errors.
All you need to do here is enter a simple command in Windows Terminal or a Command Prompt.
Follow these steps to scan and fix system errors:
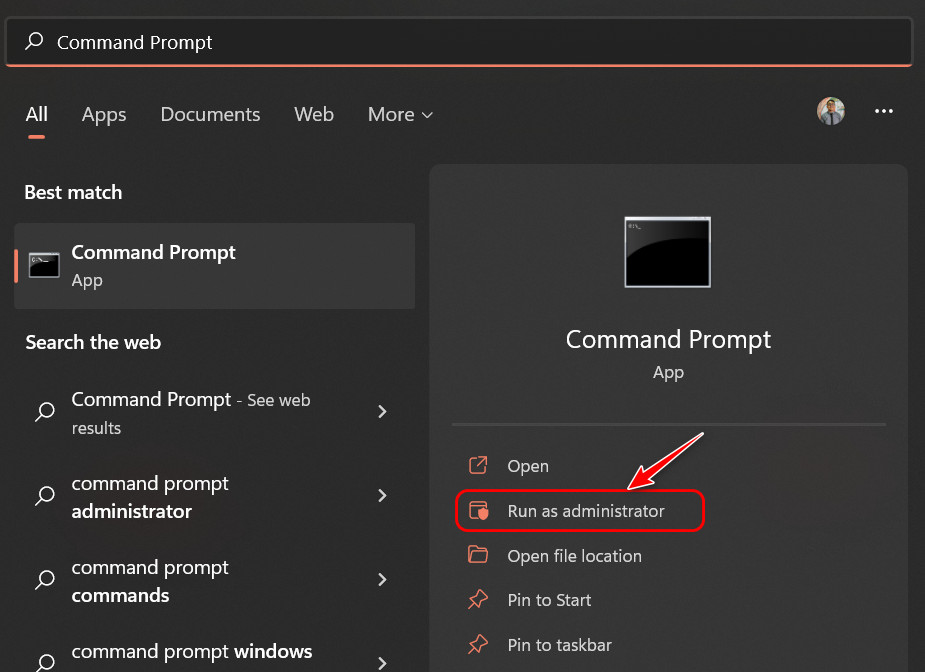
- Go to Start, search for Command Prompt, and click on Run as Administrator.
- Type ‘sfc /scannow’ in the window and press the Enter
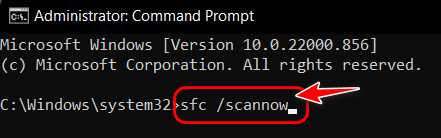
- After the scanning process is completed, reboot your PC and see if your mouse works now.
FAQ
Question: Why is my mouse connected but not working?
Answer: Your mouse is connected but not working because it might be out of juice or the wireless receiver is blocked by some obstacle. The USB port might be at fault in the case of a wired mouse. Switch them out and test the results.
Question: How do I reset the Wireless mouse?
Answer: You can reset the Wireless mouse by pressing both the left and right mouse buttons while it’s turned off. While holding down the mouse buttons, turn on the switch to enable the mouse. Keep it like that for at least 5 seconds before letting go.
Question: Why is my USB port not recognizing my mouse?
Answer: Your USB port is not recognizing your mouse because the USB port is filled with dust. Take a small brush and dust the inside carefully. It could also be that the drivers for that particular USB port are corrupted.
Final Thoughts
To sum up, there have been a lot of mice not working issues after the introduction of Windows 11. If you were curious about other possible reasons for this issue, the first section should have cleared that up.
Apart from this, you should have solved the problem if you followed the next section. Among the many fixes, the fifth fix solved the issue for most people. In fact, that was how I solved my problem too.
Which one solved yours? Let me know in the comments.