OneDrive is a cloud-based file storage solution that ships with Windows. Starting from Windows 7, it is present in the preceding versions, including Windows 11.
Although it ships with Windows, you can enable or disable OneDrive in more than one way, should you choose it.
So, let’s navigate through the steps that will decide the fate of OneDrive on your computer.
Check out our separate post on how to fix: can’t create OneDrive folder in the selected location.
How to Enable OneDrive on Windows 11
If OneDrive is disabled, you will not find the newer files on your computer backed up online. Normally this process is automatic and does not require you to upload the files manually. You can select the specific folders that need to be backed up from its settings.
The option to enable OneDrive is present in the Group Policy Editor and Registry Editor.
But, the easiest way to enable OneDrive is from Startup Settings in Windows 11. Here is how it is done.
Here are the methods to enable OneDrive on Windows 11:
Method 1: Enable Onedrive from Startup
You can control which apps start up with Windows. There are three ways we can enable or disable a particular app. The Settings app, OneDrive Settings and Task Manager allow us to do so.
You can follow any of the ways to enable OneDrive on startup. The first way to do it is from Settings.
These are the steps to enable OneDrive from Settings:
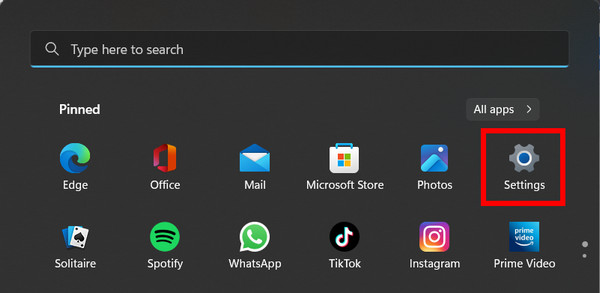
- Open Settings from the Start Menu.
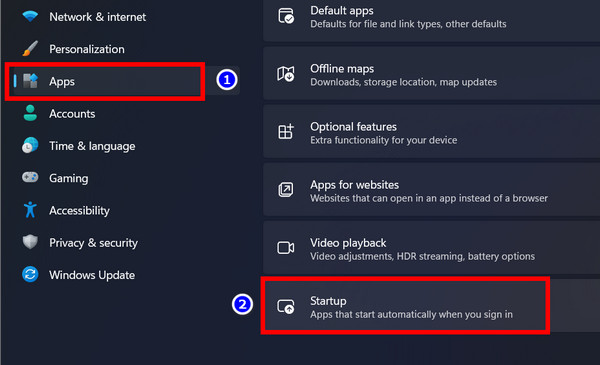
- Click Apps in the left pane and go to Startup.
- Find OneDrive from the list and turn on the toggle next to it.
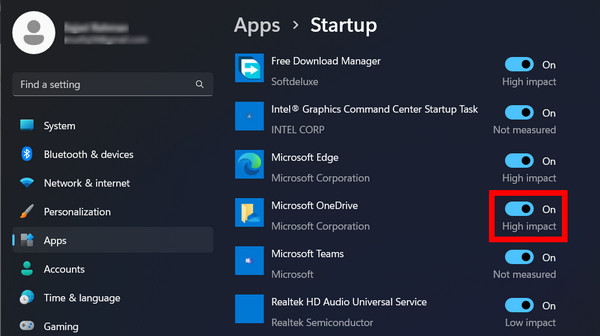
Once you do that, you will find the OneDrive icon in the taskbar once again after you reboot your computer the next time.
Another way to enable the cloud storage to start up with Windows is by going into the OneDrive Settings.
Also, check out our separate post on how to Re-enable OneDrive in Windows 10.
Here are the steps to enable OneDrive from its settings:
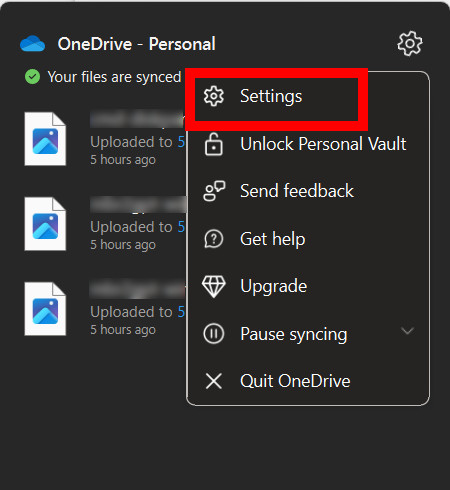
- Right-click on the OneDrive icon in the taskbar.
- Click on the gear icon and go to Settings.
- Click the Settings tab and click the check box next to Start OneDrive automatically when I sign into Windows.
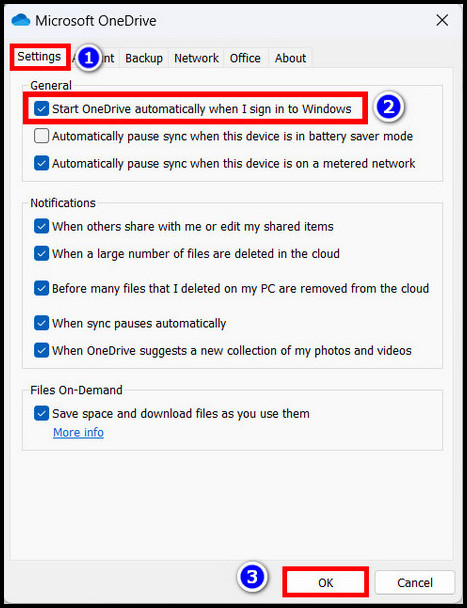
This should also start OneDrive immediately when you start Windows.
Finally, you can enable OneDrive from the Task Manager.
Follow the steps to enable OneDrive from Task Manager:
- Press Ctrl + Alt + Del and click on Task Manager.
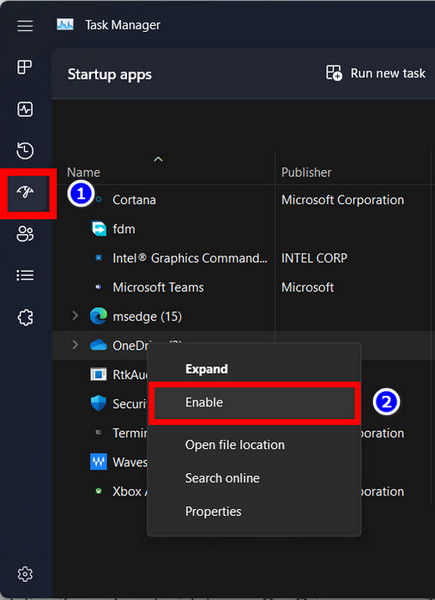
- Click the Startup Apps from the left pane.
- Right-click on OneDrive and press on Enable.
Now, OneDrive is added to the list of apps that start with Windows.
Let’s move on to a solution that leverages a lesser-used application by normal users.
Also read how to update drivers on Windows 11.
Method 2: Using Group Policy Editor
Using group policies, you can set the default behavior of applications in Windows. For example, you can enable or disable OneDrive from operating on Windows.
These are the steps to enable OneDrive from Group Policy Editor:
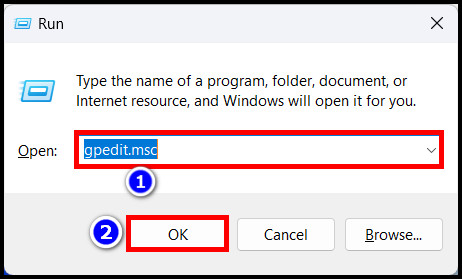
- Press Ctrl + R, type gpedit.msc and press Ok.
- From the left pane, expand Configuration and go to Administrative Templates > Windows Components > OneDrive.
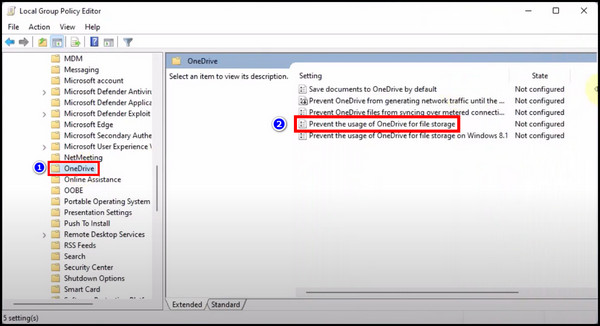
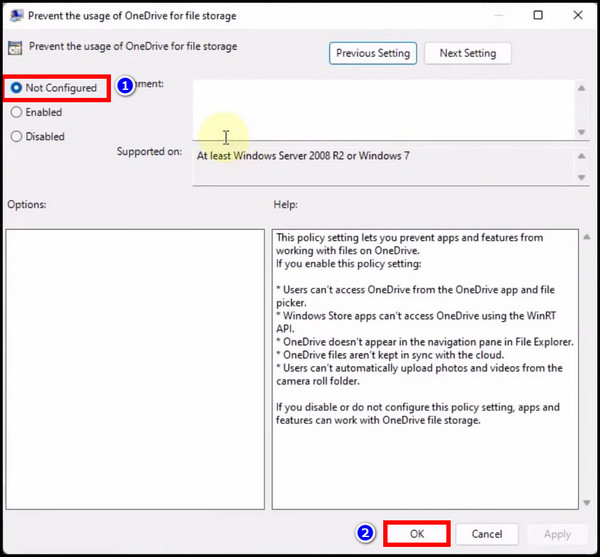
- Double-click on Prevent the usage of OneDrive for file storage.
- Select Not Configured and click on OK.
You will not see the OneDrive pop-up immediately. The next time you restart your computer, you will find the icon on the taskbar.
Follow our guide to fix blue screen on Windows 11.
Method 3: Modify the Registry Keys
You can also force OneDrive to open as you power on the PC from the registry editor. But proceed with caution, as tinkering with any other keys will result in instability on your computer.
To enable OneDrive using Registry Editor, follow the steps below:
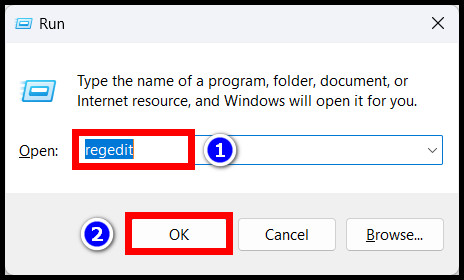
- Press Win + R, write regedit and click OK.
- Go to the location specified by expanding sections on the left:
Computer > HKEY_CURRENT_USER > Software > Microsoft > OneDrive.
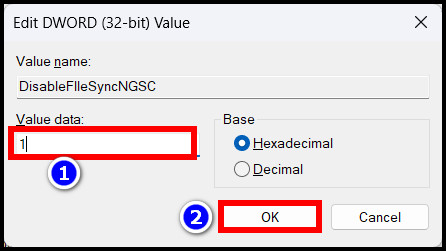
- Right-click on OneDrive and select New DWORD (32-bit).
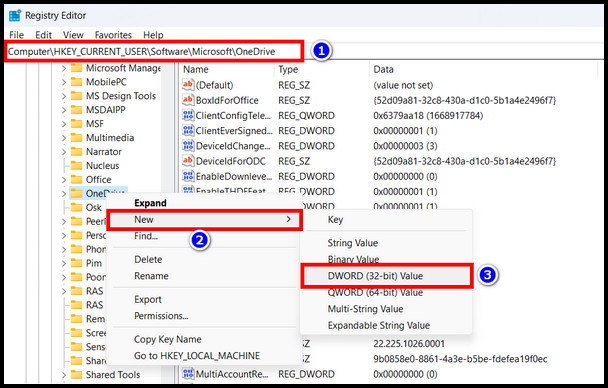
- Name it DisableFIleSyncNGSC and set its value to 1.00.
- Click on OK to save the changes.
The computer will load with the changes once it restarts.
Here is the easiest guide to fix drag and drop not working on Windows 11.
How to Disable OneDrive on Windows 11
OneDrive can be irritating at times when you are barged with a plethora of notifications. Yes, it’s good to know that I need to upgrade my storage, but I do not need to be reminded every few minutes.
In such cases, it is beneficial to turn off OneDrive simply. As usual, with Windows, you have multiple ways to do that.
These are the methods to disable OneDrive on Windows 11:
Method 1: Unlink OneDrive
OneDrive has an option that can simply disable it within 2-3 clicks. This is the easiest way to get rid of the default cloud storage.
Here is how you can unlink OneDrive in Windows:
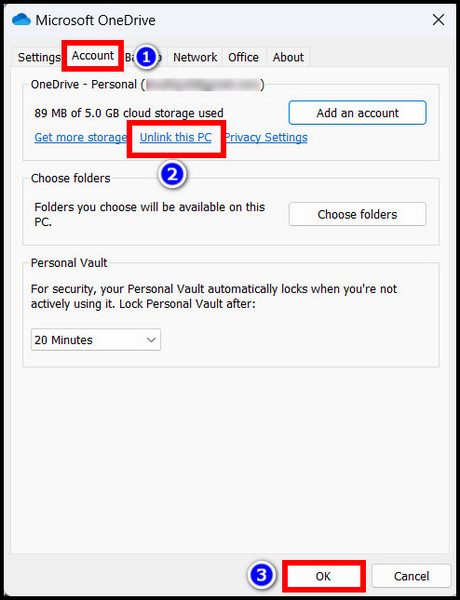
- Right-click on the OneDrive icon on the taskbar and go to Settings.
- On the Account tab, click on Unlink this PC.
OneDrive will stop backing up your files. The existing files present in the OneDrive folder remain unaffected. You can access and review them if you choose to keep them.
Method 2: Disable Onedrive from Startup
Earlier I demonstrated three different ways to enable OneDrive. You can use the same steps to disable it too.
For Group Policy Editor, navigate to the stated location and click on Enabled next to Prevent the usage of OneDrive for file storage. 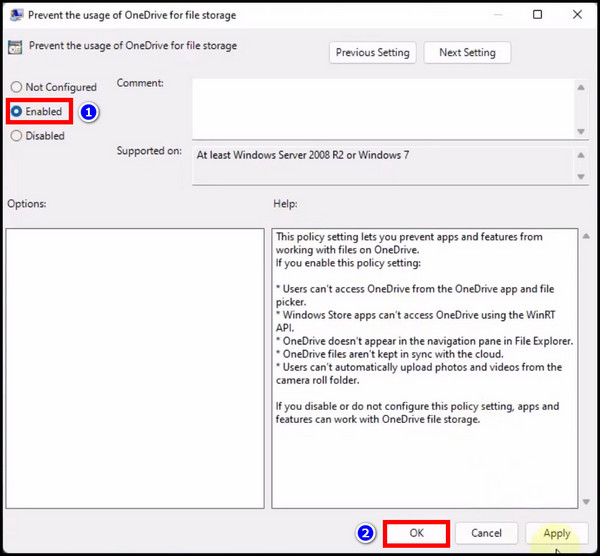
Similarly, on Task Manager, go to the Startup tab. Right-click on OneDrive and select Disable. 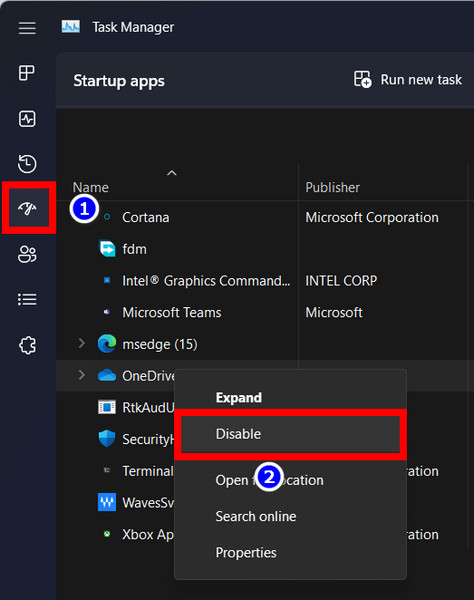
From Settings, click on Startup and find OneDrive. Turn the toggle to off to disable it.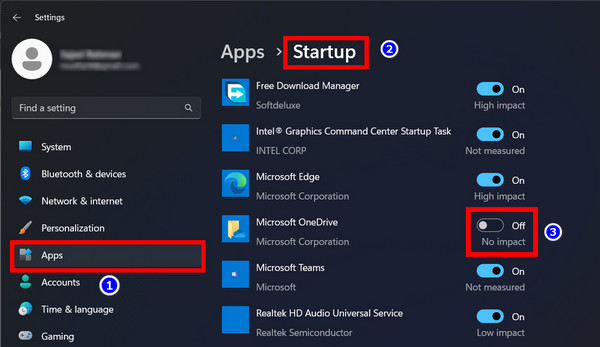
Method 3: Uninstall OneDrive
This is a permanent solution if you do not wish to use OneDrive anymore. The existing files that sync with the cloud drive remain unchanged on your computer.
These are the steps to uninstall OneDrive on Windows 11:
- Open Settings from the Start Menu.
- Click on Apps and go to Installed Apps.
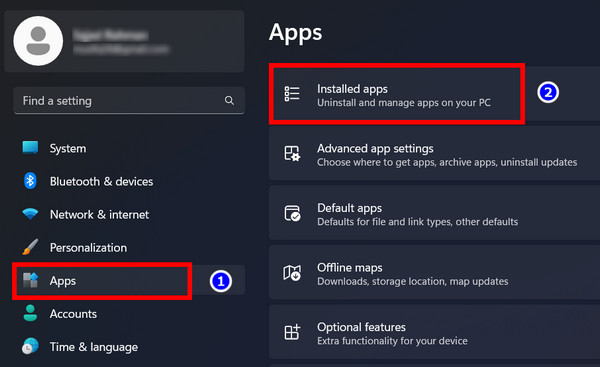
- Find OneDrive, right-click on it and select Uninstall.
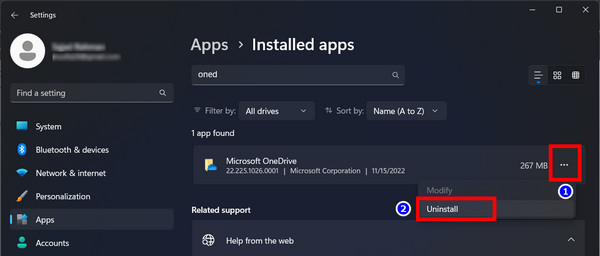
Follow the onscreen steps and proceed with it to uninstall OneDrive from your computer.
Frequently Asked Questions
How do I enable OneDrive in Windows 11?
To enable OneDrive, open Task Manager and go to Startup > OneDrive > Right-click and select Enable.
Is it okay to disable OneDrive?
If you disable OneDrive, your files will no longer back up on the cloud. You can do this if you have already filled the storage space or are no longer interested in using OneDrive.
Will I lose my files if I disable OneDrive?
By disabling OneDrive, you stopped the sync between the computer folders and the OneDrive servers. But your files will remain safe on the cloud drive, which you can easily access on Onedrive.
Conclusion
I hope you can easily enable or disable OneDrive by following the steps mentioned in the article.
While the OneDrive integration is a useful tool to save the backup of files from your computer, you can easily opt out of it if you do not need it anymore.
That’s all for today.
Signing off now.