Calendars are useful for keeping track of upcoming meetings, appointments, deadlines, and milestones. Sharing them within your office, organization, colleagues, or team improves communication and efficiency.
Microsoft has introduced the shared calendar features with Outlook 2007, allowing users to view or edit the calendar and compare it with other team members to find the best time to organize a schedule.
A shared calendar with your team can ease the project planning and arranging new meetings with clients. Even if you are out of the office or on vacation, a shared calendar can always help you to find the best options.
This article will explain the process of creating a shared calendar and how to add it to your Outlook effortlessly.
So, let’s begin.
Here’s a complete guide on how to fix email icons not showing forward/reply status in Outlook.
By adding the recipient’s email address and selecting permission to the calendar, users can share it with other persons. Additionally, sending the calendar via email allows the user to share with others, providing view-only access to your calendar.
Before sharing the calendar, you need to create a blank calendar. Consider reading the process below to create a blank calendar in your Outlook.
Here are the procedures to create a new blank calendar in Outlook:
- Launch Outlook on your Windows.
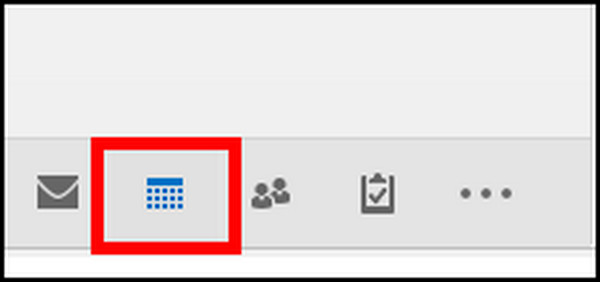
- Click on Calendar from the bottom.
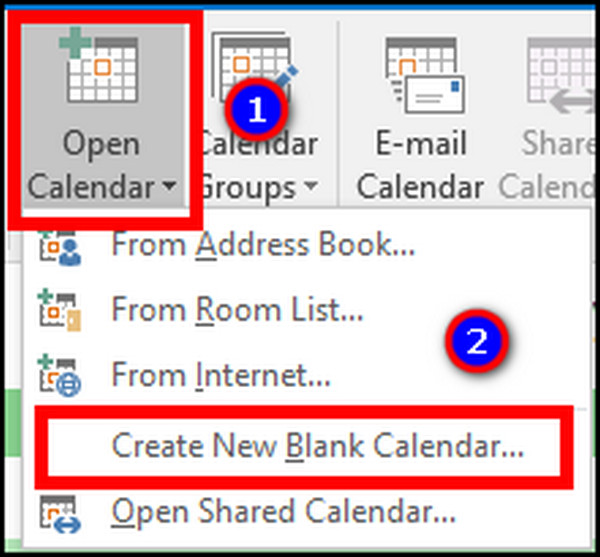
- Press on Open Calendar from the top ribbon.
- Select Create New Blank Calendar.
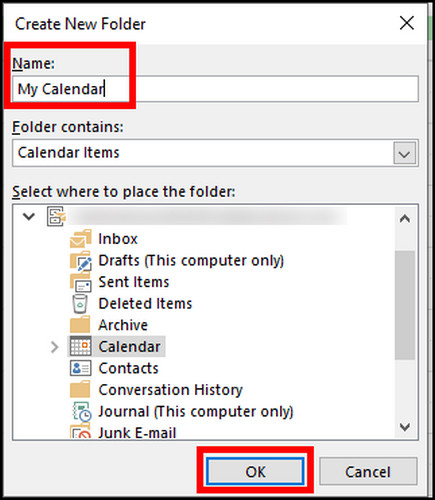
- Type a calendar name and press OK.
After creating a new blank calendar, share it with another person by following the steps below.
Here are the steps to share a calendar in Microsoft Outlook on Windows & Outlook 365:
- Open Outlook.
- Navigate to the Calendar tab.
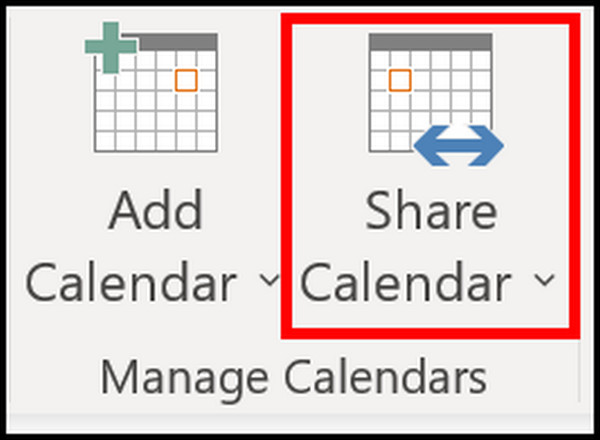
- Click on the Home tab from the top ribbon.
- Press on Share Calendar.
- Choose the calendar from the drop-down menu.
- Navigate to Properties and click on Add.

- Add the person from your Address Book.
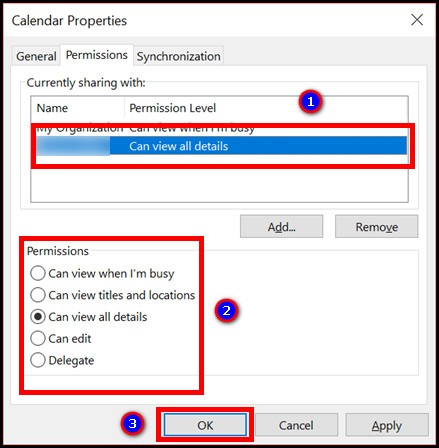
- Press on the Person’s name or email address from the Permission tab.
- Select the levels of permission.
- Click on OK.
The above procedures will allow the user to manage the calendar permission and give others a view or edit access.
However, if you want to share the calendar via email with another person or provide view-only permission, follow the instructions below.
Here is the way to share a calendar in MS Outlook via email:
- Go to the Calendar tab after opening the Outlook application.
- Right-click on the calendar.
- Press on Share.
- Select E-mail calendar.

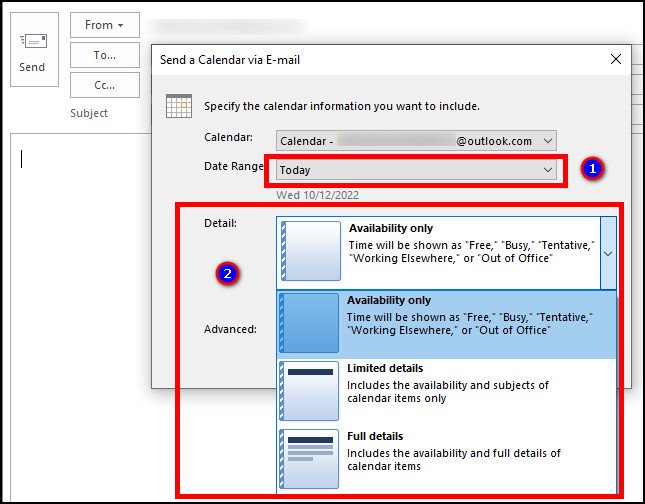
- Choose the Date Range from the dialog box.
- Select Details level and choose Availability only, Limited details or Full details.
- Type the recipient’s email address and send the email.
Sending calendars via email will provide read-only access to the recipient. Also, you can share a single day or the full calendar with the person.
Also, check out our separate post on Microsoft Outlook not connecting to server.
Users can share the calendar with other recipients by adding a person’s email address or name in Calendar Permissions from the address book. You can choose different permission levels or customize them as your preferences to manage the sharing option.
You must create a new blank calendar before sharing it with others. The following steps will guide you through the calendar creation process in Outlook on Mac.
Here are the procedures to create a calendar in MS Outlook on Mac:
- Launch Outlook on Mac.
- Click on Calendar from the bottom.

- Navigate to the Organize tab from the top ribbon.
- Press on New Calendar.
- Type the calendar name.
- Press Return.
After finishing the calendar creation, follow the instructions below to share the calendar with others and set the access permission.
Here is the method to share calendar in Outlook on Mac:
- Navigate to the Calendar tab from the bottom.
- Select your calendar.
- Go to the Organize tab from the top ribbon.
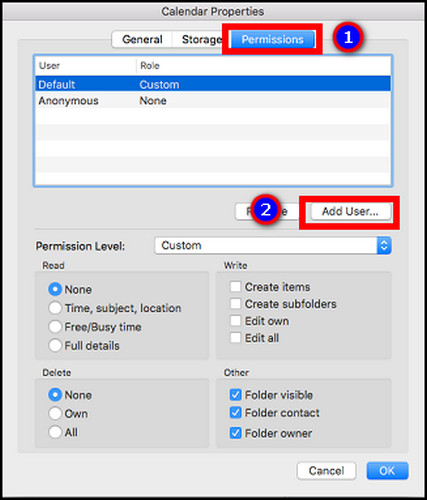
- Press on Calendar Permissions.

- Click the Add User button.
- Search by the email address or name of the recipient.
- Press Add to include the person.
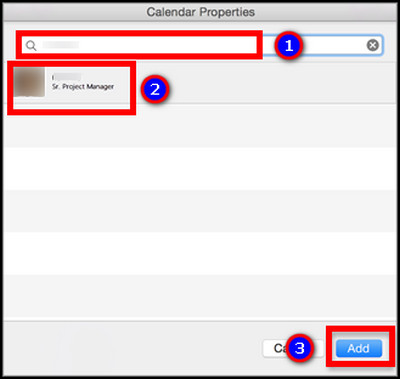
- Click on the person’s name from the Calendar Properties.
- Choose the Permission level from the drop-down menu.

- Press on OK to confirm the sharing process.
If you are using the web versions of Outlook, consider following the steps from the passage below.
Find out how to change Outlook rules.
Sharing a calendar from Microsoft Outlook on the Web is very effortless. You can navigate to the Calendar tab to create a new calendar and share it by adding the recipient name from the Sharing and permissions of the specific calendar and providing a view or edit access.
Before jumping to the sharing settings, let’s create a new blank calendar using the steps below.
Here are the steps to create a blank calendar in MS Outlook on the Web:
- Visit Outlook Web using a browser.
- Login to your account.
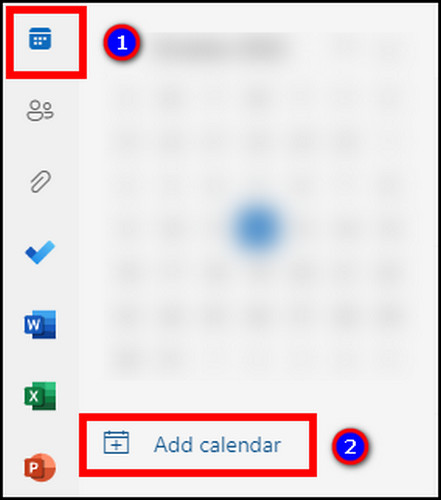
- Go to Calendar from the left side.
- Press on Add calendar.
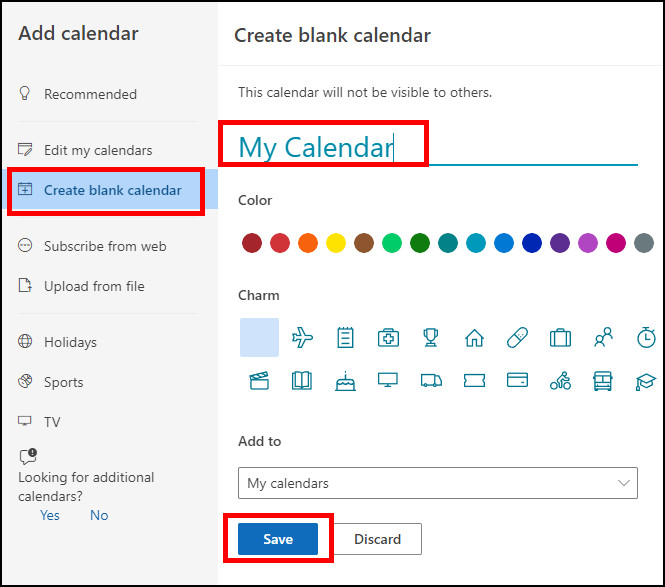
- Click on Create blank calendar from the left pane.
- Type the calendar name and press Save to create a blank calendar.
Once you’ve created a calendar, you’re one step closer to sharing the calendar with other people. Read the instructions below to complete the sharing process.
Here is the way to share calendar on Microsoft Outlook on the Web:
- Open Outlook Web.
- Navigate to the Calendar tab.
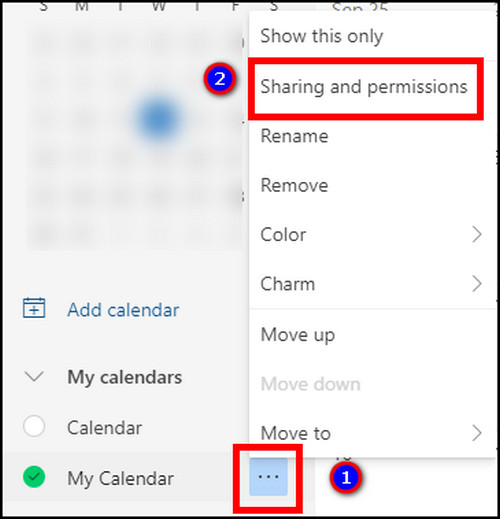
- Click on the three vertical dots ( … ) button beside the calendar name.
- Select Sharing and permissions.
- Enter the email address or contact name of the recipient.
- Select the recipient.
- Choose Can view all details or Can edit from the permission drop-down menu.
- Press on Share.
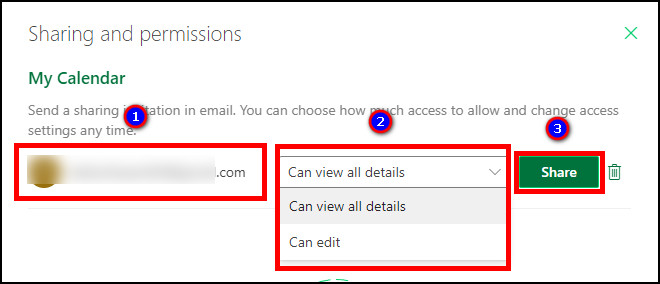
It will share your calendar with the recipient, and you can see their name and permission level from Share and permissions.
Find out how to fix Outlook server-side rules not working.
Users can easily open a shared calendar from the Outlook application by going to the Open Shared Calendar option from Manage Calendars in the Home tab. You can search or select the contact inside your organization or add them from the Address Book.
If you are new to the shared calendar procedures, allow me to guide you through the adding and opening shared calendar process in your Outlook.
Here are the procedures to open a shared calendar in Outlook:
- Launch Outlook on your PC.
- Go to Calendar from the navigation pane at the bottom.
- Navigate to Home from the top ribbon.
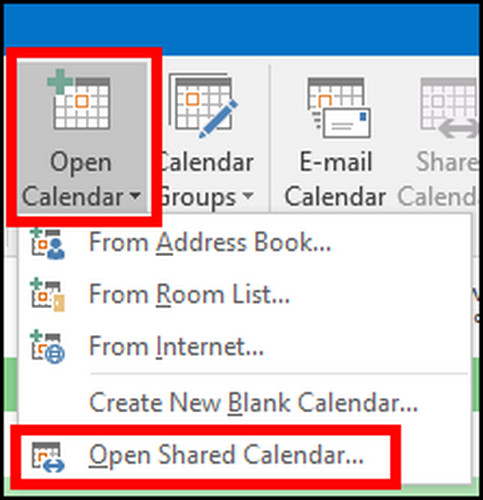
- Click on Open Calendar from the Manage Calendars.
- Press on Open Shared Calendars.
- Type the calendar name in the Open Shared Calendars dialog box.
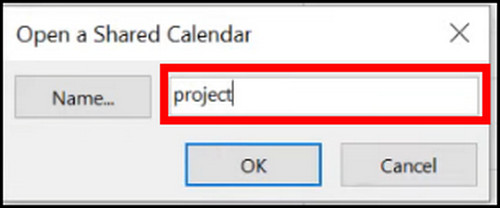
- Press on OK.
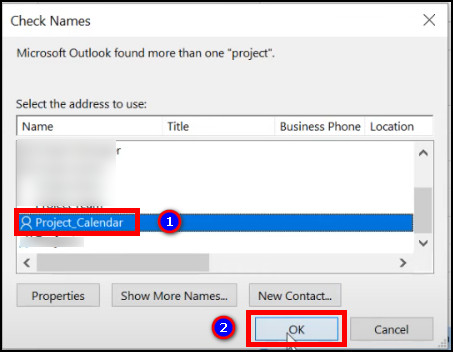
- Select the calendar and click OK.
After accessing the shared calendar for the first time, it will appear on the left pane of the Calendar tab.
You can easily navigate the calendar from there and open multiple calendars side by side to schedule plans, meetings or appointments.
Quickly check out our separate post on Outlook rules not running automatically.
Frequently Asked Questions
How to create a shared calendar in Microsoft Outlook?
To create a shared calendar in Microsoft Outlook, go to Calendar > Home > Share Calendar > select the Calendar > Properties > Add > Add person > Permission > click on name or email address > select level of permission > OK.
How do I create a shared calendar on Outlook for multiple users?
To create a shared calendar for multiple users, go to Calendar > Share Calendar > Choose the Calendar > Add multiple persons > OK.
How many calendars can I have in Outlook?
There’s no limit to calendars in Outlook. You can create or add as many calendars as you like.
Final Thoughts
Sharing is caring, and with the Outlook calendar, it’s entirely true. A shared calendar benefits you, including your team, by positively impacting communication and planning.
You can always manage the calendar permission and share calendars with others to keep yourself one step ahead of regular people.
I hope the above article has helped you create a shared calendar and add them to your Outlook on every platform without difficulties.
Have a good day. See you at the next one.