After tweaking Visual Studio Code’s layout to simplify the development process, the Solution Explorer disappeared, and the entire window looks like a mess.
Does that sound like what happened to you?
Window Layouts are just as important for your workflow as your code, but what can you do when all the menus you need are replaced with something else? Well, you can always restore the default settings for Window Layout.
Don’t worry, this does not include any complicated steps or anything. All you need to do is just use your mouse to select some options. That’s it!
I also included some alternative techniques if you face issues, so if your PC is powered on and good to go, let’s get started without any delay.
Read more on how to fix Windows cannot find integrated office.
How Do I Reset Visual Studio Window Layout?
You can reset Visual Studio Window Layout in two ways, but before we get into that, you might want to save your current Window layout.
A specific Window Layout may not work for most projects, but it can be perfect for some. I’ve worked on several projects in Visual Studio and used different window layouts for each project.
Since I used several Window Layouts multiple times, I saved them as a preset in Visual Studio.
Follow these steps if you want to do the same:
- Search for Visual Studio and launch it.
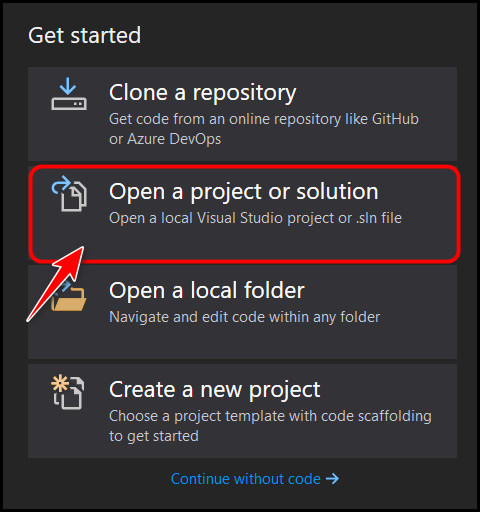
- Open the project you are currently working on.
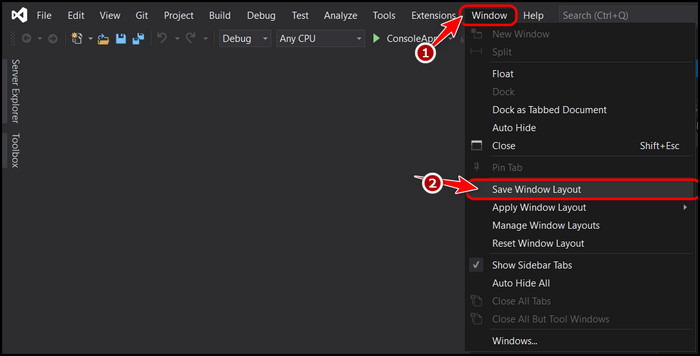
- Look for the Window menu at the top right corner of the toolbar and expand it. Click on Save Window Layout to create a new preset.
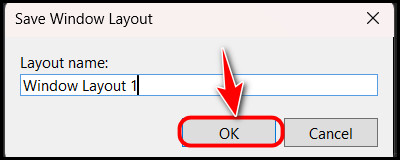
- Enter a suitable name for your Window preset in the pop-up window and click on OK.
Once this is done, you will be able to safely tweak your Visual Studio layout however you want since you can always get back to this one at any time.
I should also address another common issue: the difference between Visual Studio and Visual Studio Code. Yes, there are two different software with almost identical names (What was Microsoft thinking?).
However, they both have different user interfaces and functionality, so it’s important to note that this guide is specifically made for Visual Studio (not Visual Studio Code or VSCode).
Now that you have a copy of your Layout saved separately let’s look at how to restore the default window settings.
Follow these steps to reset Visual Studio Window Layout:
1. Restore Default Window Layout Settings
The quickest way to reset Layout settings is to simply locate and select the Reset Window Layout option.
Follow these steps to restore the default Window layout settings:
- Open Visual Studio, and launch an existing project or create a new one.
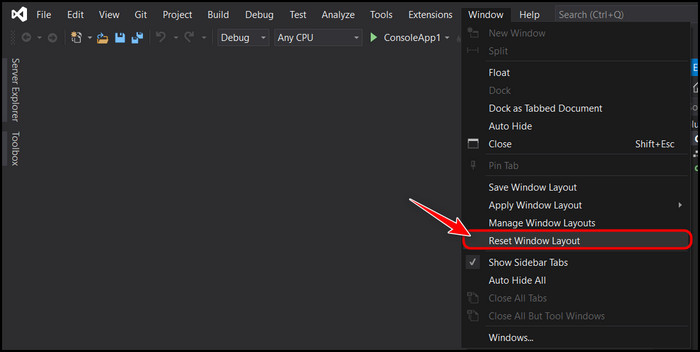
- Find the Window menu on the top menu bar, expand it and select Reset Window Layout from the list.
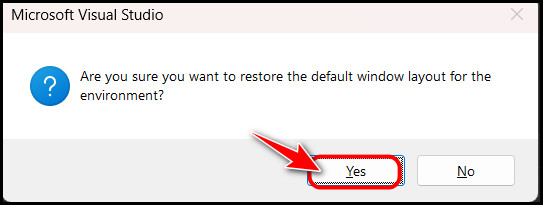
- Wait for a confirmation menu to appear. Once that happens, click on the Yes button to see every component in the window revert back to its default positions.
This should be perfect for the average user, but if your setup still looks a little off, you should try the following method. It’s the ideal way to launch Visual Studio as if you are opening it for the first time.
You may also like to read about 5 Proven ways to check RAM in Windows 11.
2. Restore Visual Studio Default Settings
While this method works flawlessly for restoring your default Visual Studio layout, it’s also the perfect option if you have misconfigured or changed some other settings inside the app.
This method will basically delete everything you tweaked and re-open Visual Studio from scratch.
Follow these steps to restore visual studio’s default settings:
- Launch Visual Studio.
- Create or Open a Project using the buttons.
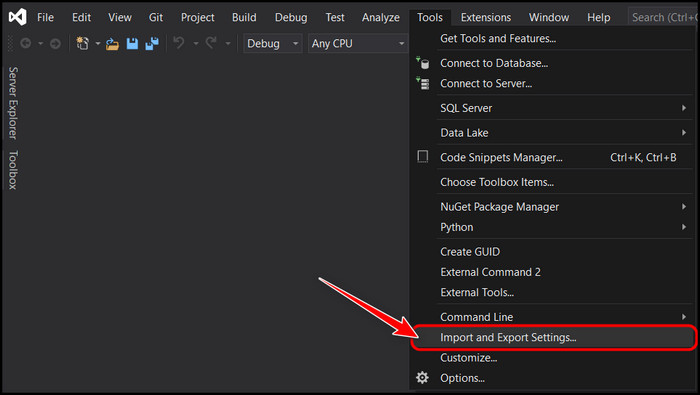
- Locate the menu bar you spotted earlier, but select Tools this time.

- Launch the Import and Export settings wizard by selecting import and export settings from the last section of the menu.
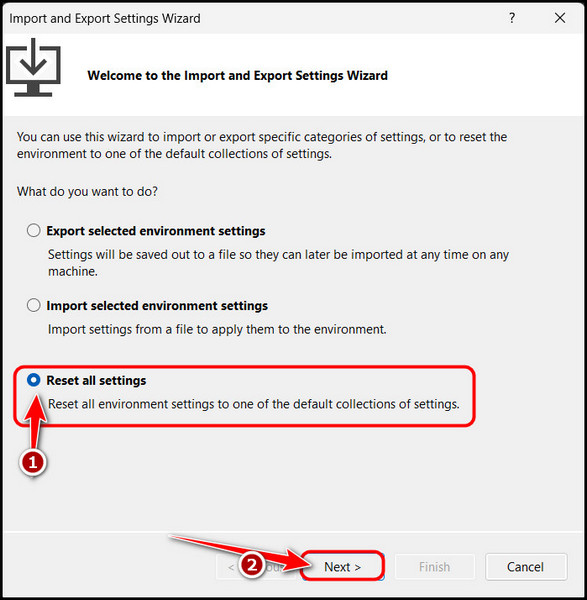
- Choose Reset All Settings from the next window and click on the Next button to proceed.
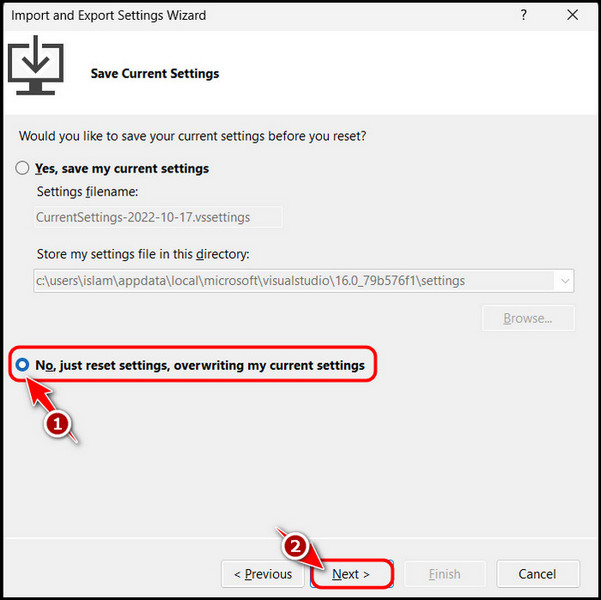
- Click on Yes, save my current settings and fill out its name and location if you want to create a backup of the settings you are using right now. Otherwise, you can also choose the second option to remove everything without creating backups. Then, click the Next button.
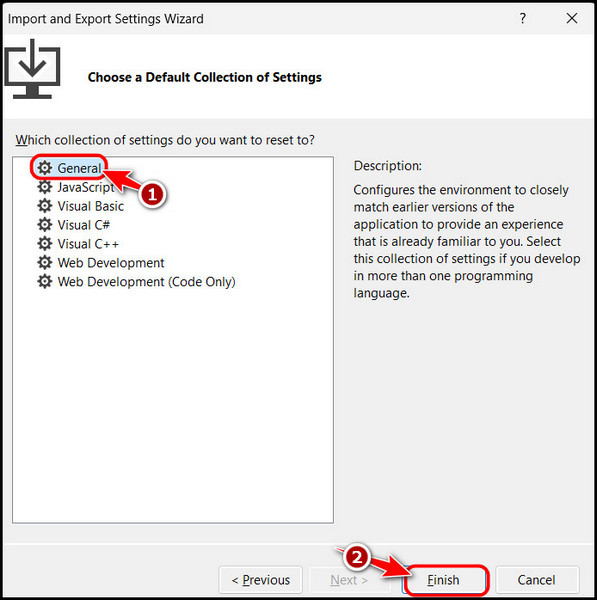
- Select the language or your project type on the next page if you want to use the default settings optimized for use with that particular language or project. If you are unsure, select General and click on Finish.
After this is done, the changes will immediately reflect on-screen. You shouldn’t need to relaunch Visual Studio, but you can do so if you face issues.
See how simple that was? Restoring your previous window layout from one of the presets you saved earlier is just as easy as this. Move on to the next section to find out how.
Related contents you should read Windows update cleaning up.
How Do I Change the Layout in Visual Studio?
You can change the layout in Visual Studio by applying the preset with a specific name, similar to how you saved the preset. Apart from this, you should be able to carry out other related activities, like deleting or renaming saved presets from the same menu.
Here are steps to change the layout in Visual Studio:
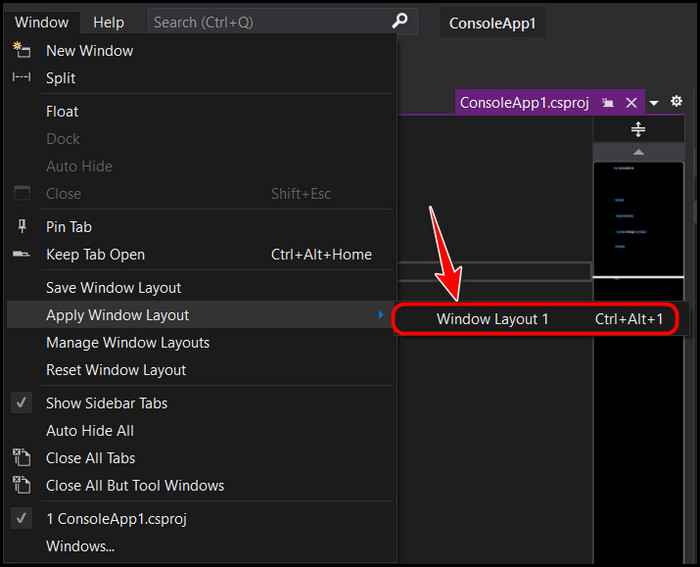
- Open Visual Studio and navigate to the project you are currently working on.
- Locate the top menu bar and select Window.

- Move your mouse cursor so that it’s hovering over the Apply Window Layout so that it expands.
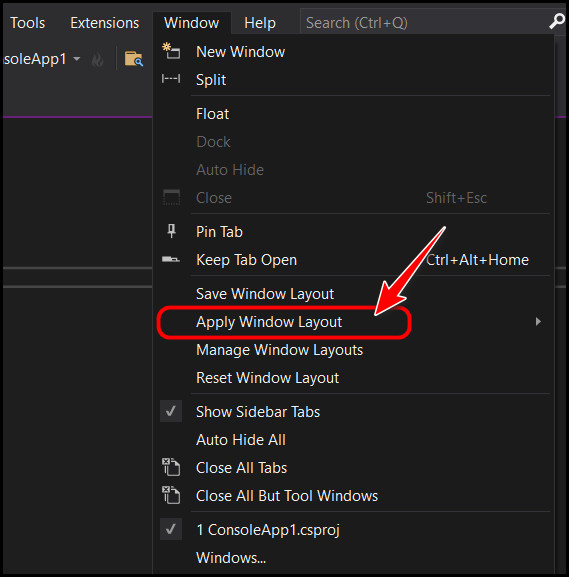
- Select the layout name you saved earlier to restore it.
You should instantly see your workflow change.
Over time, you will probably stop using some of these layouts altogether. In this situation, removing the unnecessary presets is best so your Visual Studio window layout isn’t too cluttered.
Follow these steps to rename or delete the Visual Studio window layout:
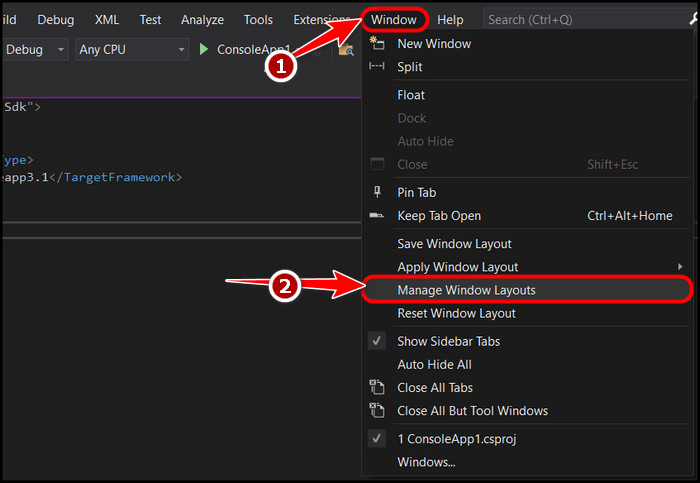
- Launch Visual Studio, launch a project and navigate to the editor.
- Select the window option from the menu bar as you did earlier.
- Click on Manage Window Layouts from the expanded list.
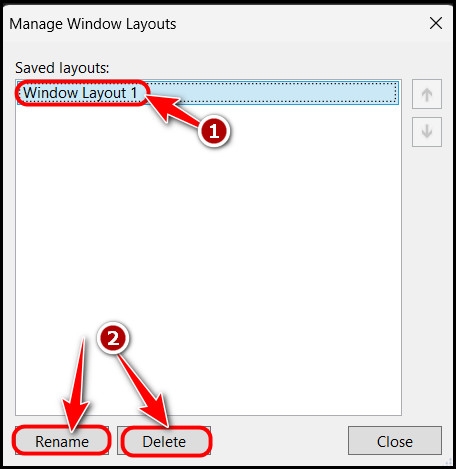
- Click on the name of the layout you want to edit so that it’s highlighted. After that, select Rename or Delete, depending on the action you want to perform.
That’s everything you can do with Window layouts in Visual Studio. If you have further questions, be sure to go through the FAQ section below before posting them in the comments.
Some more guides on crocs will Installing Windows 10 speed up my computer, Check out the easiest way to Access Windows 8 startup folder and make changes.
FAQ
Question: How do I reset my layout in VS Code?
Answer: You can reset your layout in VS Code by pressing the F1 key and typing user settings. After pressing Enter, launch the settings.json file by clicking on the ‘sheet’ icon and delete everything inside. Once you save that file, your layout and settings will reset.
Question: How do I reset Visual Studio project properties?
Answer: You can reset Visual Studio project properties by restoring factory settings. This can be done by clicking on Import and Export Settings and selecting the option to Reset all Settings. This will clear all settings and start Visual Studio from scratch.
Question: How do you format in VS Code?
Answer: You can format in VS Code using shortcuts. However, there are two separate format actions you can perform. You can format the entire active file by pressing Ctrl+Shift+I or format only the selected text by pressing the Ctrl+K or Ctrl+F.
Final Thoughts
To sum up, resetting the window layout in Visual Studio is a walk in the park as long as you follow my instructions correctly.
I showed you how to back up your current window layout and restore it, along with the steps to restore the default settings. One point I’d like to mention again is that VS Code and Visual Studio are two different software, and this guide is only about the second one.
Still confused about something? Leave me a comment below, and I’ll do my best to get back to you.