Installing an ICC profile on your Windows 11 computer calibrates your graphics device to view the true shades of color in an image. It is a neat feature that is used for tasks that are color critical.
The process of installing ICC profile is very simple if you know how to do it.
You might be editing photos or printing posters, and are aware of this feature existing in Windows 11 but do not actually know how to install a desired ICC profile on your computer. 
If this is true, then you are in luck because in this guide the process of installing ICC profiles on Windows 11 has been presented so that it is easy for users to carry out.
So keep reading this guide to find out how to install ICC profile on your computer.
What are ICC profiles?
If you view the same image on different computers with similar monitors, you will see that they display different shades of color. Even those shades will not be the same as seen in the picture originally on a camera or any other device. This is because the shade of color displayed depends on the GPU of the computer.
This is not that big of a concern if you are not performing any task that is color critical. You might be satisfied with just tweaking the brightness and color settings on your monitor. 
But if it doesn’t satisfy you, or if you are doing something that requires you to view the correct shade of color, you will have to install the necessary ICC profile onto your computer.
These profiles modify the LUT and gamma curves to let your graphics card get the correct shade information and view the original color of an image.
Here is the easiest guide to fix drag and drop not working on Windows 11.
Viewing the proper shade is important when you are using Photoshop to edit, viewing any photo you took on a camera or scanned using a scanner, or if you are about to print anything.
In these cases, you will have to acquire the ICC profile of that respective device and install it on your Windows 11 computer. Only then you will be able to accurately view the proper shade of color that originally exists in an image.
For example, if you take an image on a camera, you have to collect its ICC profile and install it on your computer to view the shades you originally saw in your camera display.
ICC profiles are available on different websites that are available for download.
If you have been meaning to install an ICC profile on your Windows 11 computer, you have to first find the correct ICC profile. Move on to the next section to know where you can find ICC profiles online.
Where to find ICC profiles for download?
Color profile files are available on different websites for download. Also, knows as ICC or ICM files, they can be firstly found on the website of your device’s manufacturer. Secondly, they can also be found on color calibration enthusiast websites by searching for your device’s display model.
When you have found your desired color profile, you have to download that ICC/ICM file onto your computer before you can install the color profile.
Go through the process of installing ICC profile on Windows 11 in the following section.
How to install ICC profile in Windows 11?
When you are done downloading the color profile you desire, you can now install the profile onto your computer. The process of installing ICC profile on Windows 11 is very simple and there are necessarily two ways to these. These methods are explained thoroughly here.
Follow these steps to install ICC profiles on Windows 11:
1. Install the profile from ICC file
Color profile can be simply installed from the .icc file that you have downloaded online. The way of doing this is the simplest way of installing ICC profiles on Windows 11
Here’s how you can install ICC file:
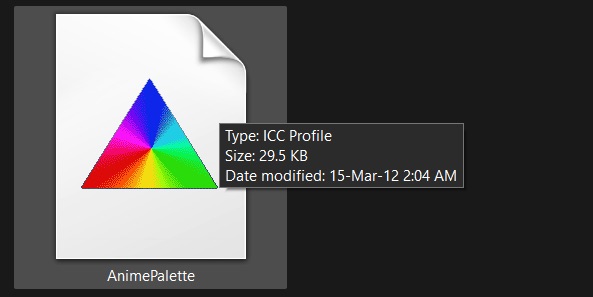
- Go to the folder where your ICC file has been downloaded
- Right-click on your ICC file.
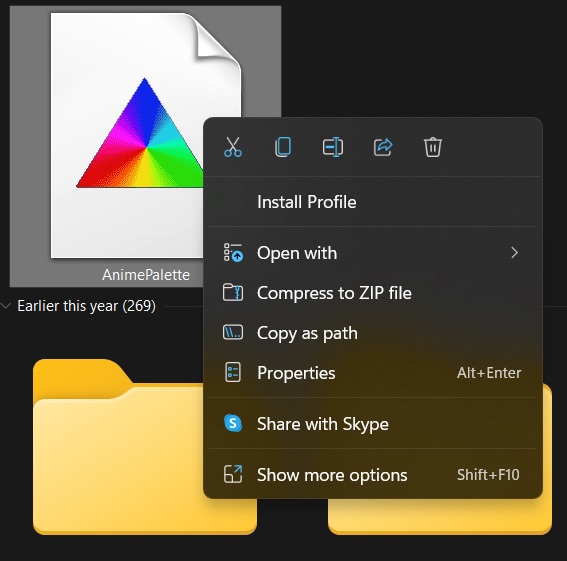
- Click on Install Profile to start installation.
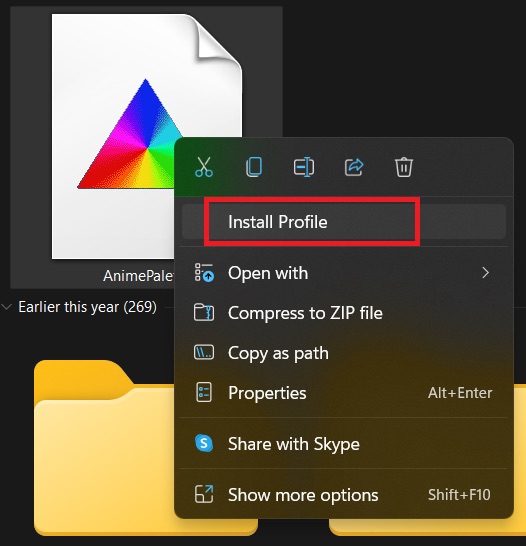
- Complete the installation process.
After the process is completed, the new ICC profile will have been installed on your computer.
Check out the easiest way to install active directory users & computers on Windows 11.
2. Copy file into color folder
The other way of installing a color profile on Windows 11 is to copy the ICC file directly into the folder that contains all color profiles.
Go through this process to copy ICC files into colors directory:
- Go to your ICC file’s directory.
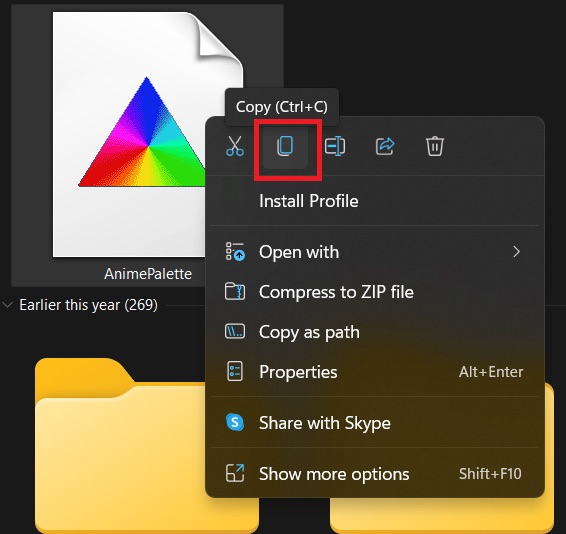
- Right-click on the ICC file.
- Click on Copy.
- Open Windows Explorer.

- Go to C:/Windows/system32/spool/drivers/color.
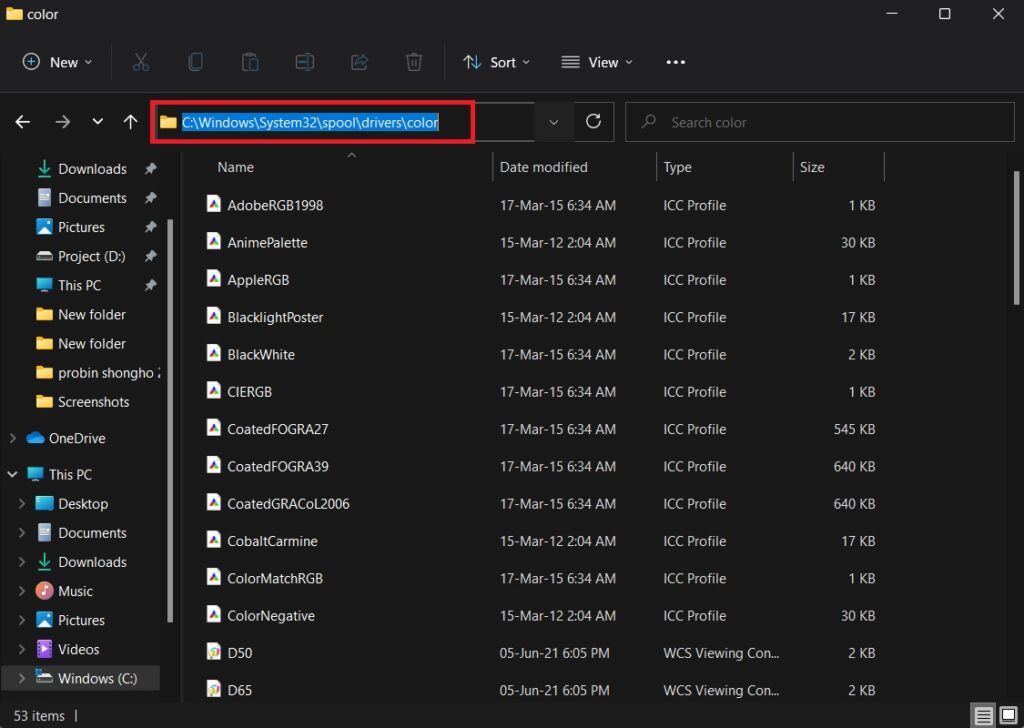
- Paste your ICC file in the color
When you have gone through these steps, the ICC profile will now be installed on your computer.
Now, installing these profiles are not enough because you also need to activate the profile that you want to use. It is also a simple process and you can find out how to do it in the next section. Stick to it to know how to activate ICC profile.
How to activate ICC profile on Windows 11?
If you want to use a certain color profile while performing any task on your computer, you will have to activate it after it is installed on your computer. The steps of activating color profile are explained here in simple words.
Follow this process of activating ICC profile on Windows 11:
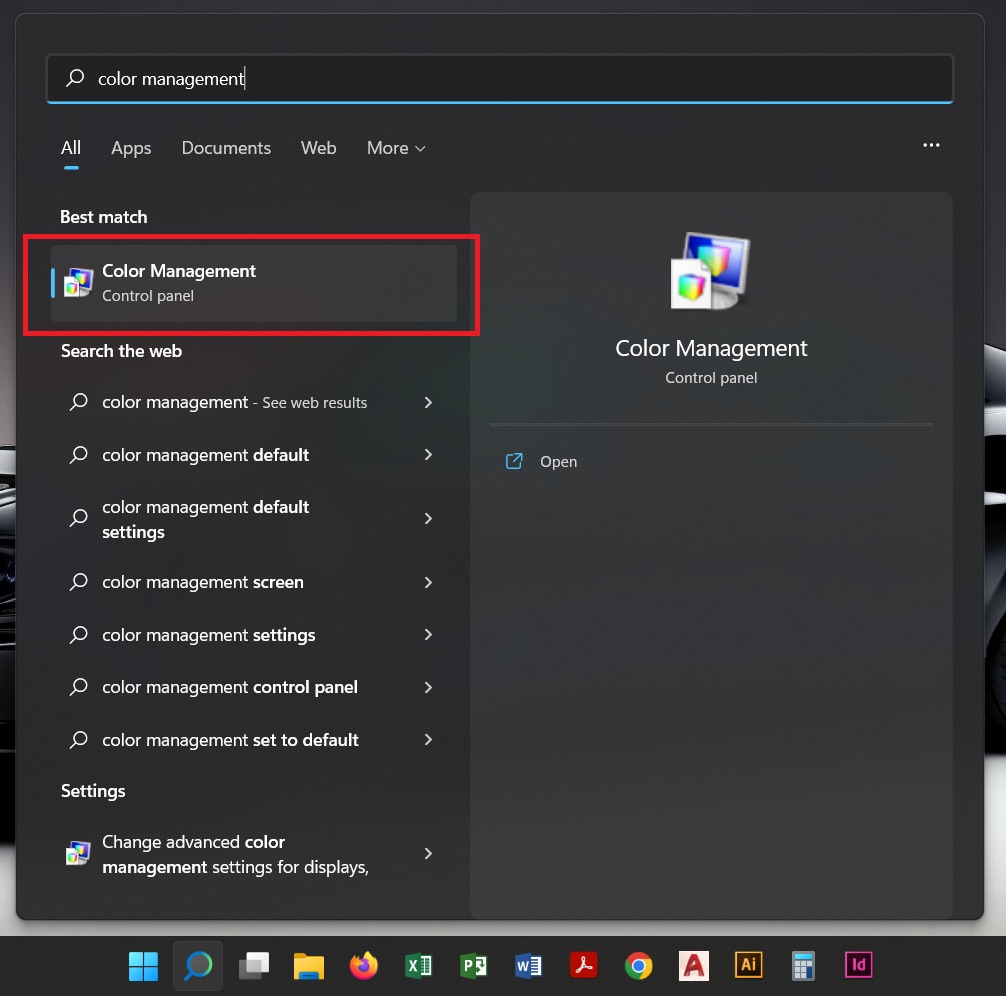
- Press Win + S to open search bar.
- Search for color management.
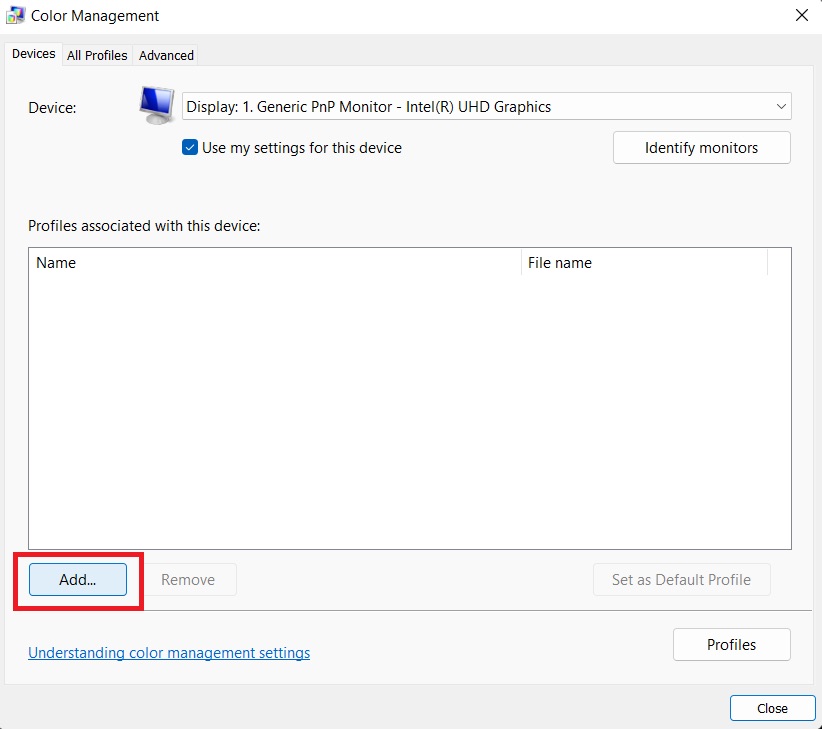
- Open Color Management app.
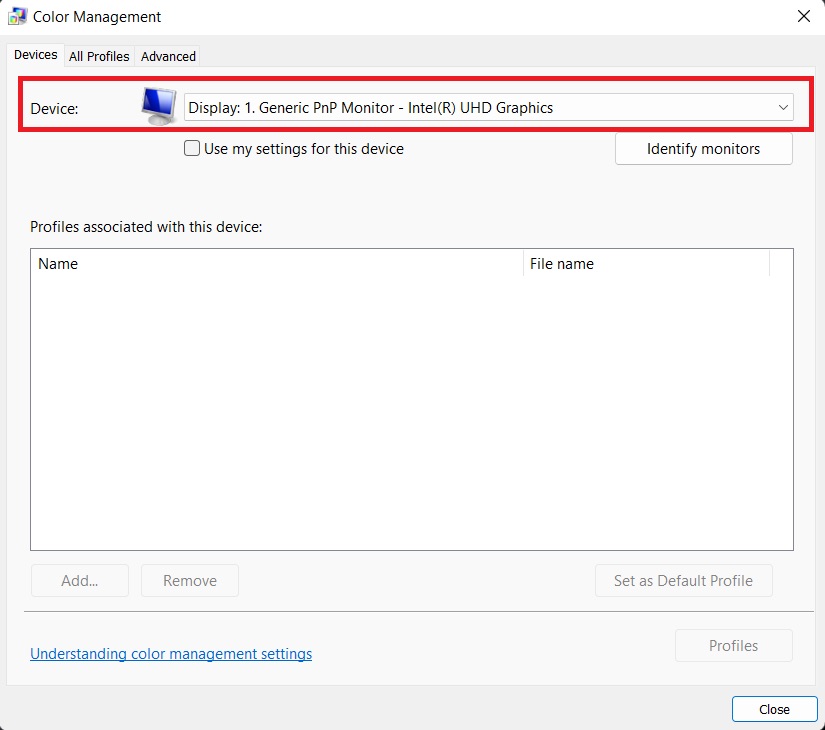
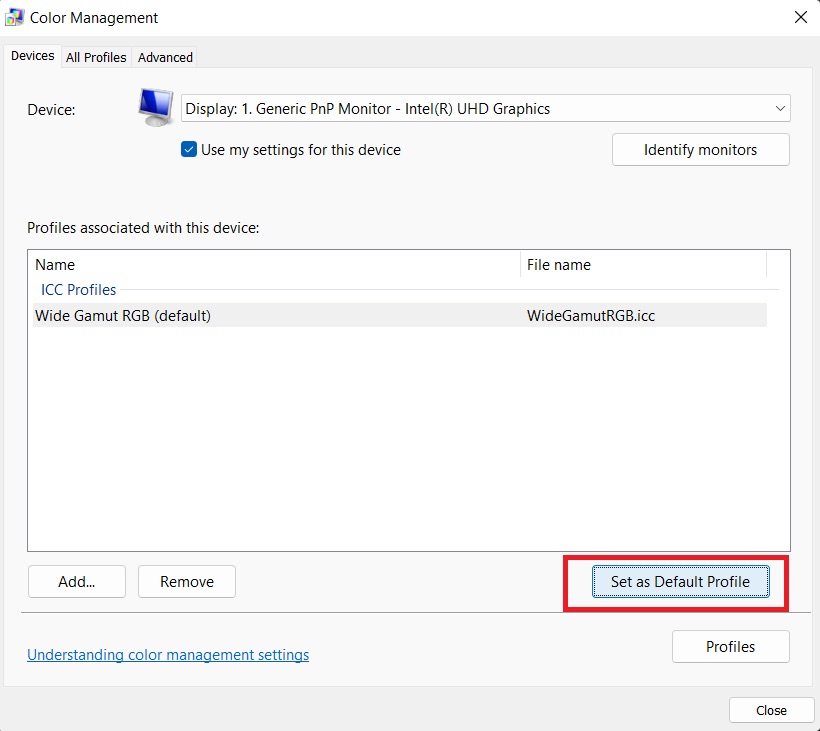
- Select your display from Device (not necessary if you have single display).
- Check the box beside Use my settings for this device.
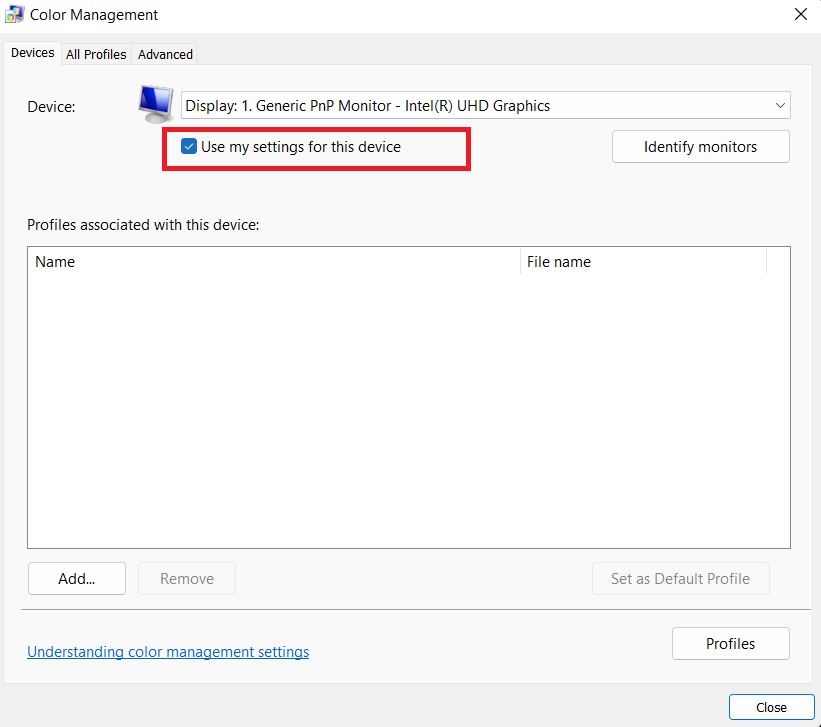
- Click on Add.
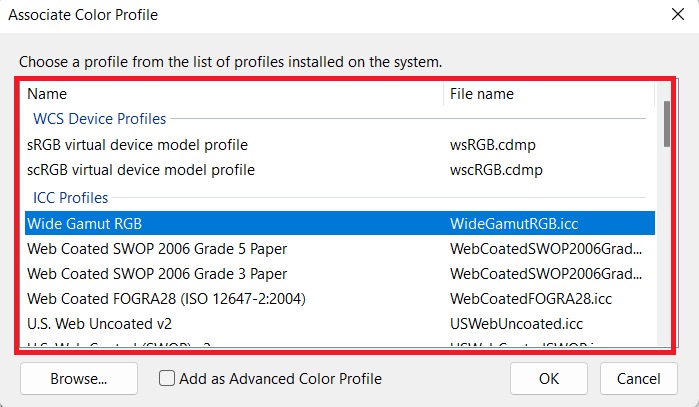
- Choose your desired ICC profile from list of installed profiles.
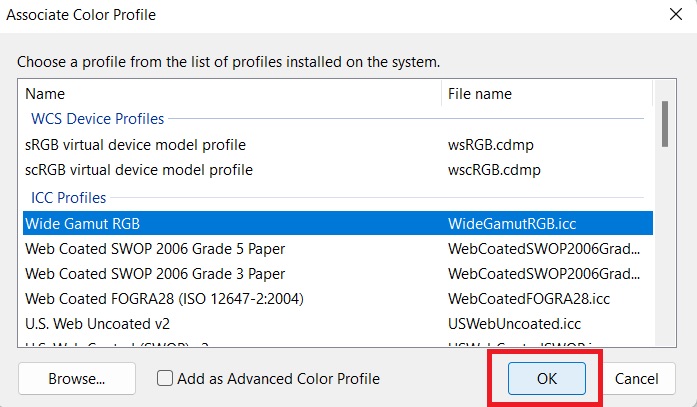
- Press on OK.
- Select on your ICC profile.
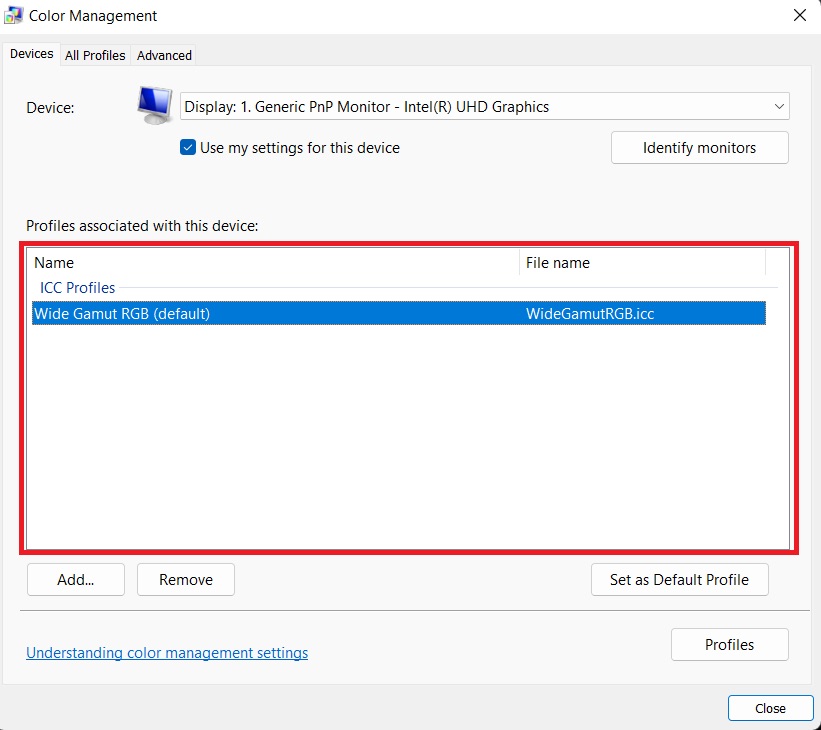
- Click on Set as Default Profile.
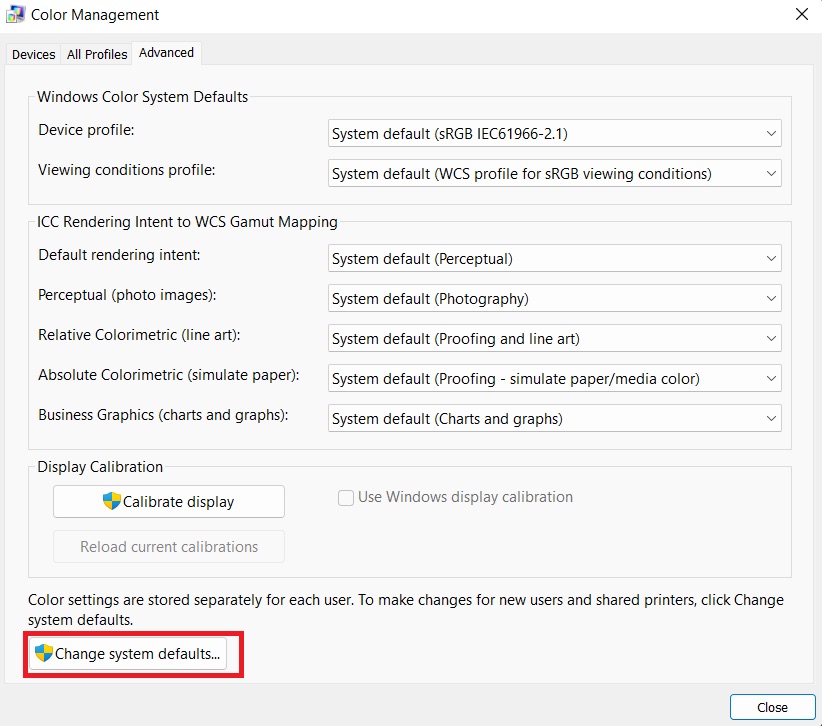
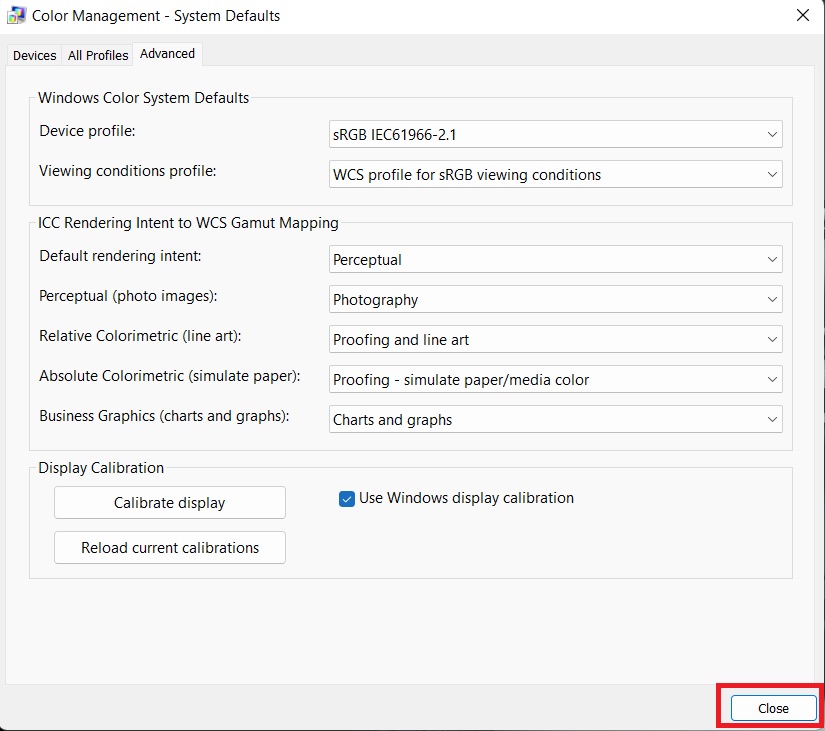
- Switch to Advanced tab on top.

- Select Change system defaults.
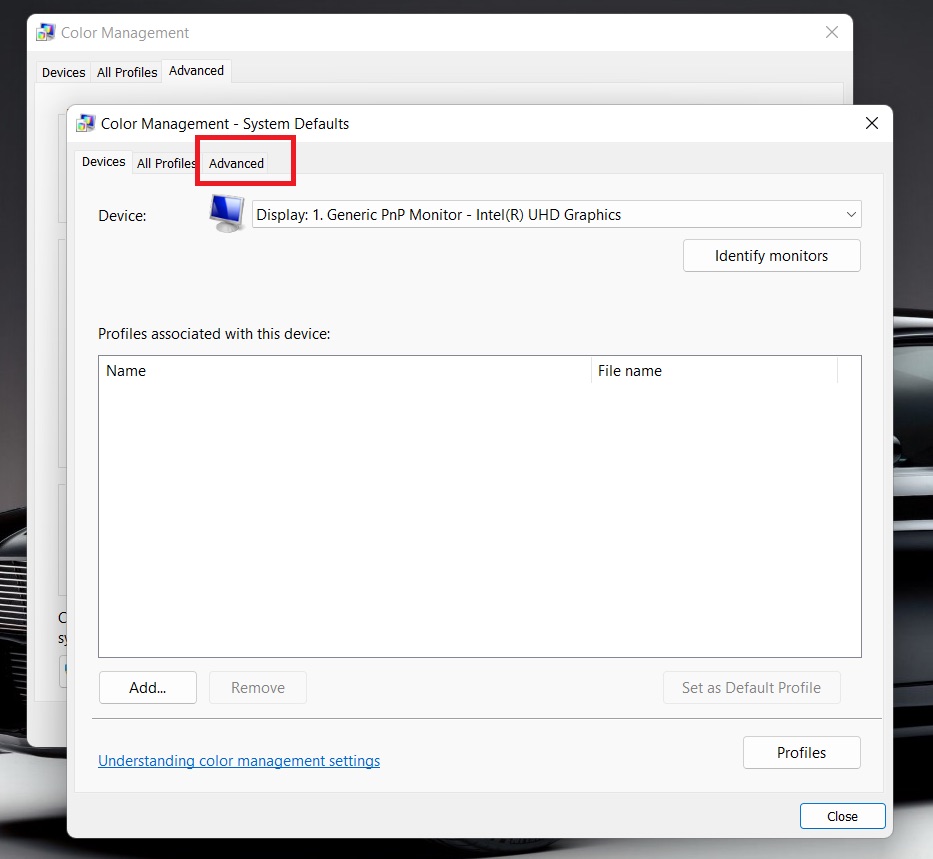
- Go to Advanced tab again.
- Enable Use Windows display calibration.
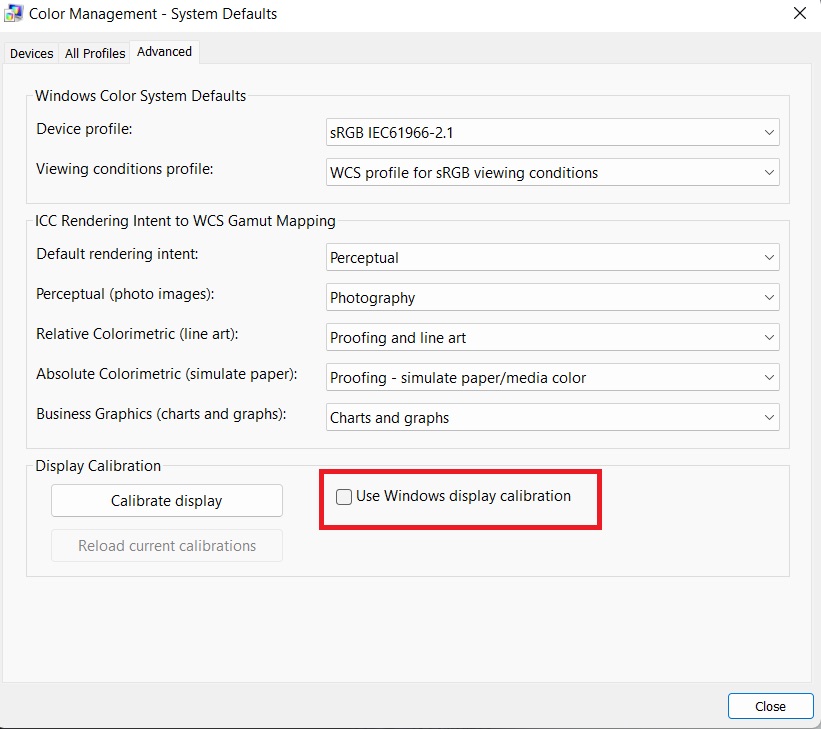
- Press on Close.
When you go through these steps, your color profile will be activated and you can then finally close the Color Management app to get on with your task.
Also check our exclusive tutorial on does Windows 11 support Dolby vision.
Conclusion
Be it for professional image processing tasks or just the desire to see better colors on your screen, installing and activating ICC color profiles on your computer is necessary if you want to see the original shade of color displayed on your screen. For this purpose, ICC files are easily available for download on different sites online.
When you find your desired color profile, you can effortlessly install and activate that profile on your Windows 11 computer by going through the methods that have been so aptly presented in this guide.
If you have gone through the processes mentioned here, the next time you have to install and use a color profile will be just a matter of few clicks for you.