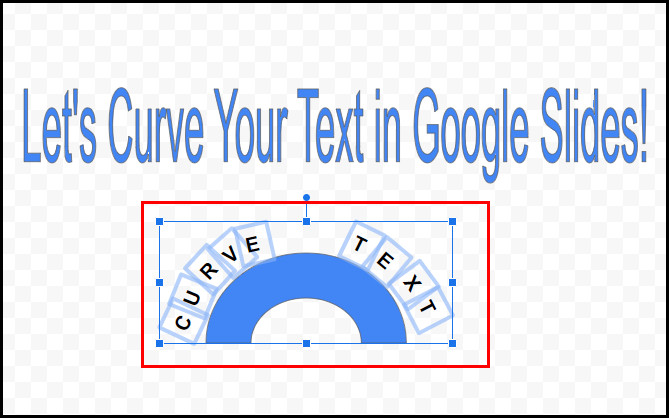
Want to upgrade your ordinary Google Slides to something extraordinary? Adding curved text to your presentation, you can bring uniqueness to your slide to stand out.
Though Google Slides has no native support for curving text, you can quickly curve text in Slides using some imaginative workarounds.
This article is all you need to master text curving in Google Slides. Without further discussion, let’s get started!
Can You Curve Text in Google Slides?
No, you cannot directly write curved text in Google Slides because Slides doesn’t include any feature to curve text. However, don’t lose hope; there are several workarounds that you can use to make curved text in Google Slides that I will discuss in the following section of this article.
But before crafting curve text for your Google Slides, let’s talk about why you should curve the text and the advantages and disadvantages of curving letters.
Curved text is precisely what the name says. Instead of a single straight line, the curved text is constructed with a circle or semicircle. A curved text in your slide helps eliminate the straight-line pattern and add visual interest to your slides.
People prefer to use curved text primarily for logos or to get the viewer’s attention to a specific phrase. Bending text makes the slide more engaging and brings uniqueness to the content.
If you want to add curved text effects to your Google slides, the following methods will satisfy you, and you’ll be able to make some unique curved text for your slides.
How to Curve Text on Google Slides
You can use several workarounds to curve your text in Google Slides. For instance, you can use the default Drawings tool of Google Docs to curve text. You can also use Microsoft PowerPoint to make curve text and then use it in Google Docs. Multiple online tools can also create curved text for your Slides.
These methods can also assist in creating curve text in Google Docs. Following are the most straightforward methods to make a unique and eye-catching curved text for your Google Slides.
Here are the methods to curve your text in Google Slides:
1. Use Google Drawings
As I mentioned earlier, currently, there are no such tools in Slides that can curve text for you. However, you can curve text with maximum customizations using the Drawings tool of Google Docs.
Remember, this procedure is very time-consuming, and it is difficult to get an optimal output. Consider the following instructions to make curved text using Google Drawings.
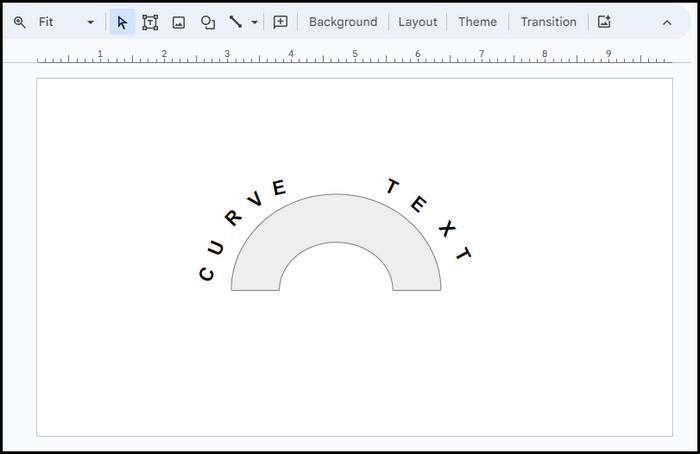
Here are the steps to create curved text using Drawings.
- Open your browser and go to Google Drawings.
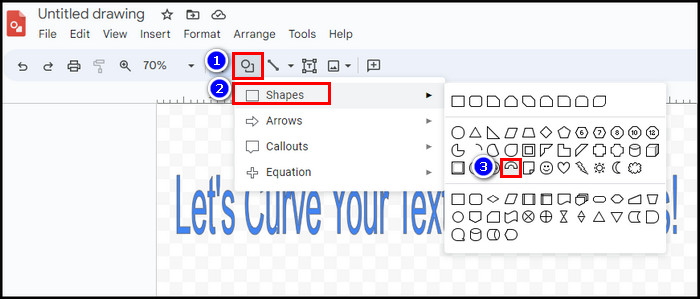
- Click on the Shape icon from the top menu and choose a curved shape.
- Select the Text box and type the first letter you want to curve.
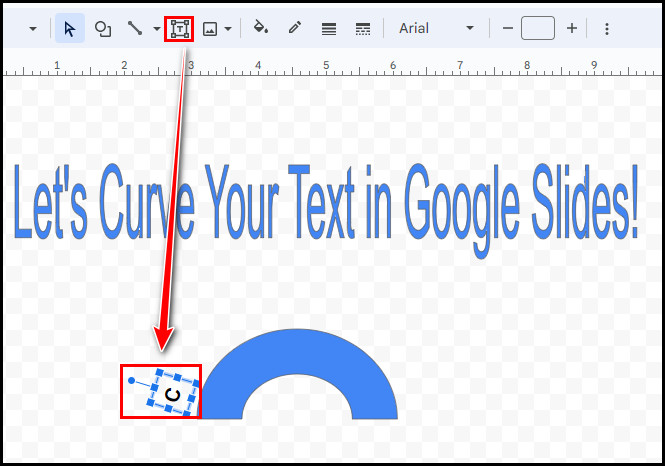
- Click More (vertical three dots) to customize the text.
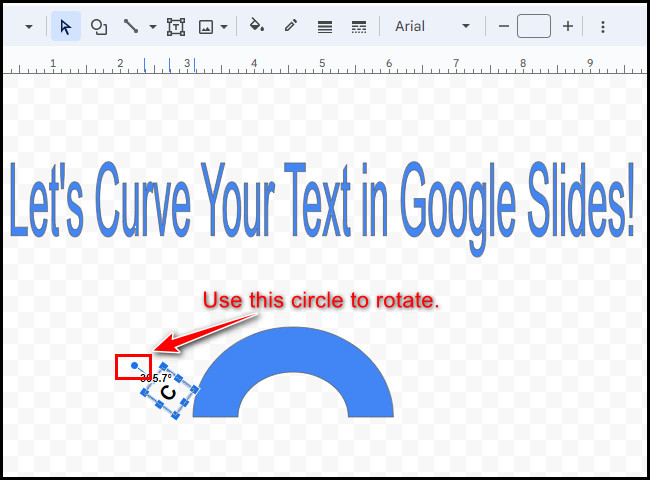
- Use the circle on the selection box to rotate the text box.
- Insert another Text box and type the second letter.
- Repeat the process for all letters to finish the curved text.
- Delete the inserted curved shape.
- Copy the curved text and paste it into your slide.
You can double-click on the inserted text to further customize the text. It also allows you to customize each letter individually, which is very convenient for post-editing.
However, if you have a long sentence to curve, this procedure is unsuitable as it will take too much time. In such scenarios, you should use MS PowerPoint to curve your text.
2. Use Microsoft PowerPoint
If you don’t need post-customization for curved text, you can make a curved text box in PowerPoint and then bring it to Google Slides. For step-by-step instructions, go through the following process.
Here’s how to curve text using PowerPoint for Google Docs:
- Launch PowerPoint on your computer and create a new blank presentation file.
- Insert a Text box and type your text.
- Navigate to the Format tab from the top ribbon.
- Click on Text Effects under the WordArt Styles group.
- Hover your mouse on Transform and choose a curve style.
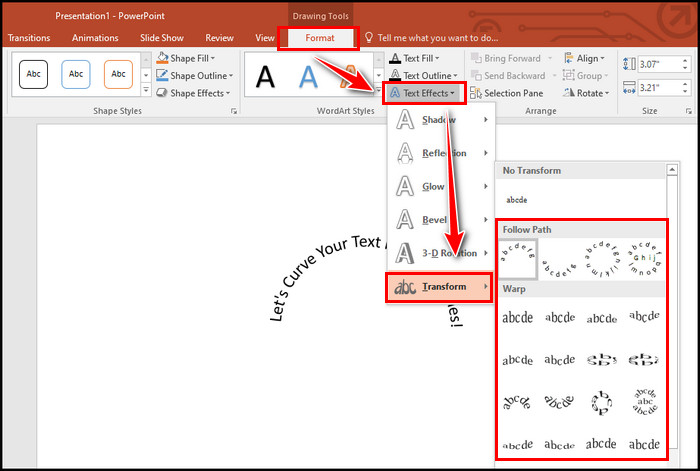
- Select the curved text and press Ctrl + C (Command + C on Mac) to copy the text.
- Return to Google Slides and press Ctrl + V to paste the curved text.
After adding the curved text from PowerPoint to your Slides, you can adjust the text box size according to your needs.
By inserting WordArts in MS Word, you can efficiently craft some remarkable curved text and later use them in your Slides to enhance your presentation.
3. Use Online Tools
You’ll find numerous online curved text generators that can create outstanding curved text using various text effects.
For instance, the TroyGram curved text generator can make visually soothing curved text without any technical skills. MockoFun is another text editor that can generate spiral or reversed spiral text in no time.
Nowadays, Canva has become the first choice for several graphics designers. If you already use Cava for your daily graphics work, you can utilize Canva to make curved text and use the text in your Google Slides.
How to Wrap Text in Google Slides
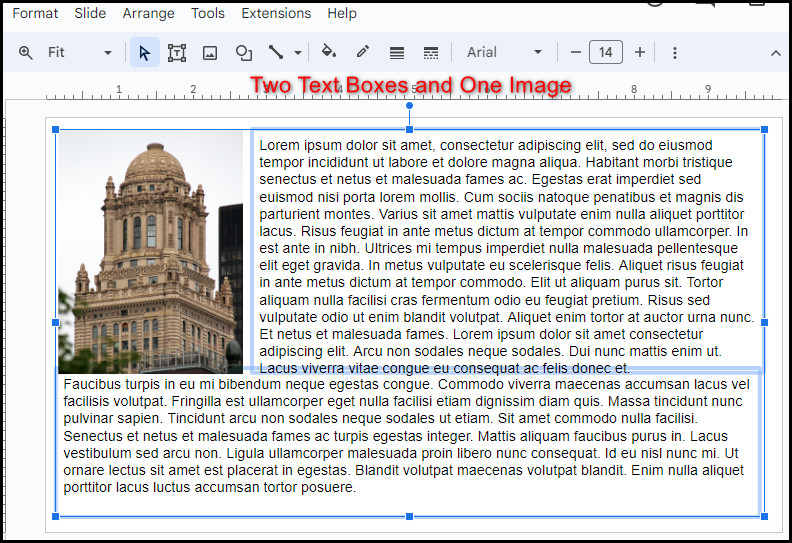
Google Slides doesn’t include the feature to warp text. However, you can still wrap your text in Slides. To do so, add an image to the slide, draw two text boxes using the Text box tool, add your text in the box, and adjust the text box to simulate a wrapping text effect in Google Docs.
Since you cannot wrap text directly in Slides, use multiple text boxes or placeholders. The elements are separate from the Slides, so you can quickly move and resize if necessary.
Perform the following steps to wrap text in Google Slides:
- Click on Insert Image and add your image to the slide.
- Adjust the image size so that you can place text around the image.
- Click on the Text box and draw a text box precisely.
- Type text in the Text box.
- Add another Text box at the bottom of the image and type the text.
- Adjust the text box size to bring the wrap text effect.
You can also use the Align & Indent option of the Format tab to create more precisely the text. Once satisfied with the adjustment, use the wrap text in your Google Slides.
How to Rotate Text in Google Slides
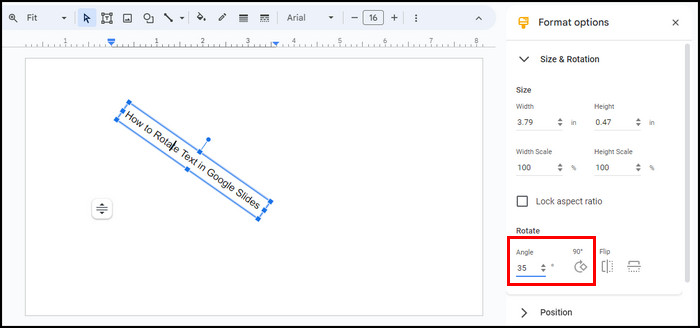
To rotate your selected text box in Google Slides, click on the Format tab, select Format options from the dropdown menu, and then expand Size and Rotation. Locate the Angle box, Rotate 90° buttons, and change the value accordingly to rotate your selected text box.
Besides, under the Size and Rotation option, you’ll also find the option to flip your text vertically or horizontally. To learn the process, go through the following steps.
Execute the subsequent process to rotate your text in Google Slides:
- Select the text box you want to rotate.
- Navigate to Format > Format options.
- Locate Size and Rotation on the right side and click on it to expand.
- Click on the Angle box and type the rotation angle for the text box.
Here, you can also flip your text vertically or horizontally by clicking on the Flip vertically or Flip horizontally button next to the Rotate button. 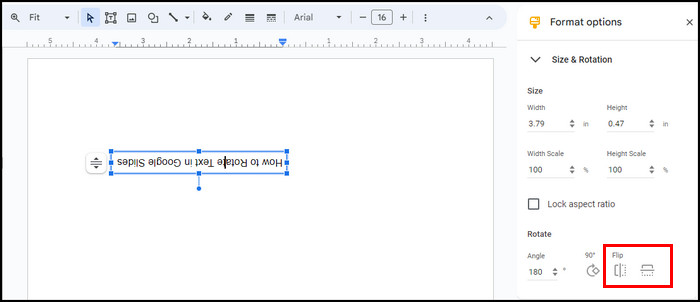
Frequently Asked Questions
Why should you use curved text in your Google Slides?
If you use curved text in your presentation, it will help the content to stand out from the crowd. By customizing the curved text, you can dramatically increase the visual interest and grab the audience’s attention.
Where is the shape tool in Google Slides?
In Google Slides, the Shape tool is available on the top toolbar. Locate the Shape icon on the top toolbar, click on it, hover your mouse over Shapes, and choose your preferred one from various shapes.
How do you create circle text in Google Docs?
To create circle text in Google Docs, you must build the circular text shape using a third-party tool such as MS Word, PowerPoint, or Canva. Then, copy the source’s text and paste it into Google Docs.
Wrap Up
Google Slides is missing a built-in feature for curving text. So, we use other workarounds to make text curves in Slides, like Google Drawing, PowerPoint, and online tools.
Which method did you find more easy to follow? Let me know in the comment below.