In our day-to-day lives, labels are beneficial to identify & organize different items in a clear and accessible way. Google Docs allows you to make custom labels conveniently.
You can use those labels to mark boxes in stores, warehouses, factories, or mail envelopes.
In this article, I will show you how easily & quickly you can prepare labels and print them on Google Docs.
Let’s dive in without further ado.
Can You Make Labels in Google Docs?
Yeah, you can quickly form Google Docs labels.
However, Google Docs has no direct option to create label templates by default. You have to use add-ons or tables to generate labels on your Docs. Usually, individuals tend to use dedicated label-making software. Because most of them are unaware of the label-making feature or process in Docs.
But it is pretty easy to create custom label templates on your Google Docs with the label-making add-on’s assistance or by a table. You can also print the labels directly from your Docs.
How to Make Labels on Google Docs
To make new labels on Google Docs, you can use built-in tables. It’s easy to design labels with a table. It is convenient to insert contents into each cell for creating labels. Alternatively, you can get add-ons from the Extensions tab & use that to design & print labels in Google Docs.
Google Docs is a popular word processor. People use it to create, edit, and collaborate with others online. Despite lacking dedicated label-making options, you can use Google Docs to shape and print a label template.
Here are the methods to create labels on Google Docs:
Use a Table
Google Docs lets you design and create labels in Google Docs without add-ons. And that option is using a table.
It is the most straightforward built-in process to design your own label template with the number of rows and columns you need. After that, you have to insert text into each cell to finish the label-making.
To make labels using the table option in Google Docs:
- Create a new Document on Docs.
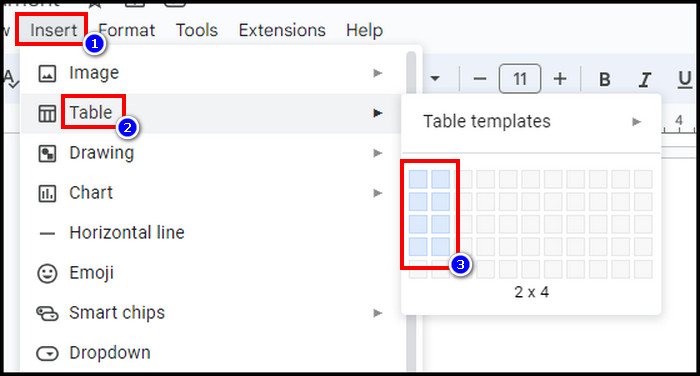
- Click on the Insert tab.
- Hover the mouse on the Table and pick the rows and columns number you want.
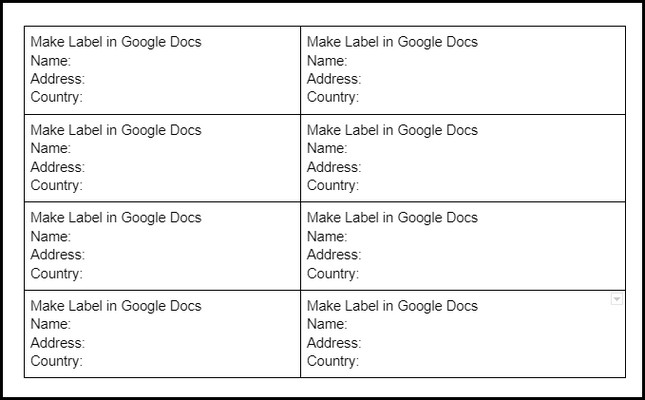
- Select the first cell and type text for the label.
- Repeat the process for each cell until all the labels are finished.
You can customize the table presentation, including its border style, cell background color, or text alignment.
To format your labels in the table in Google Docs:
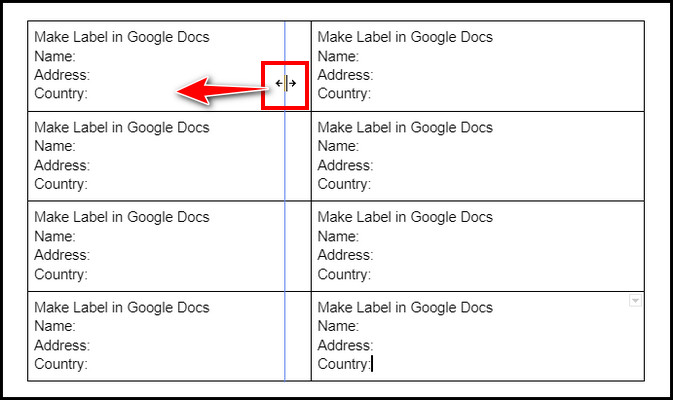
- Click on any border and move it to resize the label’s height and width.
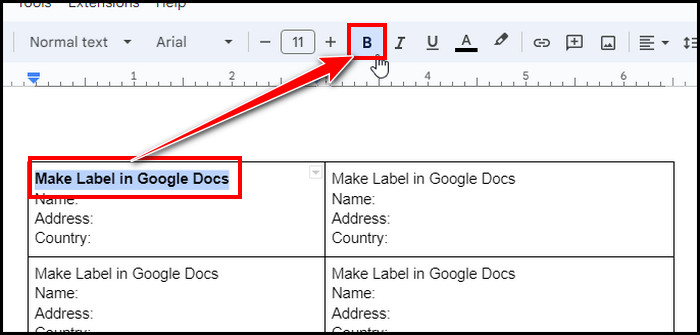
- Select any text like title or essential data to bold and hit the B icon from the top menu bar.
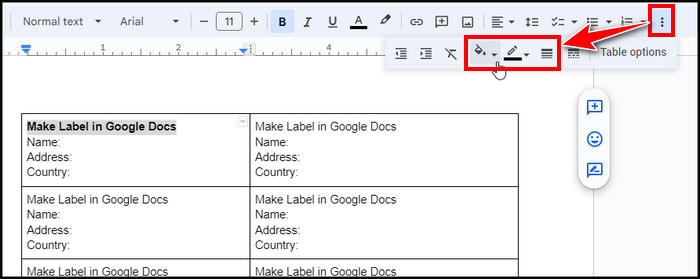
- Mark the Label text, click on the vertical three dots (⋮) from the top right, expand the Background color, and pick any color to change the background color. You can also change the border color, width, or dash from here.
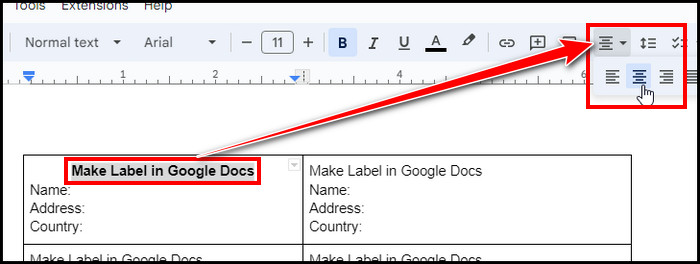
- Click on the align icon from the menu bar & align your label text.
Use an Add-on
You can make free label templates for Google Docs by using some add-ons. If you want some free pre-made label templates, I recommend using Label Maker or Foxy Labels add-on on your Google Docs. You can install those add-ons from the Extensions tab in Google Docs.
Follow the process below to make labels using an add-on in Google Docs:
LabelMaker
Lablemaker is a user-friendly label-maker app that supports Google Docs. You can use a seven-day free trial to get label templates or create high-quality mail merge labels. However, you must get a license with some cost to enjoy its full features.
Here’s how to create a full sheet of labels via Label Maker in Google Docs:
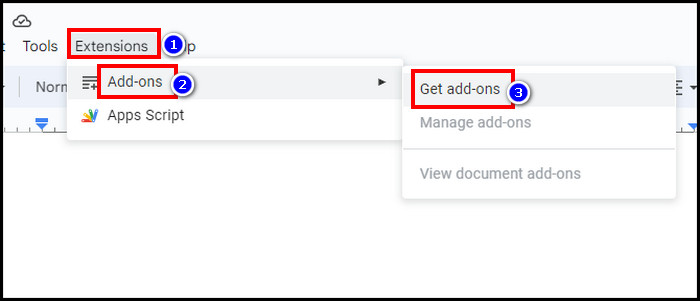
- Click on the Extensions tab on a Google Docs document.
- Choose Add-ons and then Get add-ons.
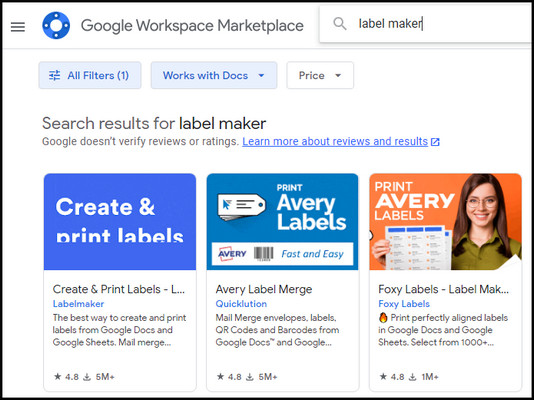
- Search Labelmaker and select Create & Print labels.
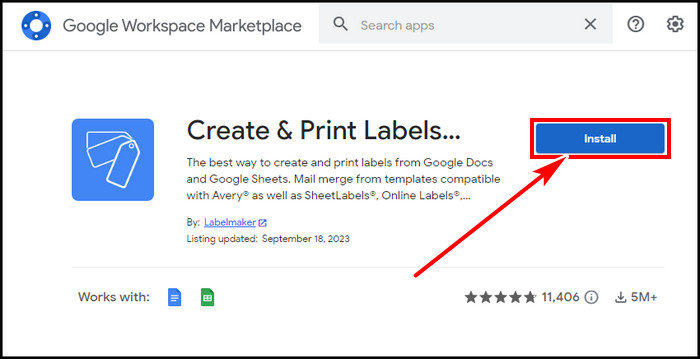
- Hit Install.
- Return to the Doc, expand Extensions, choose Create & Print Labels – Label Maker for Avery & Co, and select Create Labels.
- Click Select a Template from the right side, pick your suitable label template, and hit Use.
- Select Create labels.
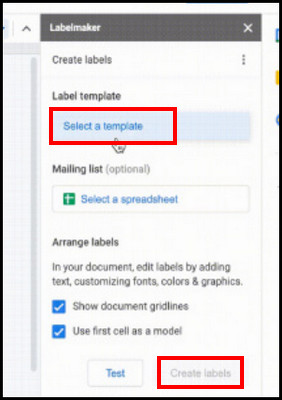
You can also click Select a spreadsheet under the Mailing list section to use Mail Merge in Google Docs. Afterward, pick the spreadsheet to import from and hit Select. Adjust necessary data changes after importing the data.
Additionally, you can tick the Use first cell as a model, which will apply the changes to all the labels.
Foxy Labels
Foxy Labels is an alternate choice of label maker. It also provides label templates, including customization options. Though it supports up to 100 Labels per document in the free version, you have to pay to get the Google Docs integration.
Follow the below step-to-step guide to add labels in Google Docs via Foxy Labels:
- Install the Foxy Labels add-on from the Google Docs Extensions.
- Click the Extensions tab once again, pick Foxy labels– Label Maker for Avery & Co, and select Create Labels.
- Pick a template from the Label Template section and hit Apply template.
- Type the label text and hit the Create labels button to finish it.
Now, as you finish creating the labels on Docs, is there a way to print labels in Google Docs? Yes, continue reading to learn the process.
How to Print Labels in Google Docs
When you are done making custom labels in Google Docs, you can use those in other places or print them like other documents. After all, they are also printable and need to be attached to the product to tag them.
It’s not difficult to print labels like printing comments in Google Docs. You can easily access to print & customize the print options for the labels.
To print labels in Google Docs:
- Connect your printer and turn it on.
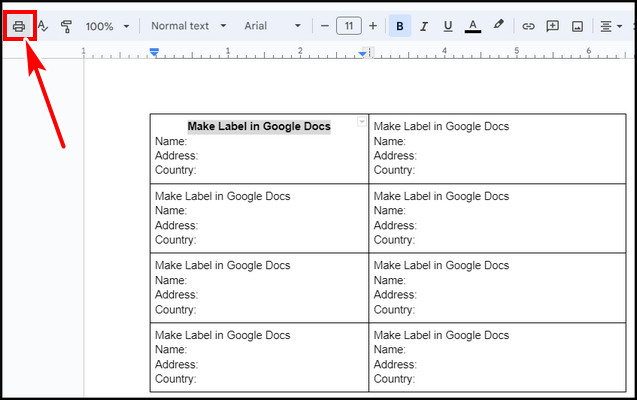
- Click on the Printer icon from the top menu bar.
- Select your Printer, pages, and color selection.
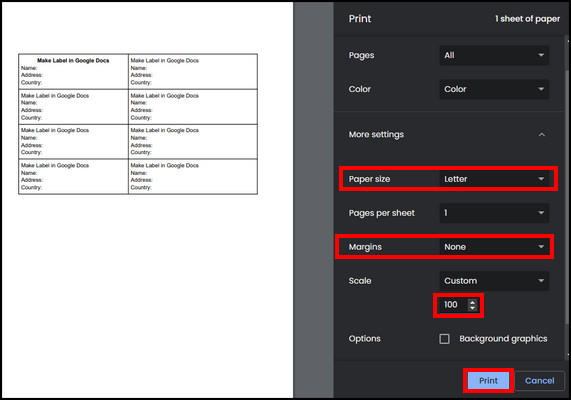
- Expand More settings and customize the paper size, margins, and scales.
- Hit Print.
I recommend setting the margin to None and the scale to 100%. Also, if you use Avery® US Letter 5160, select paper size to Letter.
Why Create Labels with Google Docs?
Labels help you arrange your products effectively. This is a time savior in many aspects. Labels made on your Google Docs also help promote your brand when you include a brand logo on it.
Here are the reasons to use labels made with Google Docs:
- Arrangement: Labels or tags are vital in categorizing various products based on their dimension, shape, color, etc. It significantly provides a clutter-free environment.
- Effectiveness: When you are stamping products with labels, it helps you to retrieve the targeted item from many products quickly. This saves valuable time and effort.
- Branding: You can include your brand trademark in a label in Google Docs. It reinforces your brand identity when used on envelopes or packages.
- Delivery: Labels expedite the courier process if you correctly make them. You should include recipient addresses, postal codes, and barcodes. It ensures that the items reach their intended destination.
FAQs
What is the print shortcut to print labels in Google Docs?
You can select the print icon to print the labels in Google Docs. Alternatively, press Ctrl+P on Windows to open the Print option. Press Cmd+P for Mac.
Are there label templates in Google Docs?
Google Docs lacks a native label template feature. However, by using label maker add-ons like LabelMaker and Foxy labels, you can use free templates for your labels.
Final Thought
Labels enhance your organizational systems. With Google Docs, you can easily make your labels using tables. You can also use pre-made templates from level-maker add-ons.
In this article, I described how to create labels in Google Docs & how to print them afterward.
For further assistance, please leave a comment.
Have a nice day!