Microsoft Forms allows users to collect responses in different ways. However, If you want to send email based on each form response, you won’t find any straight option.
But you can use Microsoft Power Automate to create a flow that will send an email based on the user’s response and redirect the response to the correct person.
So, in this article, I will demonstrate four easy steps to send email based on the Forms field value.
Without further discussion, let’s get started!
How to Send Email Based on Form Response with Power Automate
In Microsoft Forms, there are no direct options to send an email based on the Forms responses. However, you can utilize Microsoft Power Automate to create an automated cloud flow and use the Get Response Details action to send an email for each form response.
Microsoft is the best tool available to collect user’s responses. However, there are some other similar tools, such as Google Forms. But Microsoft Forms is the best tool for creating forms and collecting user feedback. Check the key differences between Google Forms and Microsoft Forms.
You must follow four steps to configure Microsoft Forms to send an email to different people based on a form response. Consider the following steps to get an email based on the Microsoft Forms responses.
Here are the steps to send emails based on the form response:
1. Create a Microsoft Form
Let’s start with creating a new form in Microsoft Forms. To do so, go to Microsoft Forms and perform the following instructions.
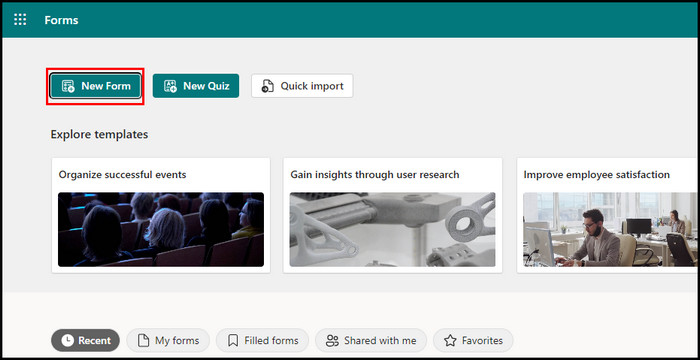
Here’s how to create a new form in Microsoft Forms:
- Click on New Form.
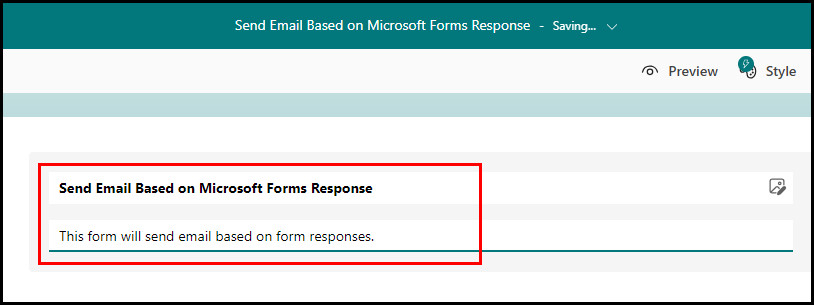
- Add a title and description for the form.
- Click Add New and add Choice, Text, or Rating.
- Select Preview to check the form.
- Click on Collect Responses.
- Choose the “Anyone can respond” option.
To send an email based on form response, you must create a new flow using PowerAutomate.
2. Create an Automated Cloud Flow
Once you’re satisfied with the form, create a new cloud flow that will trigger when someone responds to the form.
Perform the following steps to create an automated cloud flow:
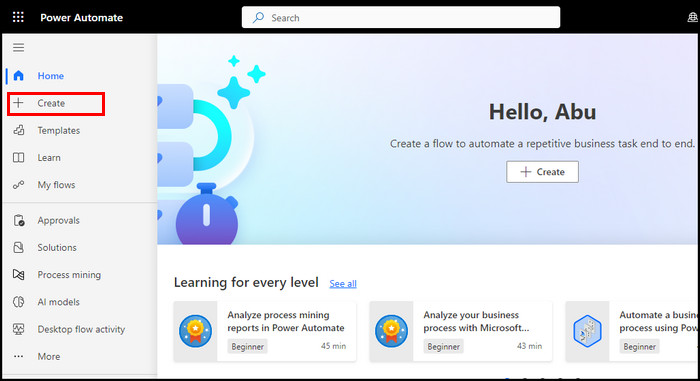
- Go to Microsoft Power Automate.
- Click on the Create button.
- Select Automated cloud flow.

- Add a name for the flow and choose When a new response is submitted.
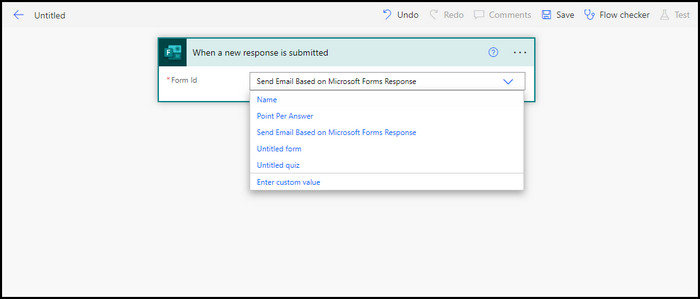
- Click the Create button. It will open the flow builder with a new window.
- Click the Form ID dropdown list and choose the form you created earlier.
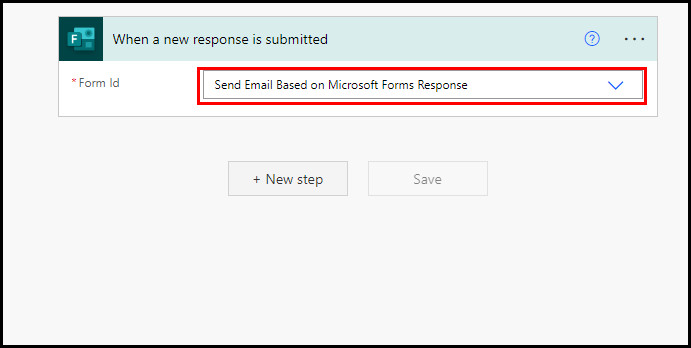
- Click the New step button.
You’ve successfully created a new flow. However, this trigger doesn’t include the form responses. So, let’s create another action to bring the form responses into the flow.
3. Get Response Details
With the Get Response Details action, you can connect the flow with your form. For step-by-step instructions, consider the subsequent steps.
Execute the subsequent instructions to get the response details into the flow:
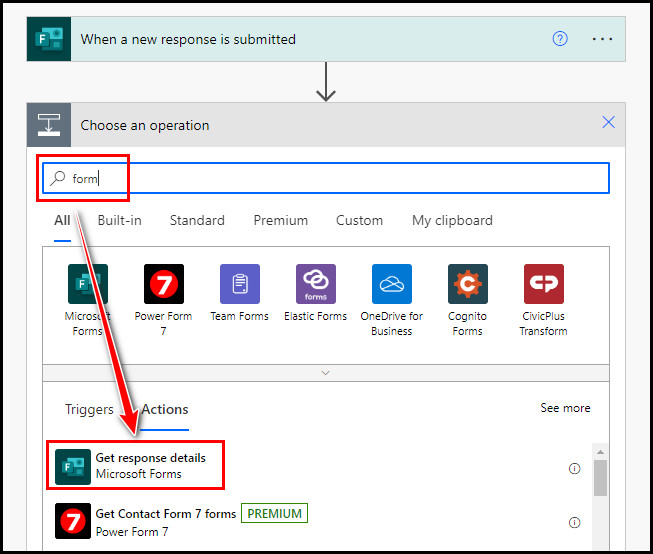
- Search for form in the Search connectors and actions bar.
- Choose Get response details from the search results.
- Click the Form ID dropdown list and select the same form.
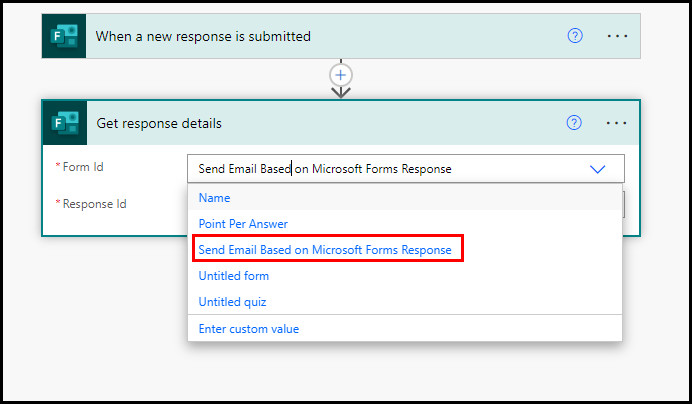
- Choose Response ID from the When a new response is submitted trigger.
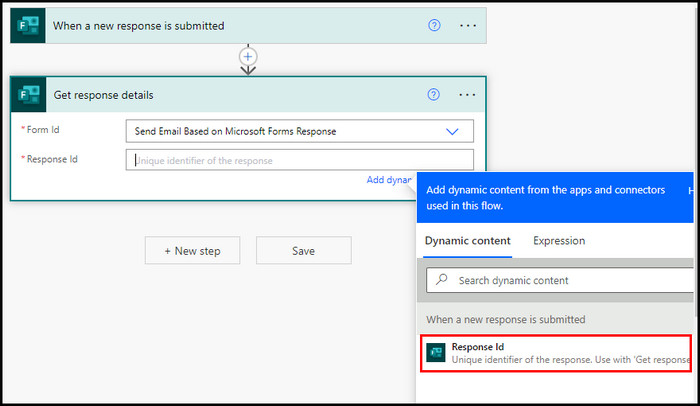
By adding dynamic content from the apps and connectors used in this flow, you can now set an action to send email notifications to multiple recipients based on their responses.
4. Add Switch or Condition Action
If you have only added two options and want to set the Power Automate condition based on these two form responses, you should use the Condition action.
However, if you’ve more than two options, you should use the Switch action to manage the conditions more efficiently.
Following are the steps to add an action to send email based on field value:
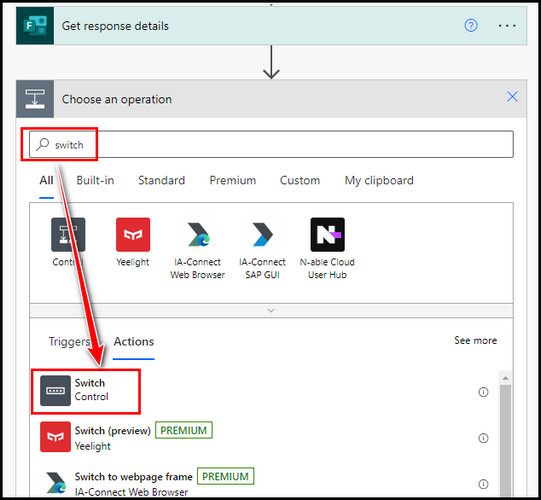
- Click the Next step button.
- Search for switch and select Switch Control from Actions.
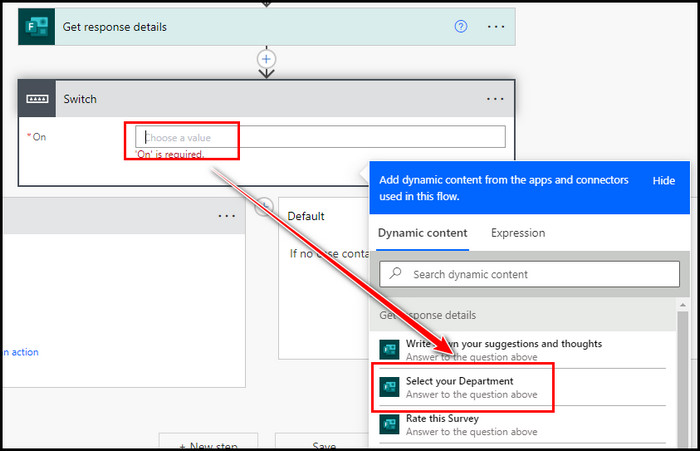
- Click on the On field and choose the option from response dynamic content. It will determine what email to send to whom.
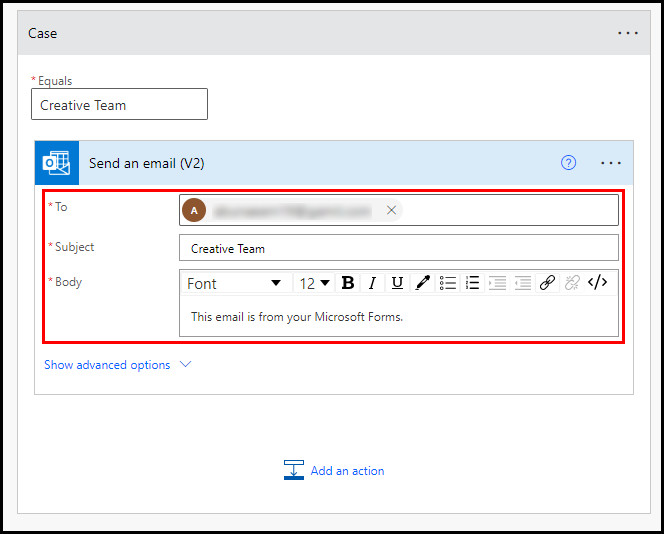
- Type the first option of your form into the Equals field of Case.
- Click Add an action.
- Search and add Send an email (V2) action to Case.
- Enter the To, Subject, and Body sections for the email.
- Click Add Case to add another case (Case 2).
- Type the second option of your form into the Equals field of Case 2.
- Add Send an email (V2) action to Case 2.
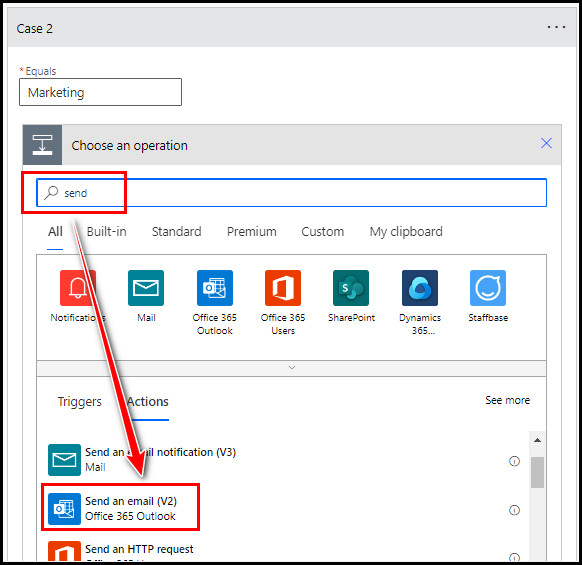
- Enter the To, Subject, and Body sections for the email.
- Click Save to complete the flow.
Voila! You’ve successfully created an automated cloud flow that will send email when a form is submitted. Remember that adding an email account from outside your organization may fail the flow.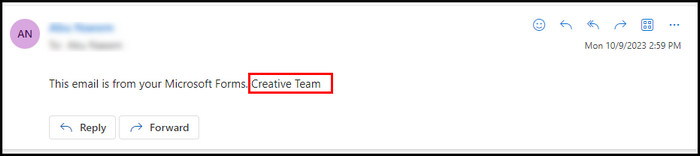
However, if you cautiously perform all the above steps, you will automatically get response details from Microsoft Forms Power Automate based on the form responses.
You can also configure Microsoft Forms to get email notifications for each response. It will automatically send a copy of responses to your Outlook inbox for each form response.
Frequently Asked Questions
Can Microsoft Forms send emails based on response?
There are no direct options that can trigger Microsoft Forms to send emails based on the form responses. However, using Microsoft Power Automate, you can create an automated cloud flow condition to send emails based on form response.
Can you automate Microsoft Forms?
Yes, you can efficiently automate your Microsoft Forms using Microsoft Power Automate. By creating a flow for your Forms, you can automate Microsoft Forms to perform one or multiple tasks.
How do you get emails from each response in Microsoft Forms?
To get emails from each Microsoft Forms response, open your form, click on the three dots, and choose Settings. Here, check the box of each response to get an email for each form’s responses.
Concluding Words
The default email notifications of Microsoft Forms can only notify the form owner when a response is submitted. Fortunately, using Microsoft Power Automate, you can easily create a flow to send emails with the form response details to the right person.
I have shown the most straightforward methods of creating a flow to send an email based on the form response.
If you need any help with building the flow, let me know in the comment section below.