Oculus Quest 2 is one of the most widely used accessories, and it provides some of the best VR experiences ever. But did you ever get bored of being in the same virtual reality room when you wear the Oculus headset? If the answer is yes, you’ll want to read this article.
I spent more than two years using my Oculus headset in the same default room, not knowing there was a way to change my VR experience completely. I don’t want you to experience that.
Now, I know that the virtual environment in the headset isn’t really a concern for a lot of people since they usually focus on the menu items, but trust me, it can help you spice up your VR experience in a good way.
So, if you own a VR, grab some snacks and read this article to learn how to do this step-by-step.
Can You Change The Room In Oculus Quest 2?
Yes, you can change the room in Oculus Quest 2 by choosing from a variety of different backgrounds. However, it’s important to note that you can only select from a limited number of pre-built environments, and you can’t import any custom virtual environments by default.
That said, you can choose to download a third-party app like SideQuest to sideload more than a thousand different custom-made virtual environments to use.
If that sounds like something you want to install, follow these steps:
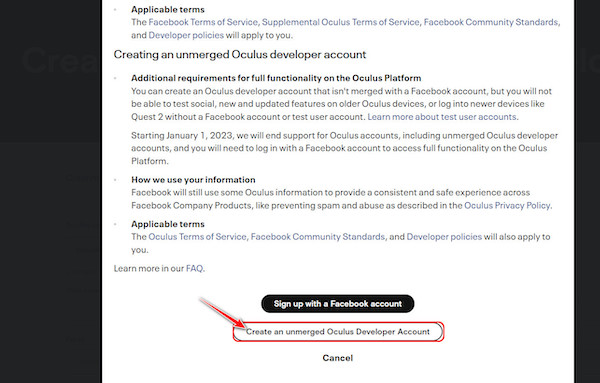
- Turn on the developer mode in your Oculus headset. But when you do that, Oculus will check whether you are a registered developer. To pass the check, you have to create a developer account.
- Scroll to the bottom of the page and click on either of the two options. I suggest selecting Create an unmerged Oculus Developer Account.
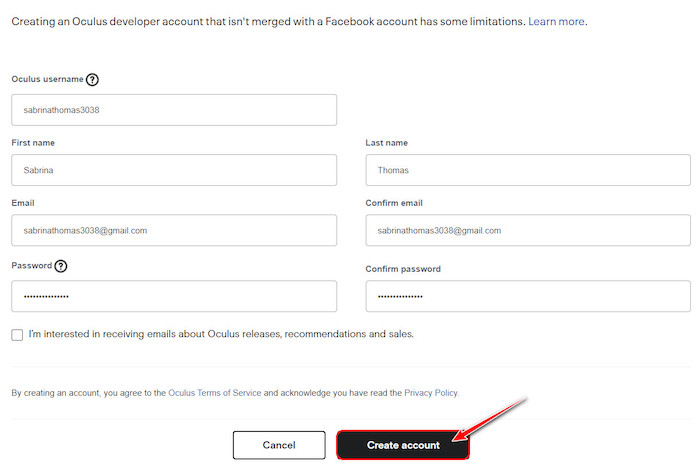
- Fill in all the textboxes with the required information and click on the Create Account button.
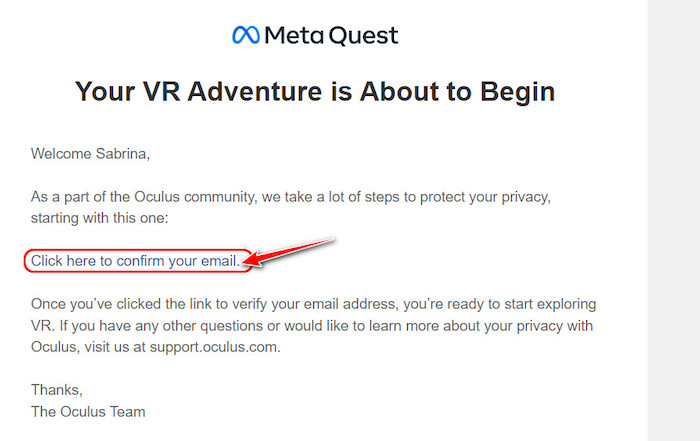
- Click the link sent to your email. Login to your Gmail account and click on the email from Oculus.
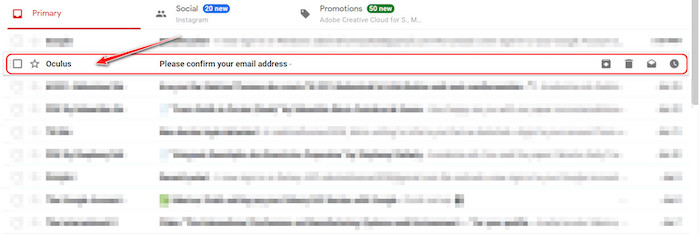
- Click on the hyperlink on the next page to verify your email.
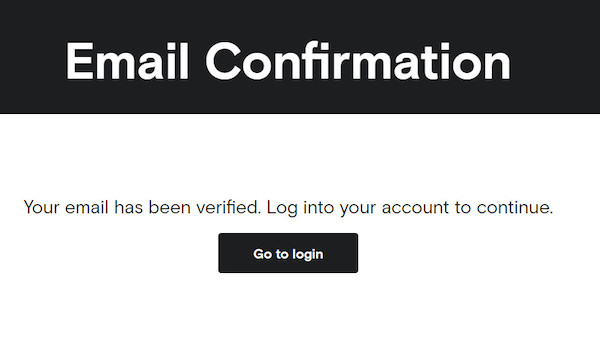
- Wait for the verification status to appear. Once it says your email is verified, go to oculus developers to move to the next step.
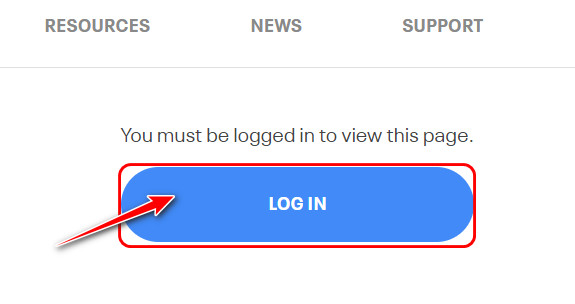
- Select the login button to proceed.
- Click on the ‘Have an Oculus Developer account?’ button.
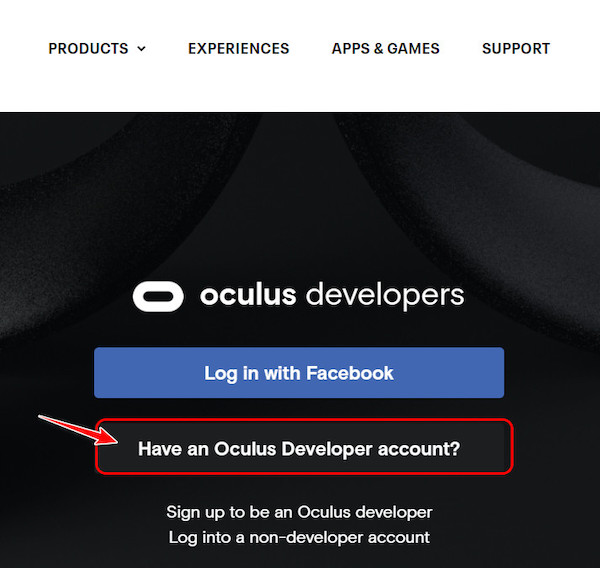
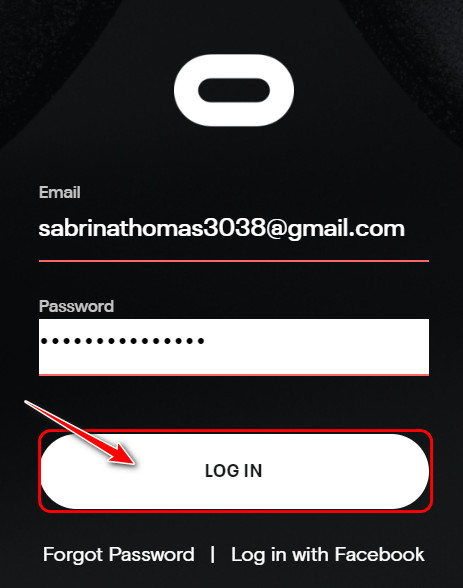
- Type in the email and password you used to create and verify the developer account earlier and click on the Login button.
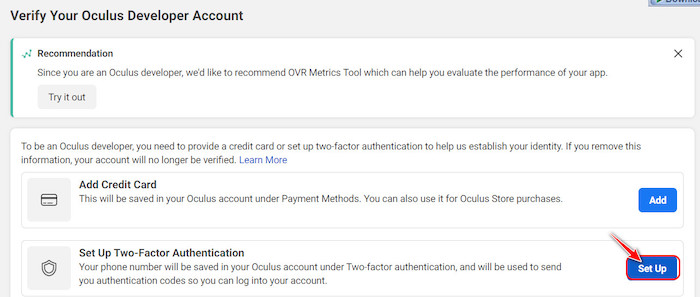
- Click on the Set Up button.
- Open a sliding window to the right where you must select your country from the drop-down menu, type in a working phone number, and click on the Submit button.
- Click on the Submit button on the following page after typing in the 6-digit verification code sent to your number.
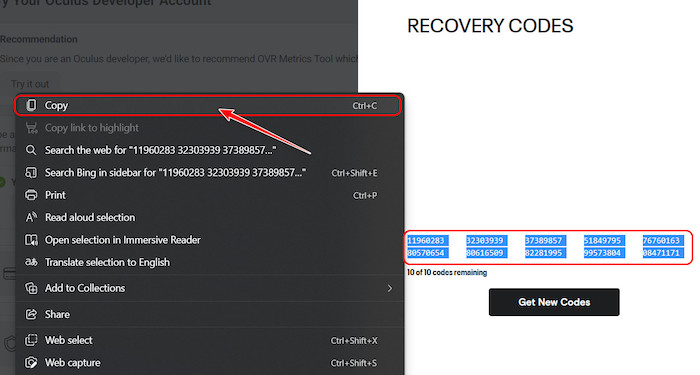
- Click on Get Codes and copy all the codes to a notepad or somewhere secure. You can use these to log in to the Oculus developer account if you ever forget the password.
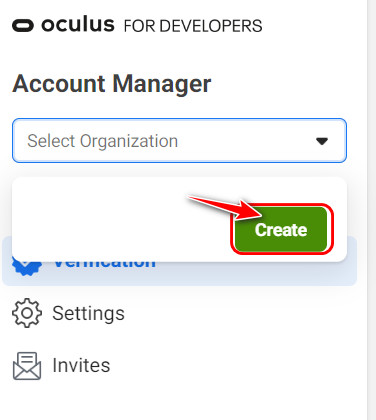
- Expand the drop-down menu below Account Manager on the left and click on Create.
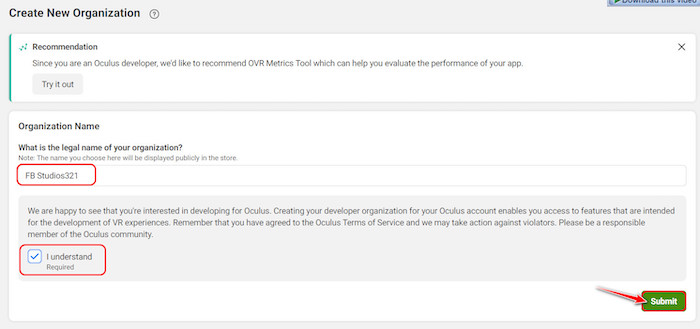
- Type a random name for your organization in the text box, check the ‘I understand’ checkbox and click on the submit button.
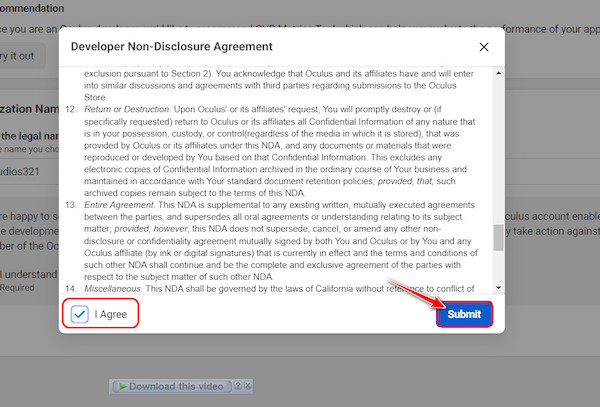
- Read the terms and conditions carefully on the new pop-up window and check the ‘I agree’ checkbox. After that, click on Submit.
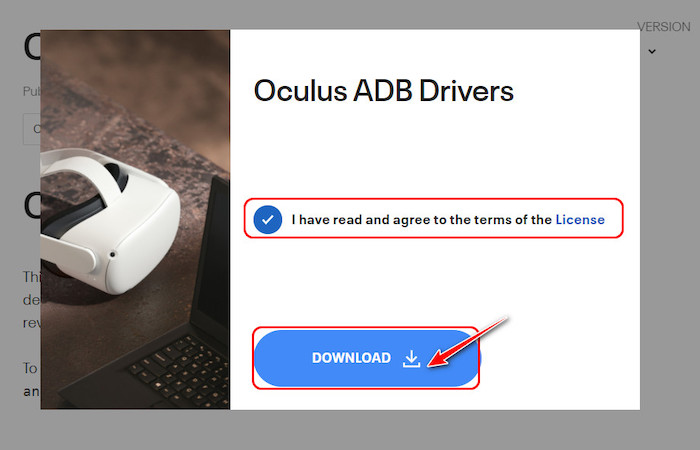
- Go to Oculus ADB Drivers and click on the Download button.

- Select the checkbox and click on Download on the pop-up window to start the download process.
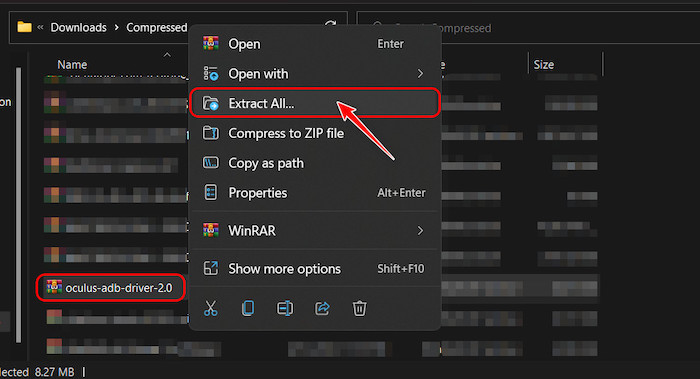
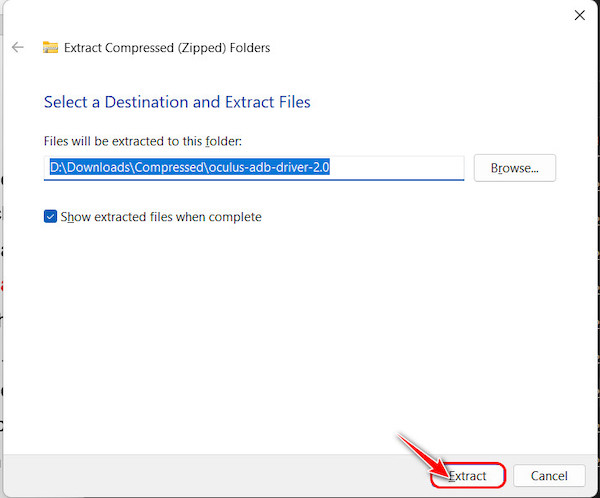
- Navigate to the Downloads folder where it’s saved, right-click on the downloaded file and select ‘Extract All’.
- Click on the Extract button in the next window.
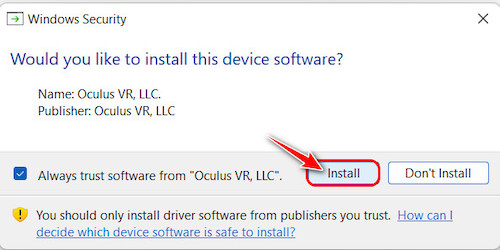
- Once it’s extracted, the folder should automatically open. If not, navigate to the extracted folder manually. It should be in the same folder. Open both the folders inside and right-click on ‘android_winusb’ or ‘android_winusb.inf’ and select Install.

- If a pop-up window appears, click on Install once again.
- Install the Oculus app on your phone and launch it. Connect your Oculus Quest 2 to the phone app and go to the Quest settings.
- Tap on Developer mode and enable the toggle on the next page.
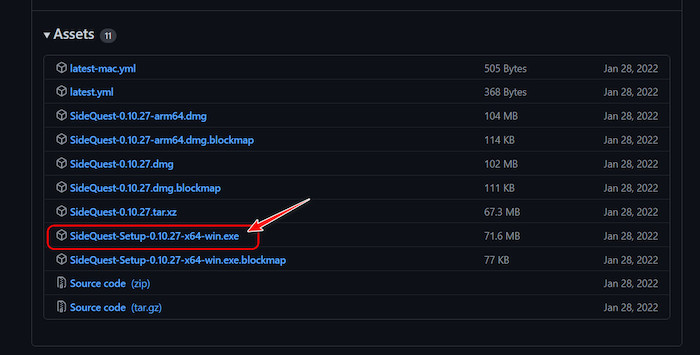
- Download and install SideQuest from GitHub and select the SideQuest setup that ends with win.exe on the website.

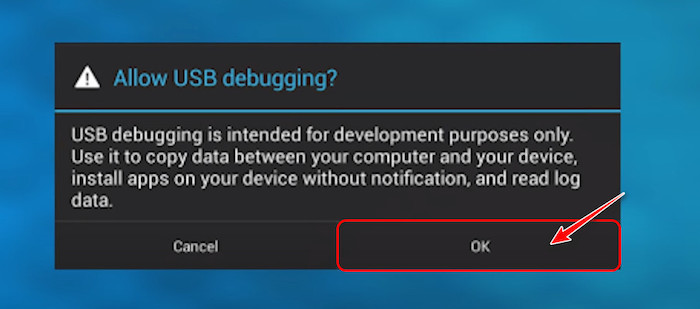
- Install the downloaded application and set it up. Once it’s properly installed and your Oculus is connected, put on your VR and click on OK on the USB debugging pop-up.
- Select any game or custom virtual environments from the entire SideQuest collection and click on ‘Install to Headset’ on the right corner to send it to your Quest device.
Now that you have access to millions of different custom backgrounds check out how to apply them in the next section.
Some more guides on VR Oculus Quest 2 Passthrough.
How to Change My Quest 2 Environment
Changing your virtual reality background is almost as simple as customizing other aspects of your Quest, like your wallpaper, icons, and sounds.
Here are the steps to customize your default room:
- Put on your Oculus Quest 2 headset and go to the default environment.
- Slowly move your head below so you’re looking down, and stop when you see a dashboard with the time and Wi-Fi indicators. Ensure the pointer is highlighting the Quick settings and press the controller button to go to it.
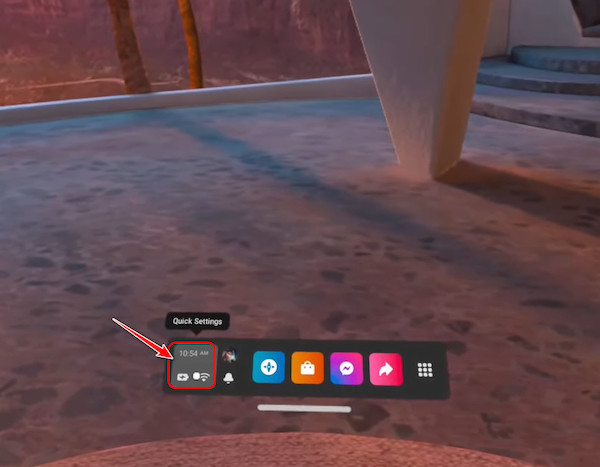
- This will open a window where you need to locate the Settings button on the top right corner and select it.

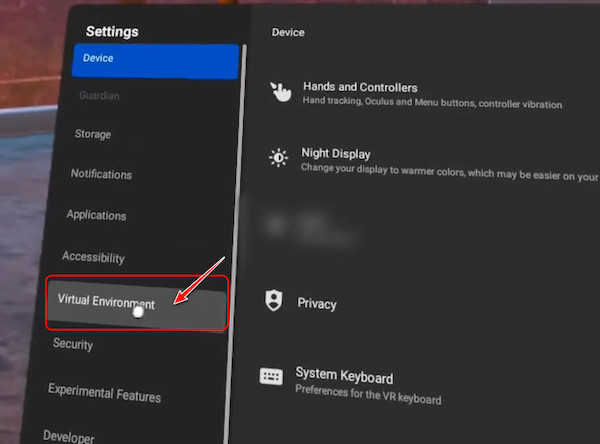
- Go to the Virtual Environment tab from the left pane on the following window to change the background.
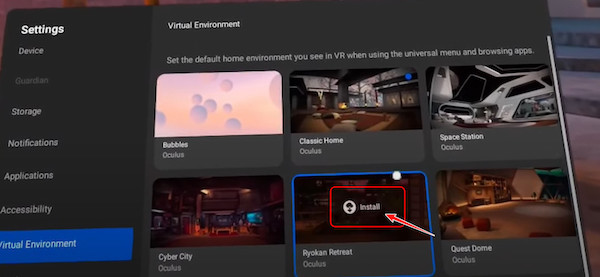
- Now, you should be able to see a list of all the virtual environments provided by Oculus and any you installed using SideQuest. To install a background, simply highlight the virtual environment and select Install.
- After it’s installed, you can apply it by hovering over it and selecting apply.
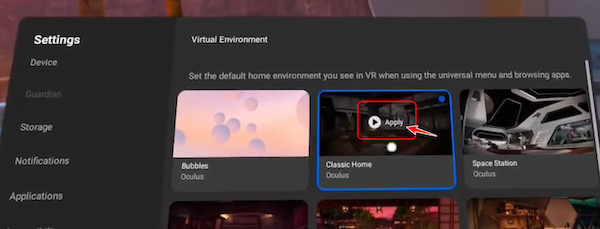
That’s all there is to it. You have successfully applied a custom virtual environment on your Quest 2.
Related contents you should read to VR Oculus Quest 2: troubleshoot hand tracking issues.
FAQ
Question: Can you decorate your Oculus Quest 2?
Answer: Yes, you can decorate your Oculus Quest 2 with skins or stickers. However, your Oculus headset is more prone to heating because all the hardware is built into the headset. So, to prevent unexpected heating issues, you should avoid any decorations that melt quickly.
Question: Can you get Minecraft on SideQuest?
Answer: No, you can’t get Minecraft on SideQuest officially. However, there is a standalone port of the Java edition of Minecraft for Oculus headsets that you can find on SideQuest. It’s known as QuestCraft, and it’s identical to Minecraft.
Question: How long does Oculus Quest 2 battery last?
Answer: Oculus Quest 2 battery typically lasts around two hours if you are gaming and three hours if you are watching videos or movies. However, depending on how you use it, you will experience a longer or shorter battery life.
Question: Can you play Fortnite on the Oculus Quest 2?
Answer: No, you can’t play Fortnite on the Oculus Quest 2. However, there are alternative games developed for Oculus that is very similar to Fortnite. One of the most popular games is Population: One, and it’s available for all VR platforms.
Question: How do I connect Quest 2 to TV?
Answer: You can connect Quest 2 to TV by casting your Oculus display on your TV. This can be done by going to the Utilities panel on the right side and selecting the Cast to option. From there, all you need to do is select your TV to connect them both.
Question: Does the Oculus Quest 2 work with PS4?
Answer: No, Oculus Quest 2 does not work with PS4 officially. However, there are workarounds available that will allow you to connect Oculus Quest 2 with PS4. This involves installing PS Remote VR on your Oculus headset, but this is reported to have high latency issues.
Final Thoughts
Virtual environments are a great way to make you feel like you are in a fantasy world even when you are doing something normal such as browsing through settings in your VR headset.
I hope reading this article helped you to upgrade that experience and if it did, let me know your thoughts on it below.