Microsoft Outlook has been one of my daily work companions for the last few years.
When I felt the feature, I couldn’t think to stop using it in my daily work routine.
I will admit that now I have the cleanest workspace so far. I have to use multiple email accounts in Outlook. I didn’t want to miss this excellent feature as well.
Just keep faith in me. It will boost your productivity level like a pro.
Try not to miss any portion of this reading.
I’m about to demonstrate to you how to add multiple email accounts to outlook from scratch.
Can you have 2 email addresses in Outlook?
A single Outlook profile may accept a maximum of 20 individual email servers.
Outlook is a powerful email organizer and a functional email client. Email addresses not associated with an Outlook account. I mean, you can also add like Gmail and Yahoo Mail here. 
You may pick which email address you send emails from on Outlook.com, and you can have numerous email accounts linked to a single profile.
Using several email lists while using websites or applications that need registration might help keep your email address secure from scammers and advertising agencies.
Also, check out our separate post on add meeting to Outlook calendar easily.
How to add second email to Outlook
I know you are in so much excitement right now to know how to add/set up multiple email accounts in Microsoft Outlook.
I will lead you appropriately. Simply follow my instructions. Later on, I’ll also award you with some bonus points. So stay with me.
Here are the steps to add an additional Email account to Outlook:
- Open your Outlook application from your windows operating system. You can search it from your windows search bar.
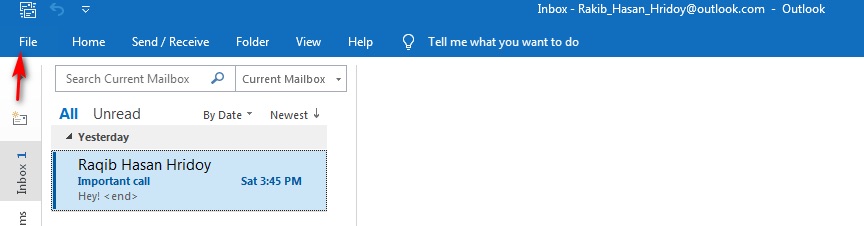
- Find an option named File on the opening page.
- Click on that button.
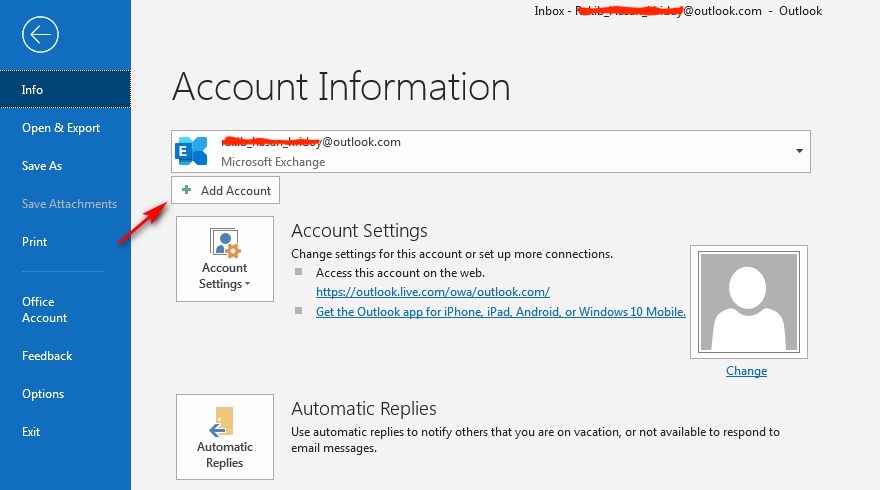
- Find a button named Add Account from the Account Information page. Then click on that button.
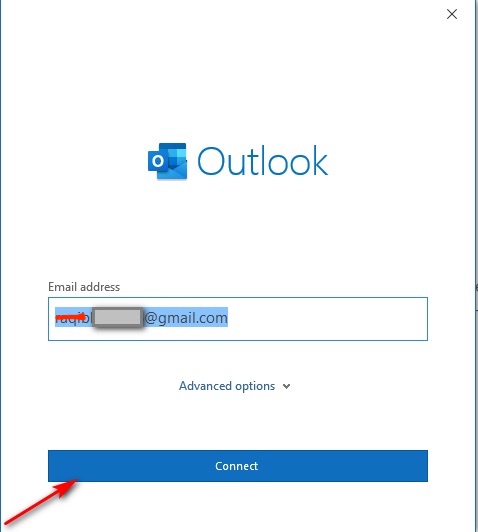
- Enter your mail address in the box.
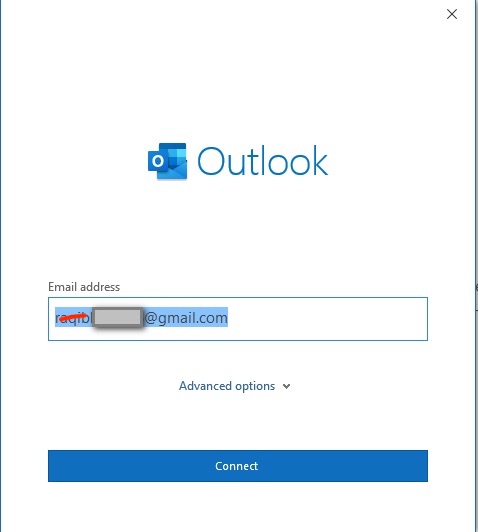
- Click on the Connect button. Please make sure that you have entered the correct email address.
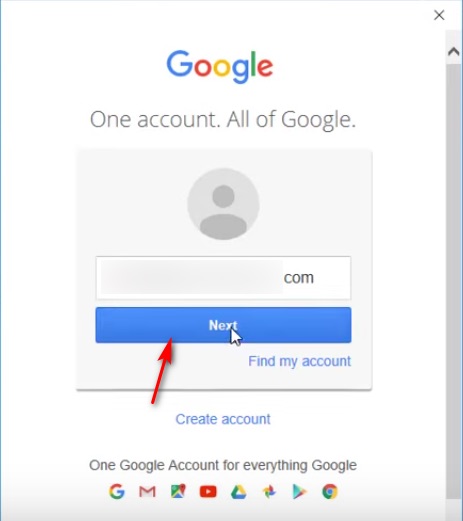
- Look at the mini screen. Here simply click on the Next button.
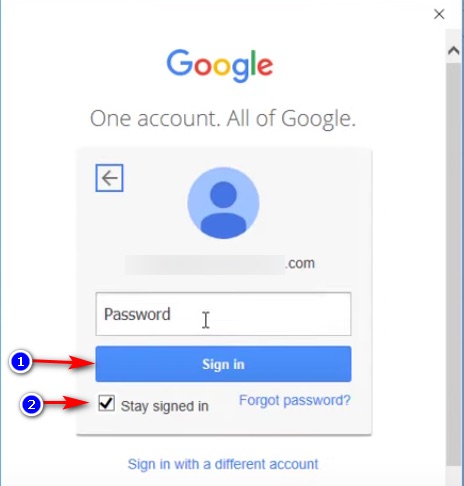
- Click on the Password box. Now you have to enter your password. Please ensure that you are entering the correct password for that particular email account.

- Click on the Sign in button right there. Don’t forget to enable the option mentioned Stay signed in. Then you don’t need to log in again in the future.
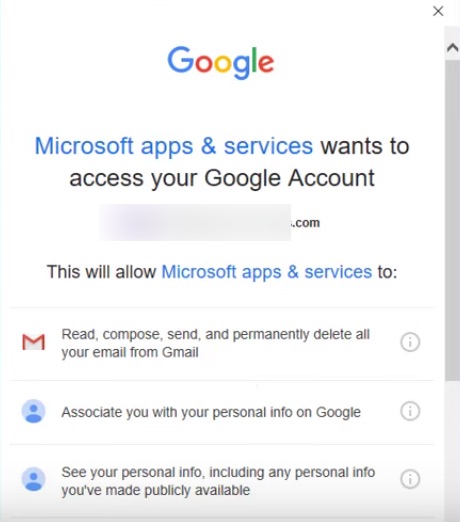
- Read the information and policies of Microsoft apps & services. You can ignore it if you want. It’s totally up to you. Don’t feel any hesitation.
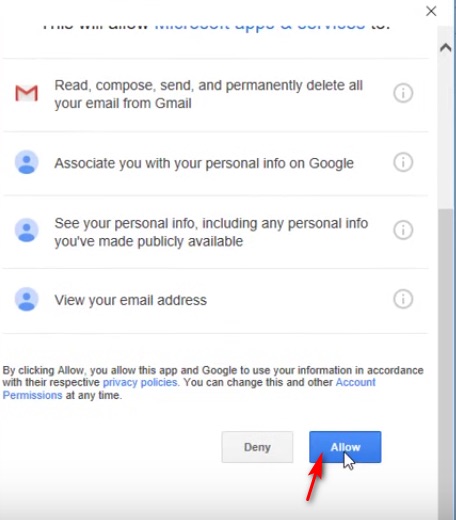
- Scroll down and click on the Allow button.
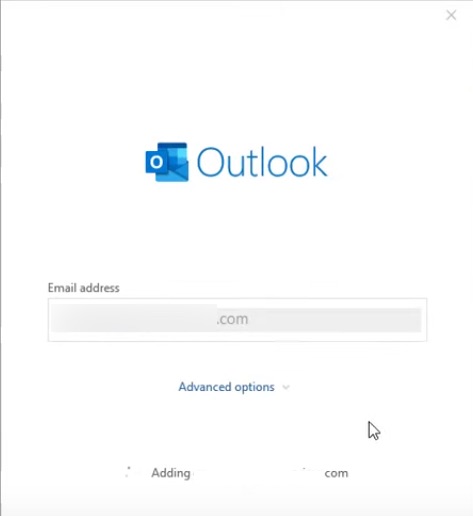
- Notice there is a processing Outlook window. Keep waiting for some moments.
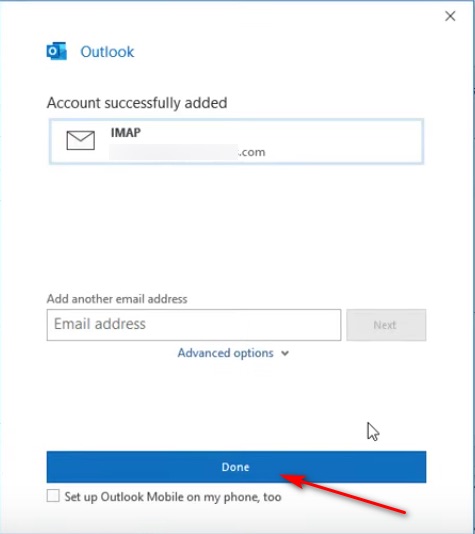
- Look, your account has been added. It is giving you a message that your account has been successfully added.
- Look, there is an option to Add another email address. You can use it if you want another email address to add. For adding another email account, follow the same procedure as I described.
- If you don’t want to add another, then just skip it. It’s the right time to choose your decision.
- Click on the Done button.
- See that there is a list of the added email accounts. You can also change the default email address from it.
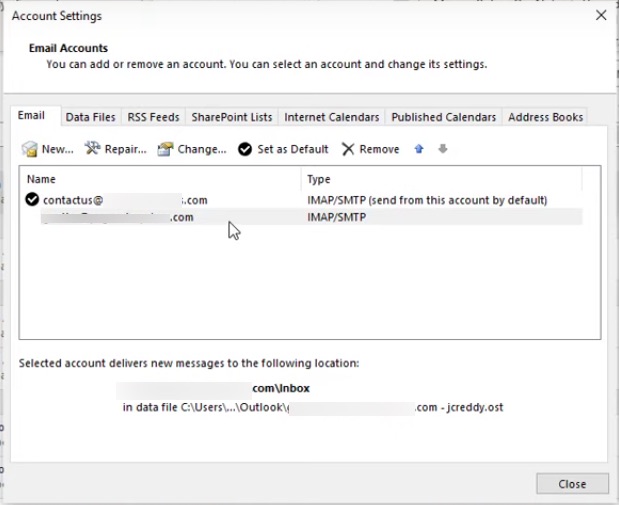
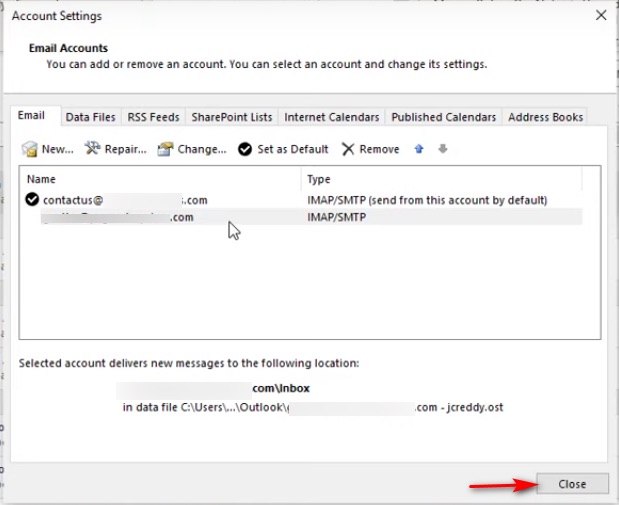
- Click on the Close button to close the current window.
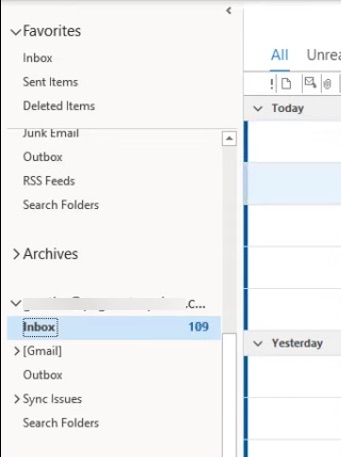
- See, all of your messages are also have been here.
Congratulations, you did quite an excellent job. Now make use of the advantages also save hours.
As I told you before, I have some bonus tips and a ninja technique.
You will love it. Just Keep patience.
Here is the information about how to add your business mail/webmail to your Outlook.
Sounds good, right?
So here we go.
Also read how to add new Mailbox in Outlook easily.
How to connect the webmail/business mail to your outlook.
Nowadays, most people have to maintain proper webmail for their business purposes.
This email address helps them gain a lot of profits in their quarter count.
You can also add your business mail to your Microsoft Outlook profile.
Here are the steps to connect your business mail or webmail to Outlook.
- Open your Outlook application from your windows operating system. You can search it from your windows search bar.
- Find an option named File on the opening page.
- Click on that button.
- Find a button named Add Account from the Account Information page. Then click on that button.
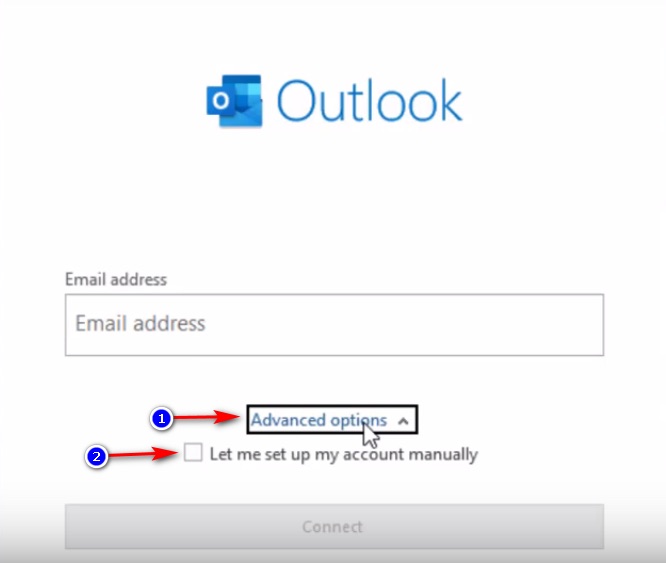
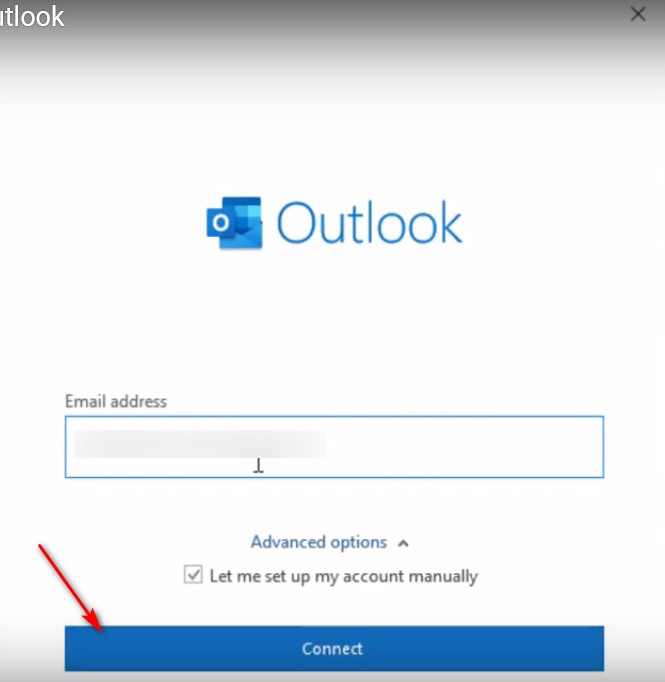
- See, there is a box to enter your email. Below there is an option named Advanced options. Simply click on it.
- Enable the option mentioned: Let me set up my account manually.
- See, there is a box to enter your email address. Enter your Webmail/Business mail address in the box.
- Click on the Connect button. Please make sure that you have entered the correct Webmail/Business mail address.
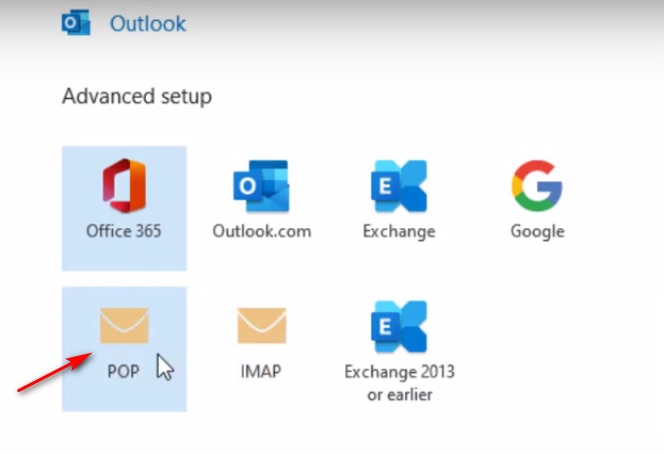
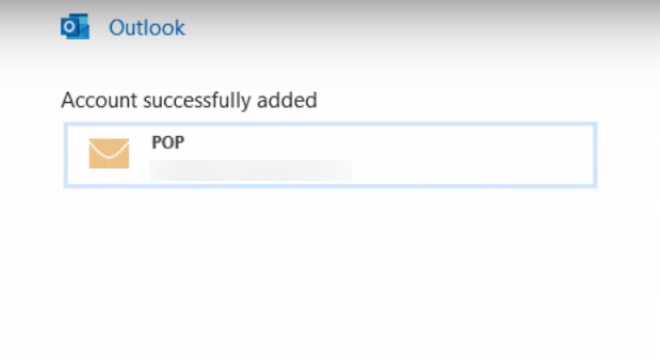
- Select POP from the appeared window.
- Look at the window named POP account settings.
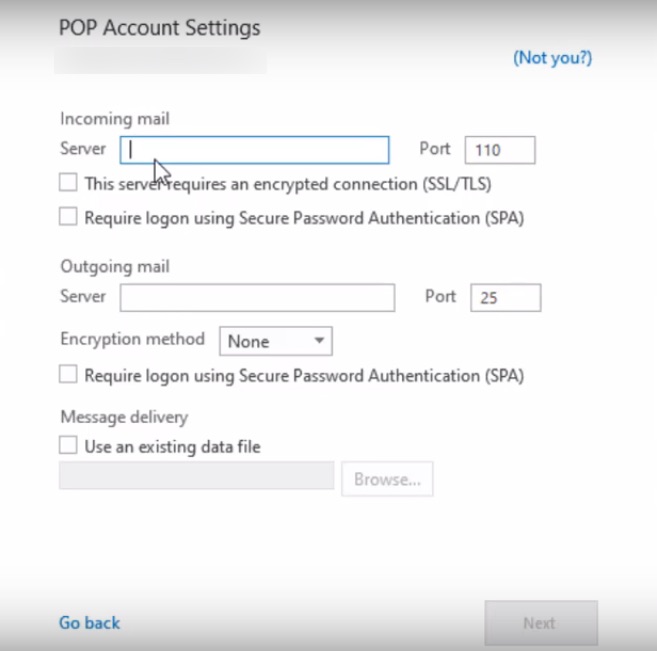
- Enter all your necessary information to set up. It is a very important phase. Try to avoid any kind of mistake here. Then press the Next button here.
- Enter your password for that business/webmail address. Please ensure that you are entering the correct password for that particular email address.
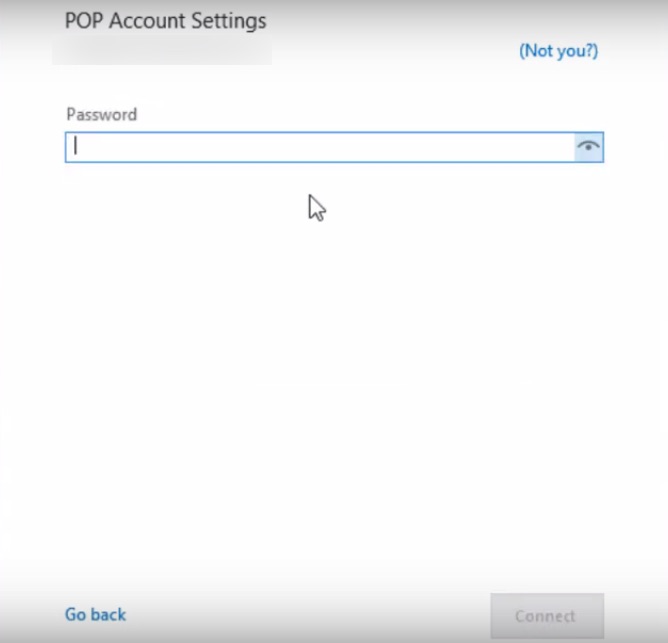
- Click on the Connect button.
- Look, your POP account has been added. It is giving you a message that your account has been successfully added.
- Look, there is an option to Add another email address. You can use it if you want another business email or Webmail address to add. To add another business email or Webmail account, follow the same procedure I described. If you don’t want to add another, then just skip it. It’s the right time to choose your decision.
- Click on the Done button.
So all is done! Told you that it is so simple than you think. You have done incredibly well today.
Continue with your good and clean work!
But do you know that Microsoft Outlook has some advantages and disadvantages?
Follow our ultimate guide if you want to fix Outlook not making notification sound.
How to use multiple email addresses in Outlook with one account?
Shared mailboxes are so much important. A group of multiple people may need a shared mailbox.
People can send/receive emails from the common email address.
When someone from the group gives feedback to a mail address, then it appears in the shared mailbox, not in the personal inbox. 
It works a vital role in your business process and development model.
A shared mailbox also gives you a shared calendar. Many local companies prefer to have all employees put their schedules on the same planner.
This provides a simple approach to letting everybody know where employees are at all times.
Here is the process of creating a shared mailbox and add members
- Find your admin account first. Then approach in log in using the admin account. If you are denied access to the page, then you are using the wrong account. Try to find the appropriate account.
- Go to the Teams & Groups option.
- Find the Shared mailboxes option form here.
- Click on the Add a shared mailbox option.
- Enter the group name in the Name field. It’s a mandatory field.
- Enter your mail address. Here you can also edit your mail name if you want to.
- Click on the Save changes button. Wait for some moments. It won’t take much time to get finished.
- Find an option named Add members to this mailbox. You will see it in the Next steps section.
- Select members to whom you want to give access.
- Click on the Save and Close button.
Now you have created a shared mailbox. It was such simple steps. Here there is also a shared calendar. Try to utilize them as well.
Also, check out our separate post on add optional attendees in Outlook mac meetings.
FAQ
Question: How do I view two mailboxes in Outlook?
Answer: Click on the search box from the main window, located at the top side. Now set the location to All Mailboxes. Now can find emails, attachments, calendar meetings, and anything else you need.
Conclusion
In this post, I have given an ultimate guideline to you. Just add and handle your multiple emails to outlook in the easiest way. Also, try to add your business mail to outlook.
The shared mailboxes feature will add an advantage to your business growth.
So tell me, how did you learn today?