Engaging users with the business is the top secret to getting the best output possible. A countdown timer on your SharePoint site can trigger the user to take necessary actions.
It allows you to promote your events, meeting schedules, vacations, and conferences with a virtual clock to attract users.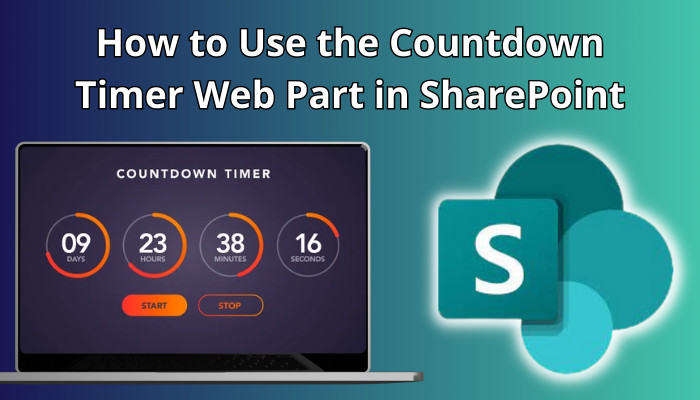
This article will show you the procedures for adding and configuring the Countdown Timer.
Let’s dive in!
A countdown timer in SharePoint is a web part that represents a virtual clock on a SharePoint site that counts down from a specific date or time to the end of the date or time. It assists in illustrating an event time with a custom date range to display count down or count up to the event.
Users can quickly track or see an event’s remaining time using the countdown timer, which helps to remind them about the schedules of that event and encourage taking action in time.
The countdown timer web part is highly configurable, and with proper access to the SharePoint site, users can set a custom date and time for the countdown.
Moreover, users can effortlessly customize the timer’s appearance, including themes, colors, or overlays to match their SharePoint site style. Move on to the next section to understand various usages of the countdown timer web part.
To get the most out of SharePoint’s countdown timer web part, you must configure and use it accordingly. You can use the countdown timer to represent various events, such as product launches, event registrations, project deadlines, sales promotions, upcoming vacations, etc.
The usage of a countdown timer in SharePoint is amusing, and it brings life to your worn-out SharePoint site.
It allows you to show your important events’ timelines in such a way that ensures everyone’s attention. Consider the following part to use the countdown timer in your SharePoint site for various purposes.
Here are some fun ways to use the countdown timer on a SharePoint site:
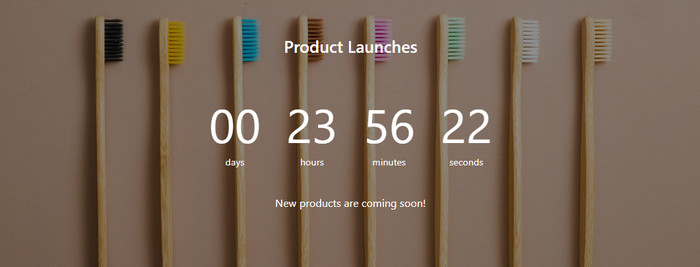
1. Product Launches
Launching a new product? Let others know when it will go live!
2. Event Registrations
Promote upcoming event registration with a cool countdown timer to ensure everyone is participating.

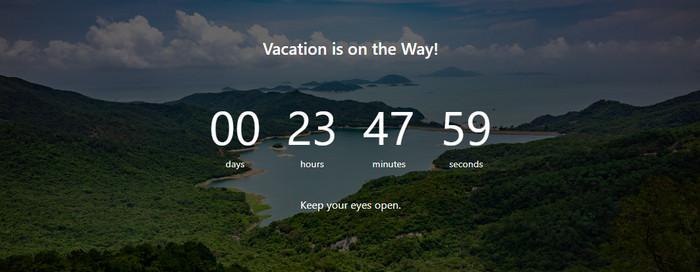
3. Upcoming Vacations
Everyone loves vacations. Inspire your employees with a vacation countdown timer.
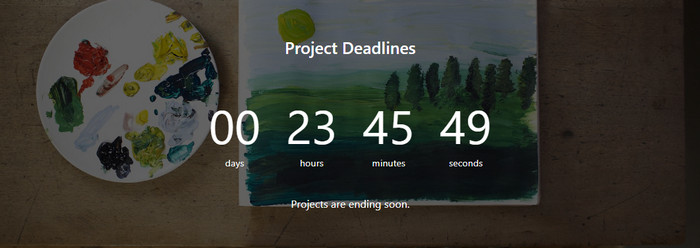
4. Project Deadlines
Never miss the project deadline again. Add a project deadline countdown timer to alert everyone about the deadlines.
5. Sales Promotions
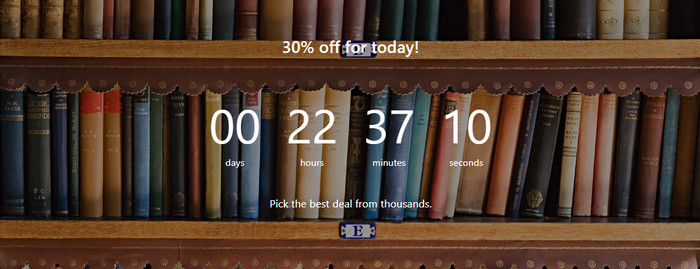
Promote your products with a special discount for a limited time.
6. Office Conference
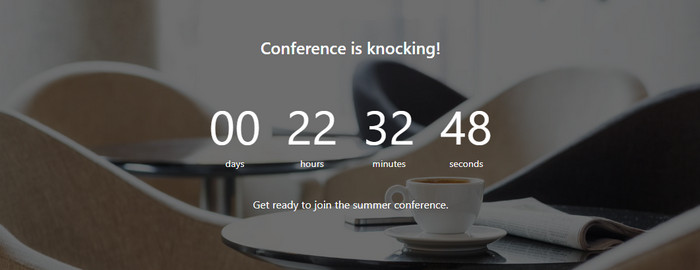
Show a countdown timer to let people know about upcoming conferences with a breathtaking countdown timer.
Some customization ensures SharePoint looks good. To add and configure a countdown timer in the SharePoint site, move on to the next section.
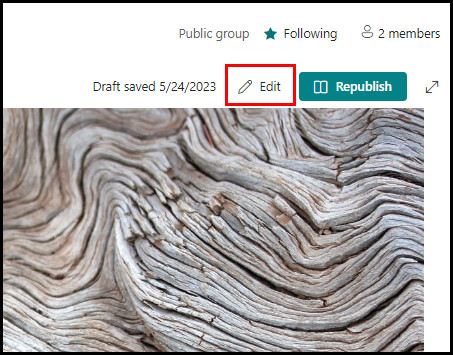
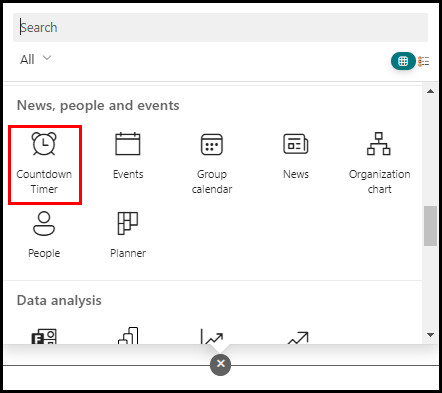
When you need to add & configure a countdown timer to your SharePoint site, open the site in Edit mode, and click the circled plus (+) icon. Then search for Countdown Timer, add it to the page, click the Edit web part (Pen icon), and customize the web part according to your need.
By customizing the Countdown Timer property toolbox, you can give a unique look to the web part. Follow the subsequent instructions to create a countdown timer for your SharePoint site.
Here are the steps to add & customize the Countdown timer web part:
- Go to SharePoint and sign in using your login credentials.
- Open the page where you want to add a countdown timer.
- Click the Edit button in the top right corner of the page.
- Hover the mouse above or below a web part.
- Locate and click the circled Plus (+) icon.

- Search for Countdown Timer or scroll down and find it under News, people, and events list.
- Select Countdown Timer to add it to the site page.
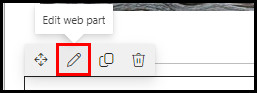
- Click Edit web part (Pen icon) on the left side.
- Set Date and Time from the property toolbox.
- Choose display timer format from the Display timer as dropdown menu.

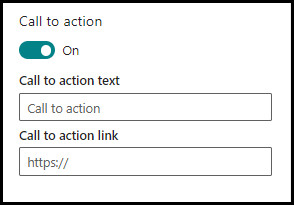
- Toggle on Call to action if you want to set an action.
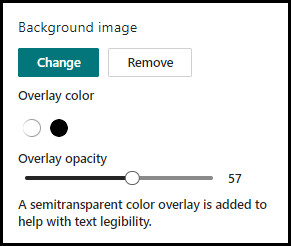
- Add a background image for the timer, and adjust the Overlay color & Overlay opacity to make the text and time visible.
- Click the Close button.
After adding or customizing the countdown timer web part, remember to Publish or Republish the page and share the page with your coworkers. You can also quickly create a SharePoint calendar and share the calendar with others.
Quick Note: For light-colored images, use the white overlay color. Contrarily, for darker images, use the black overlay color.
Wrap Up
The countdown timer is a unique feature to get audiences’ attention for various events. Adding it to your SharePoint site ensures everyone is informed about upcoming events.
Furthermore, the property toolbox of the Countdown Timer assists in customizing the timer’s appearance to make it more appealing.
Share your customized countdown timer in the comment section below.