Ever wanted to insert font glyphs in Microsoft Word without using external software like Adobe Photoshop? Well, it’s unbelievably easy to do so, and it makes parts of your text stand out. It’s also an excellent way to design and format your document.
For people who came here after hearing ‘Glyphs’ for the first time, this term refers to a unique representation of a letter or symbol. For instance, there are multiple Glyphs for the letter A, such as a small cap or swash symbol.
If that still doesn’t spark your interest, just take two minutes, skim to the next section and try it yourself. I promise you will find a good use for it.
You may also like to read about Microsoft Word find and replace is not working.
How To Use Font Glyphs in Microsoft Word?
You can use font glyphs in Microsoft Word by selecting the letter or symbol and going to its Font settings. Then, switch to the Advanced tab from the top menu bar and change the stylistic sets from the OpenType Features section. The selected letter will then be replaced with a glyph of your choice.
These Glyphs are not meant to be used in normal documents or essays. They are only meant to be used when designing something like the cover page, or a Poster.
Out of the two methods used below, my preferred choice is the second method using the Symbols button. It works perfectly for me as a designer. Of course, before adding Glyphs I had to install a font that actually supports Glyph symbols.
If you are not a designer, you may not know about this, but don’t worry, there’s step-by-step detailed instructions below.
Due to Microsoft’s limitations, however, it’s not easy to choose your preferred glyphs or swashes. Instead, you have to manually change the stylistic sets one by one until you find one that suits your needs.
Before proceeding, note that you need to have a font installed on your Windows or macOS that supports it since none of the built-in fonts support them. If you don’t know how to do this, you can find step-by-step instructions in the next section.
Related content you should read about Microsoft Word: how to unlock selection.
Follow these methods to use font glyphs in MS Word:
1. Using the Font Settings
Since Glyphs are just variations of a single letter in a font, you can select it from the Font Settings of Microsoft Word. For this, you will need to select the part of the text you want to replace with swashes.
Follow these steps to add Glyphs to MS word using Font Settings:
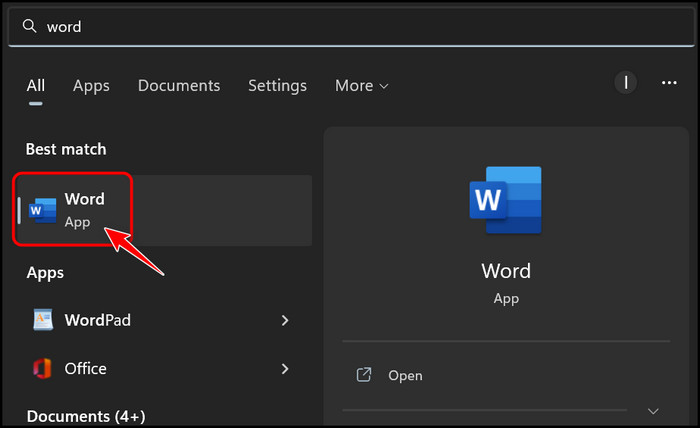
- Go to the Start menu, search for Microsoft Word and launch it. Alternatively, you can double-click on the Word shortcut on your desktop to open it.
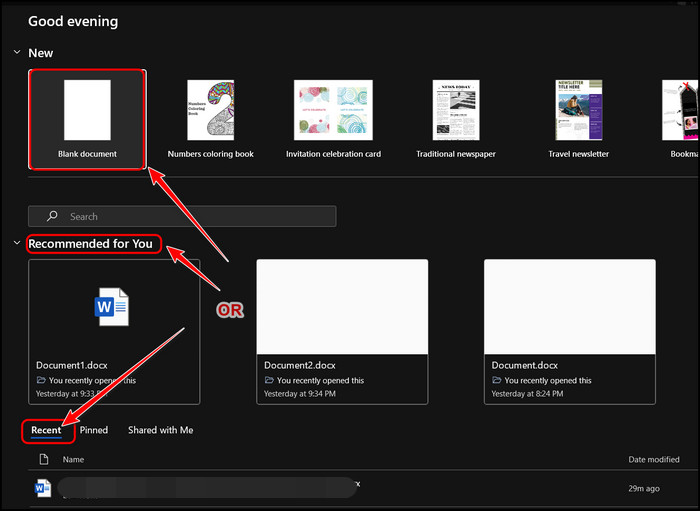
- Open a Blank document or one of your previous documents from the Recent or Recommended for You section.
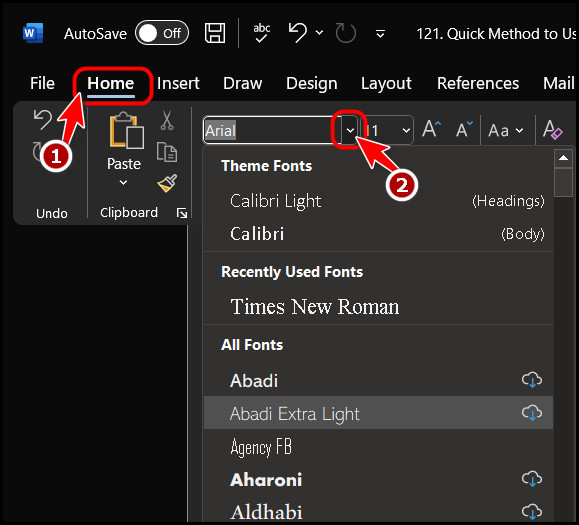
- Switch to the Font you installed, which contains the glyphs, by expanding the Font drop-down menu in the Font category of the Home tab.
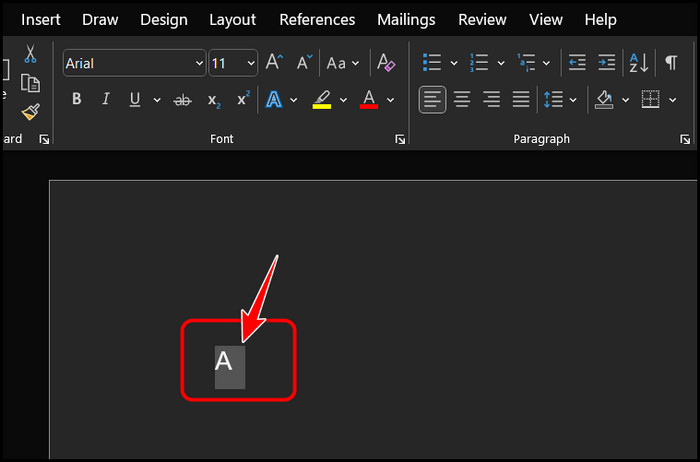
- Type a letter in your document if it’s empty and double-click on it so it’s highlighted, as shown in the picture.
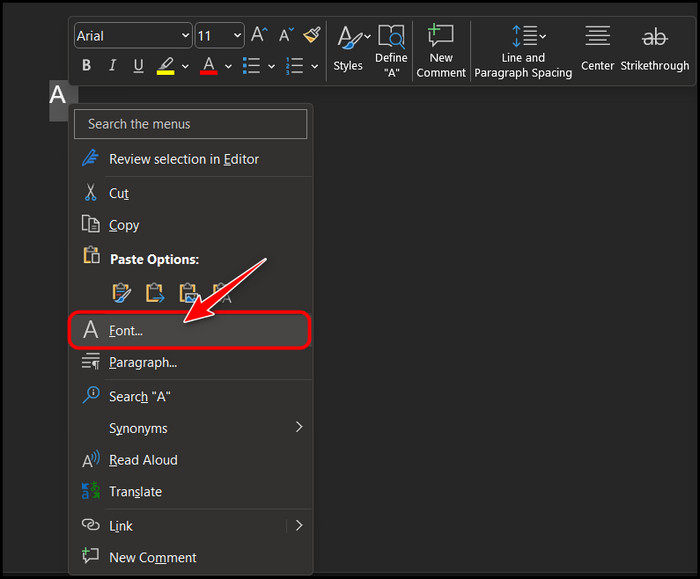
- Right-click on the letter and select Font from the context menu.
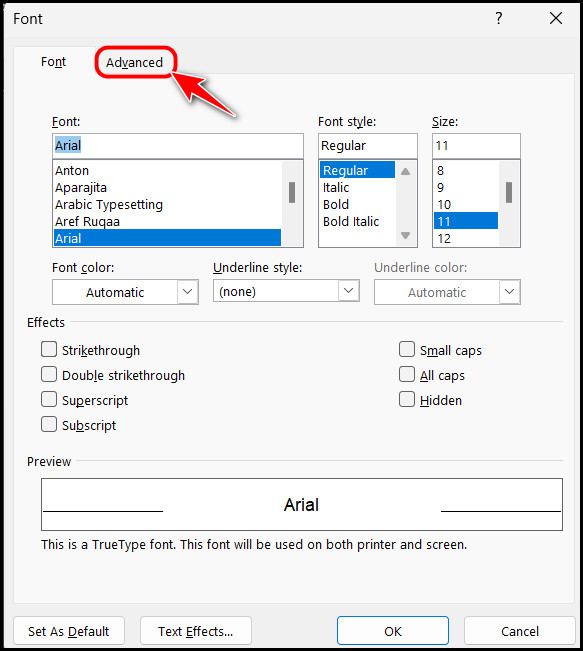
- Click on Advanced on the top menu bar once a new window appears.
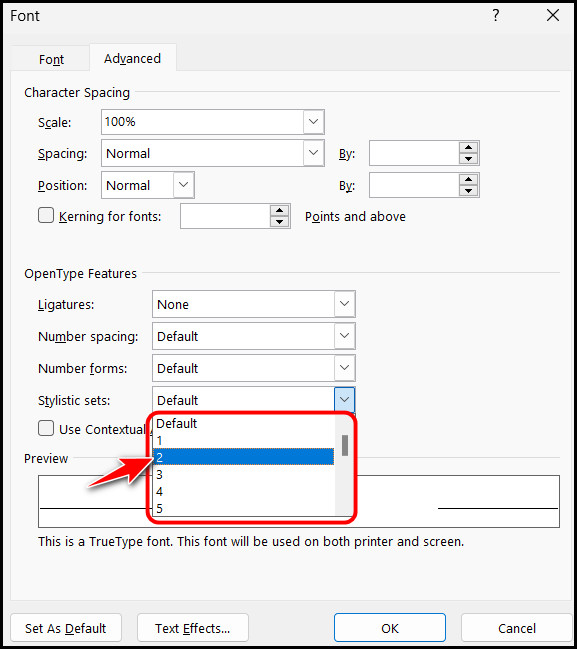
- Look for the drop-down menu next to Stylistic sets in the OpenType features section, expand it and choose one other than Default.
- Select the OK button to save the changes once that’s done. You should see that the letter you previously typed has been converted to a glyph. You can go back and change the stylistic set once again to see a different glyph.
That’s all you need to do to add glyphs in MS Word.
Some users have reported that this method is a little unstable and doesn’t change anything. If you are facing a similar issue, try the alternative method below.
Related guide on fix: Microsoft Word read aloud not working.
2. Using the Symbols Button
Microsoft Word has a dedicated section for all external symbols aside from the default built-in letters. You can access that and insert your preferred Glyph from there, as Glyphs and swashes can be considered as symbols too.
Follow these steps to use glyphs in MS Word using the symbols button:
- Launch MS Word as you did earlier.
- Open a blank or existing document to add a glyph.
- Switch to the Insert tab from the top menu bar by clicking on it.
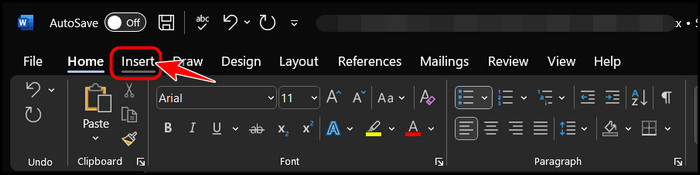
- Find the Symbols category at the top right corner. Click on the drop-down arrow icon next to the Symbol button inside it to expand the menu.

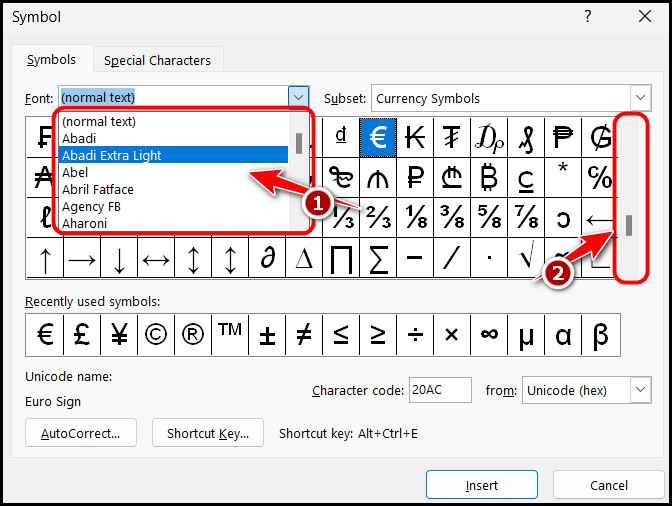
- Select the More Symbols button once the menu is expanded.

- Choose a Font from the drop-down menu at the top left corner and then use the slider at the right side to scroll through the entire list. You should find a large collection of symbols and glyphs to choose from.
- Click on the Insert button at the bottom right corner once you have selected your Glyph from the box above. This will add the Glyph to your document.
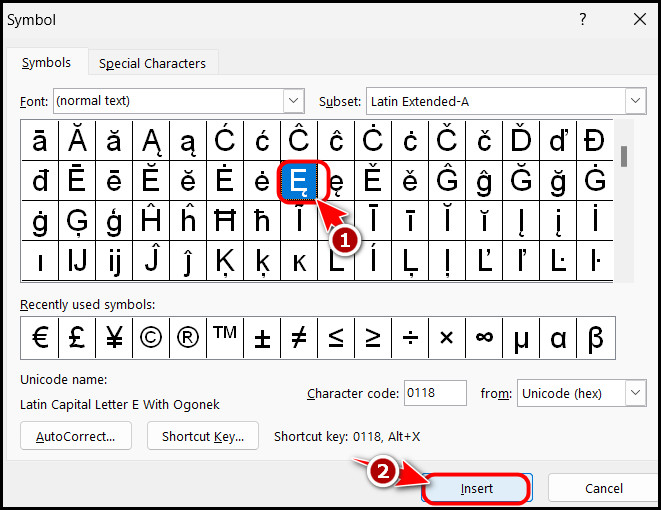
That’s all! The Glyph should now appear wherever the text cursor was positioned in the Word file earlier.
As I mentioned earlier, an external font is required to start using Glyphs. Some of you may have already installed multiple fonts, but if you can’t figure out how to do it, go through the next section to get step-by-step instructions.
Also related to this guide on how to find word count in Microsoft Word?
How Do I Use Glyph Fonts in Windows?
You can use Glyph fonts in Windows by installing them manually first. Once they are integrated into the Operating System, Microsoft Word will automatically detect them, and you can choose them from the Font drop-down menu. The Glyphs will also appear in the Symbols window.
Follow these steps to use Glyph fonts in Windows:
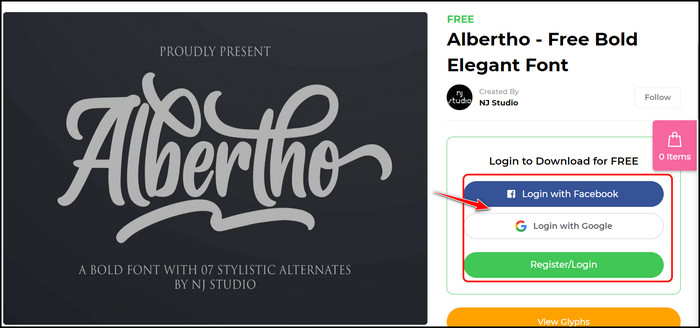
- Launch your browser and navigate to a website to download Glyph fonts. You can go to Fontbundles website for this.
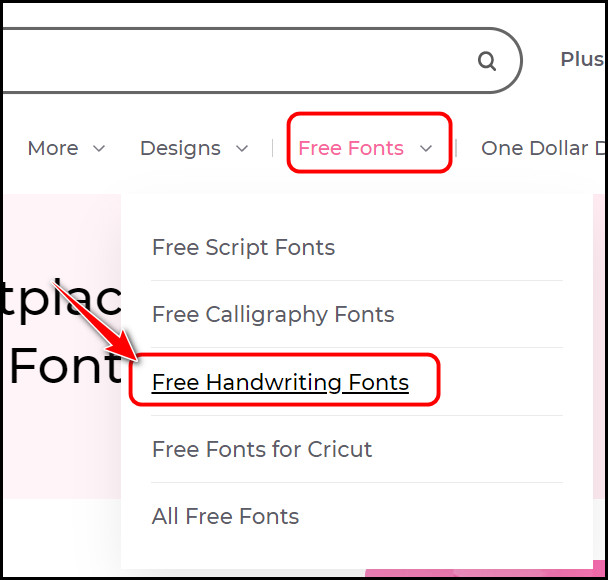
- Choose a premium font if you prefer, but I suggest expanding the Free Fonts menu from the top menu bar and clicking on Handwriting fonts to start.
- Click on any font that you like to navigate to its download page.

- Use one of the Login methods on the right panel to create and sign into your Fontbundle account.
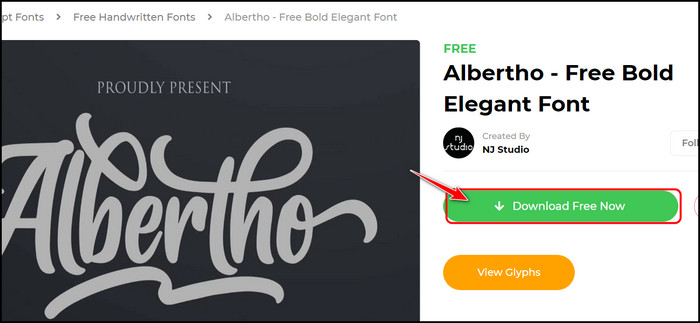
- Select the Download Free Now button once you are logged in to download the font.
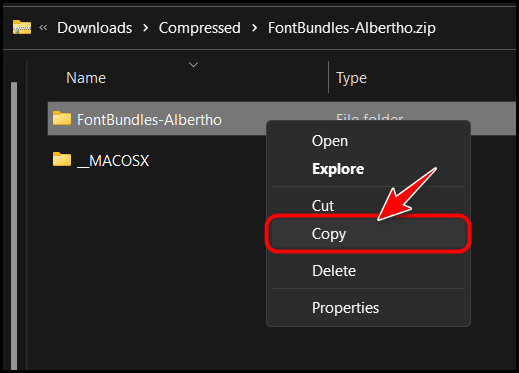
- Launch your File Explorer, browse to your download location and open the zip file you just downloaded.
- Right-click on the first folder and copy it if you are on Windows. macOS users need to copy the ‘MACOSX’ folder instead.
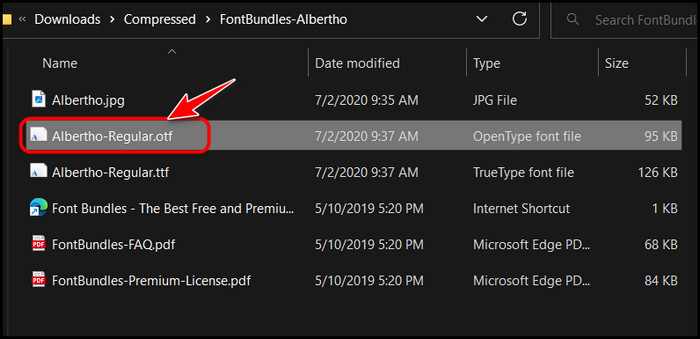
- Paste the folder in any other location and double-click to navigate inside it.
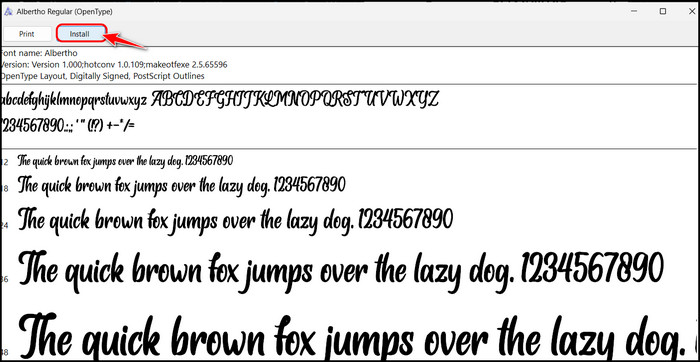
- Double-click on the file with the .otf extension to open it.
- Click on the Install button at the top left corner to start the installation process.
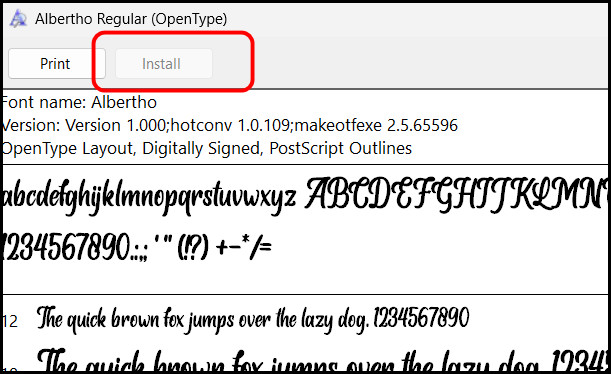
- Wait for the Install button to be grayed out, as shown in the image. This means that the installation was successful.
- Close the window and launch Microsoft Word.
- Go to the Home tab and expand the fonts drop-down menu in the Font section.
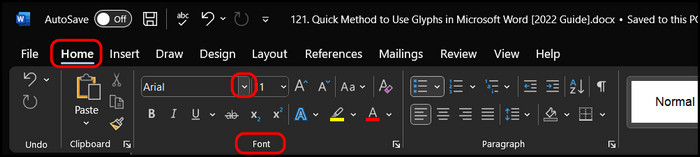
- Type the name of the font you just downloaded and select the highlighted result.

- You can choose the Glyphs for this specific font by following the methods I discussed in the previous section.
If you are concerned about anything else, read the FAQ section before writing it in the comments.
FAQ
Question: How do I insert special characters in Word?
Answer: You can insert special characters in Word by navigating to the Insert tab and clicking on the Symbol button in the Symbols category. Switch to the Special Characters section from the top menu bar, select the special character and click on Insert.
Question: What are Glyphs in a font?
Answer: A Glyph is a one-of-a-kind representation of a character in a font. Multiple Glyph representations can represent more than one character. Glyphs are identified with a unique character ID on a Unicode character map.
Final Thoughts
To conclude, inserting Glyphs in Microsoft Word can be a little confusing for beginners. The only part that might be difficult for some users is installing the Glyph font, but if you follow the steps mentioned in the 3rd section, you won’t have any trouble with it.
Once that’s done, you can go ahead and access those Glyphs using the two methods I shared in the second section. Let me know which method worked for you in the comments.