The events are crucial for your business to grow comparatively faster and engage your co-workers with your organization.
You will find multiple methods to schedule, invite, or highlight events in Microsoft 365. However, SharePoint offers some extraordinary features for better event planning.
This article will show how to add, create, and edit SharePoint event lists for better audience engagement.
Tag Along!
Adding events web part in SharePoint is straightforward. Open the page where you want to add web parts, click the Plus (+) icon, and select Edit web part. Choose a source for the event, select a category, set a date range, choose a layout, and then click Republish to publish the event.
SharePoint doesn’t support recurring events, even when you manually set a recurrence in the events list.
You must create a recurrence in the events or use the group calendar web part for an Office 365 group on a team site. To add the events web part, follow the subsequent procedure.
Here are the steps to add events web parts in SharePoint Online:
- Go to SharePoint and open the page where you want to add web parts.
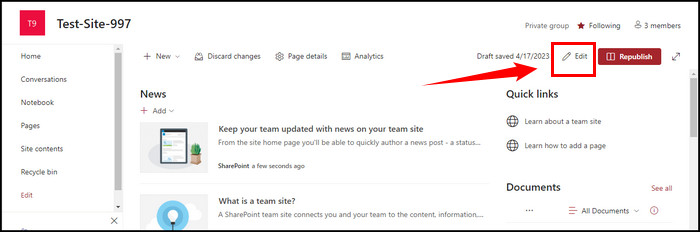
- Enter page edit mode by clicking the Edit icon from the top right corner.
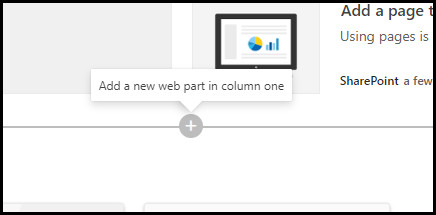
- Hover your mouse cursor under the title area or above an existing web part.
- Click the + (Plus) icon and select the Events web part. You can use the search option to find it faster.
- Click the Edit web part (Pen) icon to add options for the web part.
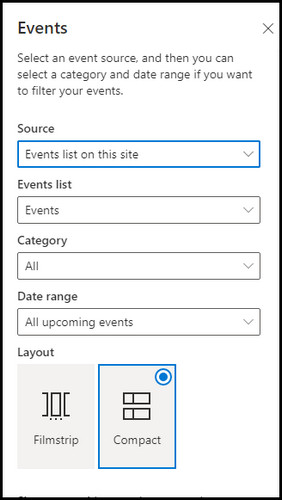
- Choose a Source for your events by clicking on the drop-down menu. If you choose Select sites from the drop-down menu, you can quickly search for a site or choose from Frequent sites or Recent sites. The maximum number of sites you can choose at a time is 30 sites.
- Open the Events list dropdown menu and choose your event from the list. If you don’t have any event, it will automatically create one.
- Select a Category from the dropdown menu to filter the events.
- Use the Date range drop-down list to set a date range.
- Choose a Layout (Filmstrip or Compact) for the events web part.
- Click Republish to publish the changes you have made.

Republishing the page will ensure your changes to the events’ web parts are saved, and you are ready to create an event list. For a brief instruction, move on to the next section.
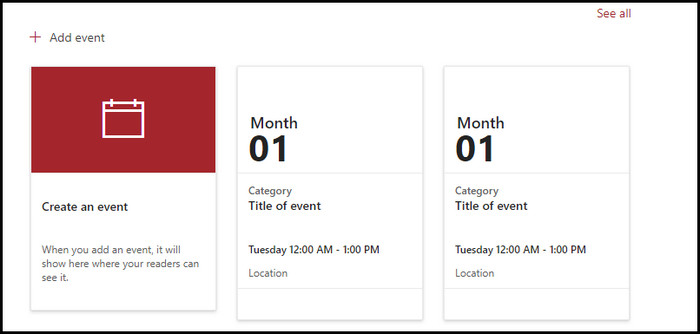
When creating an event list, you must open a saved or published page. Then click Add event, set a name for the event, change the cover image, set an event date range, add event location, choose a category, add a description, add people, and click Save to create the event.
Remember, you cannot create an event list while in the edit mode. Check the following step-by-step instructions to create a new event list in SharePoint Online.
Check the following process to add an event to the site using the web part:
- Select Add event.
- Click Add a title and set a name for the event.
- Select Change image to update the cover image.

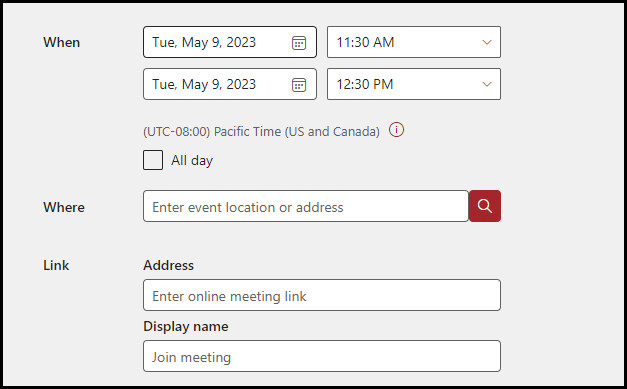
- Set the event date range in the When section.
- Enter the event location or address in the Where section.
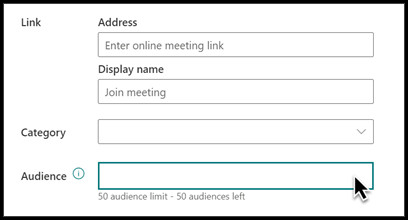
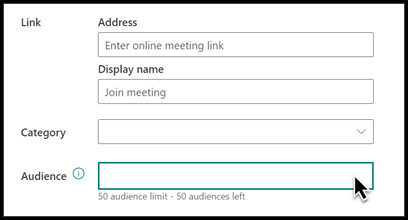
- Add your online meeting link in the Address box under the Link section. Also, add a Display name for the meeting.
- Choose your event category (Meeting, Work hours, Business, etc.) in the Category section.
- Add a description for your event in the About this event section.
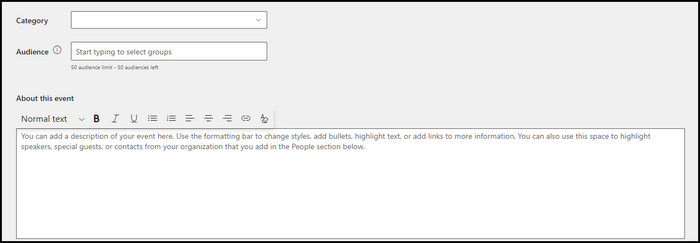
- Add people in the Event participants section if you need to highlight someone for this event.
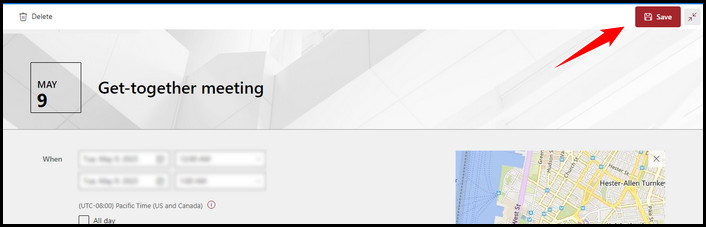
- Click Save when completed.

The above procedure will create an event list for your SharePoint. If you need to edit the saved event, you should move on to the next section.
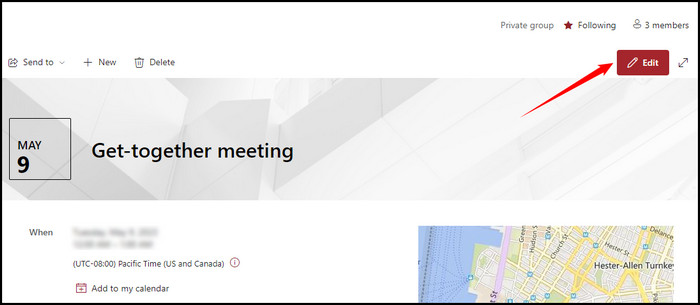
If you need to modify an already created event list in SharePoint, navigate to the site page and select the event, it will take you to the event’s page. While on the event’s page, modify the event information as you want and then click Save to apply your changes on the page.
Go through the subsequent instructions to edit or update your current event information.
Here’s how to edit an event in SharePoint Online:
- Open your Site page and click the event. It will open the event’s page.
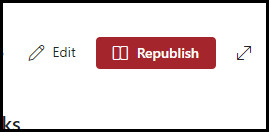
- Click Edit from the top right corner.
- Update the event information according to your needs.
- Click Save after finishing edits.
After editing the event list, you can use the audience targeting feature to highlight the content to a specif group of people.
You have to enable audience targeting for your event list. You will find the option in the site’s document library. Here you can select your desired audience and enable audience targeting for the Events web part.
Following are the steps to enable and use audience targeting:
- Go to your site’s home page.
- Click the Gear (Settings) icon and then select Site contents.

- Locate and hover your mouse over Events. You will see three dots (ellipses) menu.
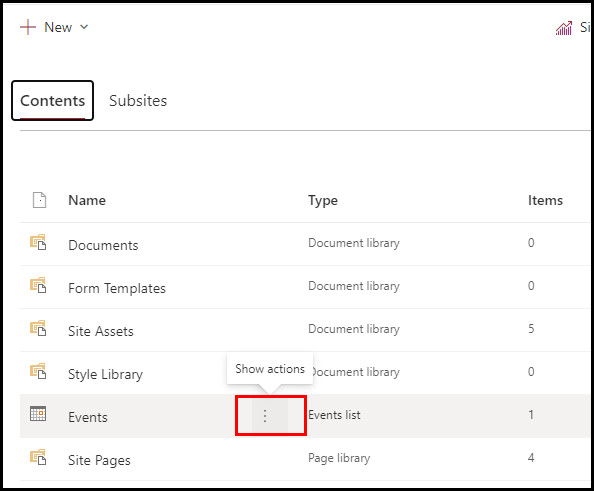
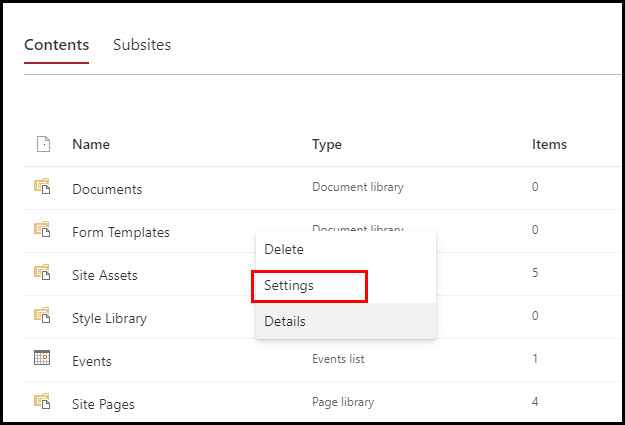
- Click the ellipses and choose Settings.
- Select Audience targeting settings under General Settings.
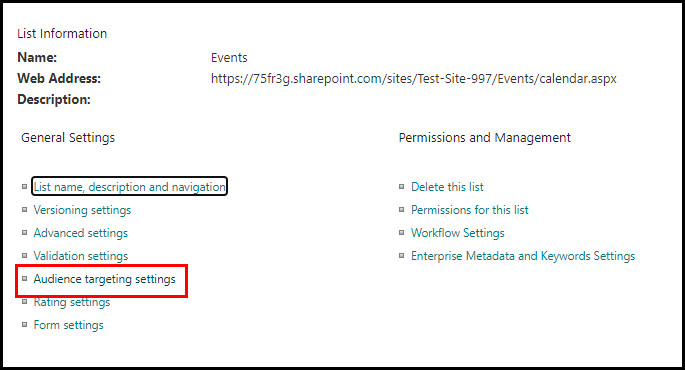
- Tick the Enable audience targeting checkbox and click OK.

- Navigate to the Event edit page by following the above procedure.
- Add audience in the Audience You can add up to 50 audiences.
- Click Save.
- Return to the Site page and click the Edit web part (Pen) icon.
- Toggle on the Enable audience targeting in the property pane slide.
- Click Republish to update your changes.
Now, move to the Events web part and enter Edit mode to check if the audience targeting has been successfully applied to the site page. You will find the shared content symbol at the bottom right of the event card.
Frequently Asked Questions
What is an event list in SharePoint Online?
SharePoint Online event list is a convenient and visual method to organize your SharePoint meetings and events. Moreover, you can customize the meeting or event schedules with other settings.
How to create a calendar in SharePoint Online?
To create a calendar in SharePoint, sign in to your SharePoint Online modern site, click New, and select App. Locate or search for the Calendar app, set a name for the calendar, and click Create.
Can you make a SharePoint list a template?
Yes, you can use a SharePoint list template by selecting New > List. Search for a desired template, and select Use template.
What are the uses of the events web part?
SharePoint Online events web part allows users to add, edit, and showcase events on the SharePoint pages. Users can display their events on the website and encourage people to take further action for the event.
Wrap Up
The event list in SharePoint is an excellent tool for creating and showcasing your various meetings and events with your teams or co-workers.
Audience targeting ability for events added more control over your events. Moreover, you can use templates for creating more meaningful events.
Did you need further assistance regarding SharePoint events? Leave a comment below.