Have you ever had to select a bunch of cells in Microsoft Excel that are not adjacent to each other? It is easy to click and drag your mouse button when using Excel on your computer to select a group of cells, but what should you do if they are not grouped?
Selecting non-adjacent cells in Excel is quite a simple task, and it can be done in a few different ways using just your keyboard, or with the combination of both keyboard and mouse. If you have been looking for how to do it, you can stop looking now!
The methods of selecting non-adjacent cells are presented here in this guide for anyone to learn and apply.
So keep reading to find out how you can select them without much effort.
How To Select Single Non-Adjacent Cell In Excel
Cells not beside each other on your Excel worksheet are non-adjacent, meaning you cannot just click and drag your mouse button across them to select because it will also select unwanted cells. You can do this using your keyboard and mouse together.
In Excel, if you use left-click on a single cell, you select it. If you click another cell, then your previous selection gets canceled.
You cannot just do it with your mouse or click and drag to select another desired cell if it is not together with the first cell.
So how do you click non-adjacent cells in Excel? You have to use both your mouse and keyboard for this purpose.
To select individual cells that are non-adjacent, you have to first press the Ctrl key on your keyboard and hold it. While holding Ctrl-key, use your mouse’s left button to click on the cells you want to select. When you are done selecting your cells, release the Ctrl-key and left mouse button.
By following the above steps, you can select discrete cells that are not grouped at a time in Excel using both your keyboard and mouse.
Now, what if you wanted to select ranges or groups of cells that are non-adjacent to each other? Selecting groups of cells throughout your spreadsheet that are not side-by-side is also easily possible in Microsoft Excel. The methods of doing this are discussed in the next section of this guide.
Note that you can use these methods to select both: individual cells and/or groups of cells that are non-adjacent.
So check out the ways you can select non-adjacent cells in Excel from the following section.
Here’s a complete guide on how to sort by date in Excel.
How To Select Non Adjacent Cells In Microsoft Excel
Selecting non-adjacent cells or groups of cells is actually a piece of cake in Microsoft Excel. You can either either select cells using your mouse and keyboard, or with your keyboard alone. It is also possible to select non-adjacent cells using the cell Name Box, Find and Replace tool or VBA.
In Excel, selecting multiple non-adjacent cells or a group/range of cells is a pretty straightforward task. You can select your desired cells quickly using a combination of the tools at your disposal.
The methods of selecting cells that are not grouped are explained here in simple wording so that you can easily understand and add them to your Excel skillset.
Follow these steps to select non adjacent cells in Excel:
1. Use Mouse And Keyboard To Select Cells
As you have seen earlier, it is possible to select non-adjacent groups of cells by using your keyboard and mouse. This is possibly the easiest process of selecting non-adjacent cell ranges.
Here’s how you can select non-adjacent cells using your mouse and keyboard:
- Press and hold Ctrl-key on your keyboard.
- Click and drag using the left mouse button to select the separate ranges of cells while holding the Ctrl-key.
- Release the Ctrl-key when done selecting.
By following this process you can traverse to any part of your spreadsheet and select the ranges of cells separately which are not next to each other. They all then be a part of your selection and then you can do as you please with them.
Check out the easiest way to do a subscript in Excel.
2. Use Keyboard To Select Cells
In case you do not want to use your mouse to select cells or if you do not have access to a mouse, it is also possible to select non-adjacent just with keyboards. You can employ this method if there is an emergency and your mouse is out of commission.
This is how you can use your keyboard to select non-adjacent cell ranges in Excel:
- Use arrow keys to select the first cell of the range you want to select.
- Press and hold the Shift-key.
- Use arrow keys to move the cursor and select the range of cells while holding Shift-key.
- Press F8 while holding the Shift-key to add the range to selection.
- Release the Shift-key and use arrow keys to move cursor to another cell to continue the process from the start until you have selected all your desired cells.
You will then see that the discrete ranges of cells that you wanted to select have been highlighted. You can use this process to select individual non-adjacent cells too.
The process of selecting single non-adjacent cells using keyboard is explained below:
- Use arrow keys to select the first cell you want to select.
- Press and hold the Shift-key.
- Press F8 once while holding Shift-key.
- Release the Shift-key and use arrow keys to move the cursor to the next cell you want to select.
- Press and hold Shift-key.
- Press F8 twice while holding the Shift-key.
- Release the Shift-key and continue the process from another cell until all your cells are selected.
Note that, in this process you have to press F8 once only for the first time. For all the next cells you select, you have to press F8 twice while holding Shift-key.
You can combine these two processes to select non-adjacent cells and ranges at the same time by using your keyboard only. 
Follow our guide step-by-step to remove page break in Excel.
3. Select Using Cell Name Box
The cell Name Box in Microsoft Excel can be used to select any cell or range of cell that you want. This process is very simple and it instantly allows you to select your desired non-adjacent cells altogether at once.
Follow this process to select non-adjacent cells using the Name Box in Excel:
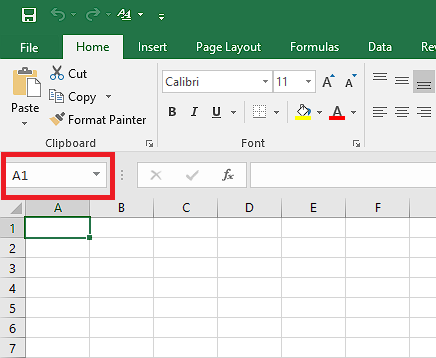
- Click on the cell Name Box on the top-left of your sheet beside the Formula bar.
- Type in the cell names/ranges that you want to select separated by commas.
- Press Enter.
You will then see that all your non-adjacent cells and cell ranges have been selected at a time when you follow these steps.
4. Select By Using Find and Replace Tool
If you want to select non-adjacent cells based on value within them, you can do so using the Find and Replace tool in Microsoft Excel. Keep in mind that this process cannot be applied to blank cells.
Go through these steps to select non-adjacent cells using Find and Replace tool in Excel:
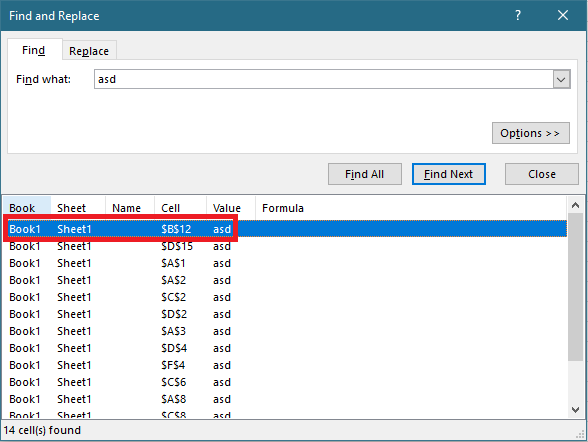
- Press Ctrl + A to select all cells.
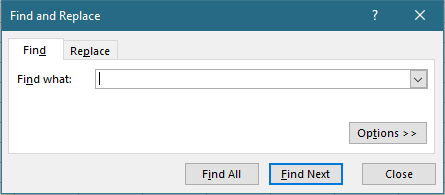
- Press Ctrl + F to open Find and Replace window.
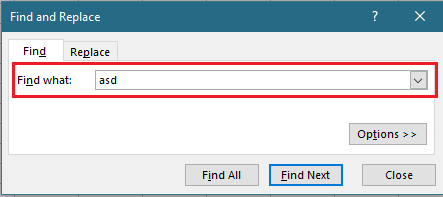
- Type in the value or string that is in the cells you want to select.
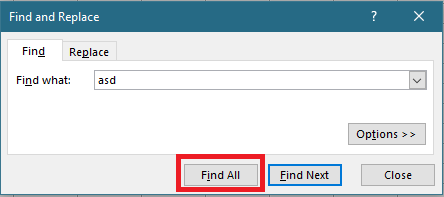
- Click on Find All.
- Click on the first item all the list.
- Hold Shift-key and click on the last item on the list to select them all.
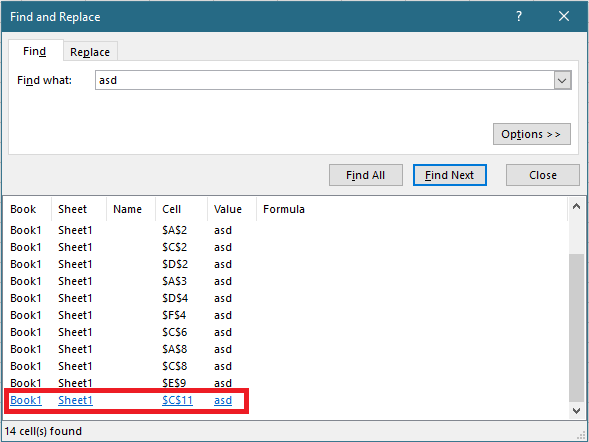
After this, you will see that all the cells containing the value you entered have been selected on your sheet.
5. Use Visual Basic for Applications (VBA)
In Microsoft Excel, you can use Visual Basic for Applications (VBA) code to select all your non-adjacent cells at once.
Follow this method to select non-adjacent cells using VBA code in Excel:
- Press Alt + F11 to open Visual Basic for Applications.
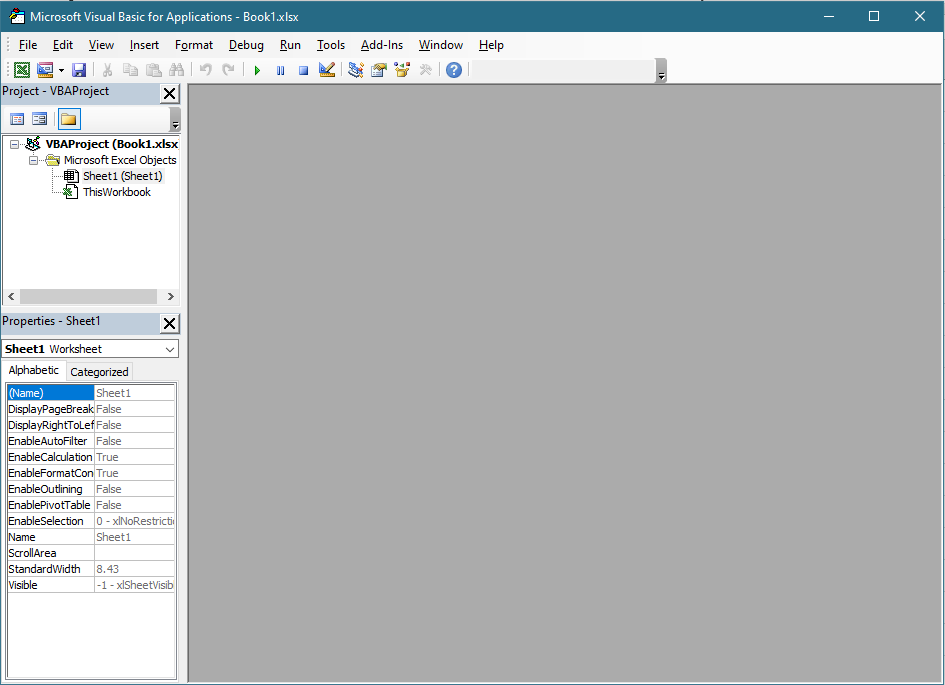
- Select Module from Insert menu.
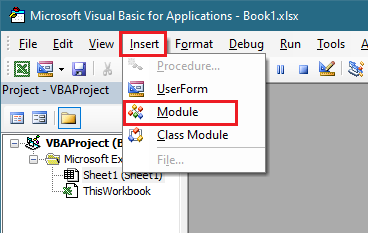
- Type in the following code into the module:
Union(*).Select
End Sub
- Replace the * with ranges or cells you want to select separated by commas in the following format:
Union(Range(“firstCell:lastCell”), Cells(“rowIndex”, “columnIndex”)).Select
For example,
Union(Range(“A1:C10”), Range(“D11:F20”), Cells(“15”, “B”), Cells(“5”, “E”)).Select End Sub
- Press F5 to run the code in your module.
You will the see that the non-adjacent cells and ranges of cells that you have entered into the code are selected on your worksheet. 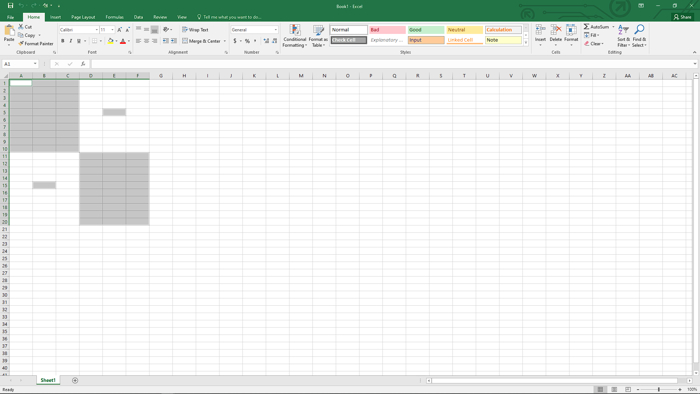
But before that, go through our epic guide on how to add secondary Axis in Excel.
Conclusion
You may have the need to editdata or values in a number of cells in Excel all at once. Selecting all those cells is prerequisite before you can move on to editing them altogether. That’s very simple if the cells are adjacent to each other.
In case those cells are non-adjacent, it will also be a walk in the park for you if you have gone through the methods of how to select non-adjacent cells in Microsoft Excel from this guide.