There’s an old saying, “Nothing is more expensive than a missed opportunity.” And it’s entirely true for online meetings in the modern era.
Therefore, it’s wiser to set up automatic meeting acceptance in your Outlook client so you don’t forget to accept an invitation and reduce the chance of error.
In this article, I’ll provide effortless steps to auto-accept or decline a meeting in Outlook and help you never miss out on important meetings.
So, let’s start.
How to Automatically Accept/Decline Meeting Invites in Outlook
To automatically accept calendar or meeting invitations in Microsoft Outlook desktop client, go to the Calendar tab from Options and enable the Automatically accept meeting requests. It’s also recommended to modify your personal preferences to avoid any scheduling conflict.
As a Microsoft 365 user, are you looking for a way to enable the auto-accept meetings in Outlook on the Web? Unfortunately, there’s sad news for you.
The following procedures will describe the way to manage the automatic acceptance or decline settings in Outlook meetings or calendars.
Here are the steps to automatically accept meeting invites in MS Outlook:
- Open Microsoft Outlook.
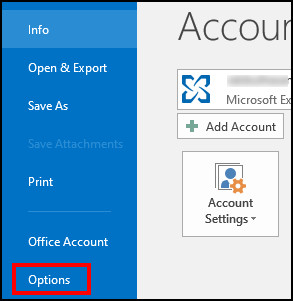
- Click on File and press Options.
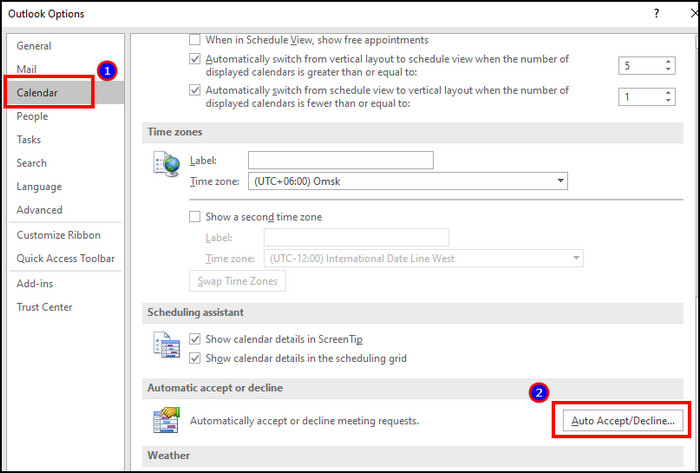
- Navigate to the Calendar tab from the left and click Auto Accept/Decline under the Automatic accept or decline section.
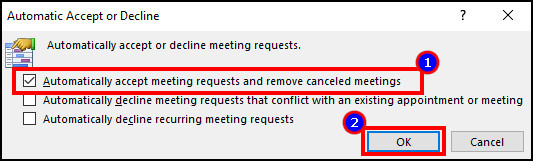
- Check the box beside Automatically accept meeting requests and remove canceled meetings.
- Press the OK button.
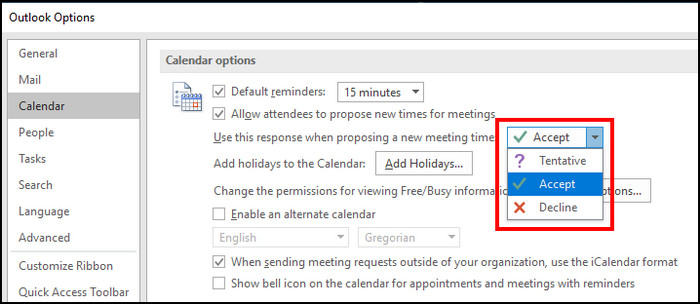
- Scroll up and click the drop-down menu beside Use this response when proposing a new meeting time.
- Choose Accept and click OK.
The above procedures will automatically add meetings to your Outlook calendar, and you can find the detailed information by opening the calendar item.
If you want to avoid any conflict with an existing or current calendar meeting, you can automatically decline the new request by changing the Automatically accept meeting requests and remove canceled meetings options. 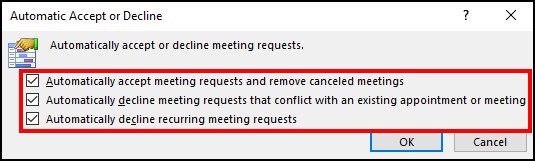
You can choose to Automatically decline meeting requests that conflict with an existing appointment or meeting and Automatically decline recurring meeting requests to avoid scheduling clashes.
How to Auto Accept Meetings from Specific Person in Outlook
Microsoft Outlook doesn’t have direct settings to accept meetings automatically from a specific person. Therefore, you need to use Microsoft Visual Basic for Applications and set a VBA code for a specific person to accept their calendar or meeting invitation automatically.
Microsoft Visual Basic for Application (VBA) is available only for the Microsoft Outlook desktop client. Outlook on the web and Outlook for Mac doesn’t support codes from VBA, which makes a difference in the automatic acceptance settings.
Follow the instructions below to accept meetings automatically from specific persons in Outlook:
- Launch Microsoft Outlook desktop client.
- Press Ctrl + F11 together to open Microsoft Visual Basic for Applications.
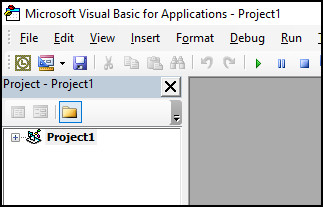
- Double-click on ThisOutlookSession to open.
- Copy and paste the following VBA command in the project box.
Public WithEvents GItems As Outlook.Items
'Updated by ExtendOffice 20180814
Private Sub Application_Startup()
    Set GItems = Outlook.Application.Session.GetDefaultFolder(olFolderInbox).Items
End Sub
Private Sub GItems_ItemAdd(ByVal Item As Object)
Dim xMtRequest As MeetingItem
Dim xAppointmentItem As AppointmentItem
Dim xMtResponse As MeetingItem
If Item.Class = olMeetingRequest Then
    Set xMtRequest = Item
    Set xAppointmentItem = xMtRequest.GetAssociatedAppointment(True)
    If xAppointmentItem.GetOrganizer.Name = "Sender_Name" Then
        With xAppointmentItem
            .ReminderMinutesBeforeStart = 45
            .Categories = "Orange Category"
            .Save
        End With
        Set xMtResponse = xAppointmentItem.Respond(olMeetingAccepted)
        xMtResponse.Send
        xMtRequest.Delete
    End If
End If
End Sub- Replace the Sender_Name with the person’s name.
- Press on File and Save Project_Name.
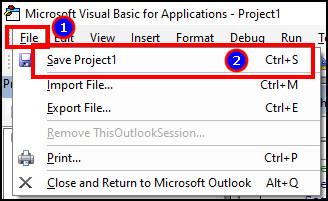
- Click Alt + Q to close the VBA and go back to Outlook.
Now, whenever a specific person sends a calendar or meeting invitation, Outlook will automatically accept their requests.
Outlook Auto Accept Meetings Not Working?
To resolve auto accept meetings not working issues on Outlook, you need to check the Auto Accept/Decline settings, Outlook account types and switch to secondary email to alter the settings. Also, you need to ensure that you use the Outlook desktop client on Windows to fix the errors.
Before attempting to solve the problem, you may want to know the reasons behind the issue. The primary causes are:
- Auto-Accept settings are disabled.
- Using accounts other than Microsoft Exchange.
- Outlook settings aren’t synced to all accounts.
Now, let’s see how you can quickly resolve the auto-acceptance settings in Outlook for your calendar and meetings.
Read the methods below to fix auto accept meetings not working on MS Outlook:
1. Check Auto-Accept Settings
Microsoft Outlook usually keeps the auto accept settings disabled for the meetings to avoid contradictions in scheduling. So, you should ensure the settings are enabled first.
Here is the way to check automatic accept settings for meetings:
- Launch Outlook desktop client.
- Click on File and press Options.
- Navigate to the Calendar tab from the left and click on Auto Accept/Decline under Automatic accept or decline.
- Ensure the Automatically accept meeting requests and remove canceled meetings is enabled.
2. Verify Account Type
If you aren’t seeing the automatic accept settings for meetings, you need to check and verify the account type in your Outlook.
You can go to File to see your account type. The auto acceptance only works for the Microsoft Exchange account. Using a Gmail, Yahoo, or other client won’t show the settings in the desired place.
3. Switch & Change Settings in Secondary Account
Sometimes, the Outlook settings don’t sync for all connected accounts. As a result, changing the auto accept settings from your primary account won’t work in the secondary account.
Therefore, you need to switch to the secondary account and enable the auto accept meetings settings from Options.
Frequently Asked Questions
Can Outlook auto accept meetings from a specific person?
Yes, Microsoft Outlook can accept meetings automatically from a specific person. There are no dedicated options to configure it, but you can use Microsoft Visual Basic for Applications (VBA) to include a code for accepting meeting invitations from a specific person.
Why does your Outlook automatically accept meeting requests?
Your Microsoft Outlook automatically accepts calendar or meeting requests because you have enabled the Automatically accept meeting requests and remove canceled meetings options for your account.
Is there a way to auto-accept invites from a shared calendar on Outlook for Mac?
No, there’s no option to auto-accept invites from a shared calendar on Outlook for Mac. The auto acceptance is only available for the Outlook desktop client.
Conclusion
Auto accepting meeting requests in Outlook is a life-saving feature that can ease your work on a busy day. It allows you to automatically accept the meeting you want and make a schedule for your upcoming days.
This article has provided straightforward methods to accept meetings automatically for everyone or a specific person.
I hope you have found this article helpful and easy to set your daily calendars.
Cheers!


1-What kind of “name” do you replace Sender Name with? I’ve tried a few combinations but it hasn’t worked.
2-Is there a way to do “or” (if it is one of several people)?
It seems like you are referring to customizing the sender name in Outlook emails using a formula or condition. Unfortunately, Outlook does not have a built-in feature to dynamically change the sender name based on specific conditions or use an “OR” condition for multiple senders.