Google Slides allows users to customize their slide content like text, shape, or image transparency. It enhances the slide design. Moreover, you can input more data with a proper image or shape opacity without sacrificing legibility.
In this article, I will show you how to quickly & easily set your text, object, or image to semi-transparent in Google Slides.
Let’s dive in without further ado.
Why Make Transparent Items in Google Slides?
The transparency feature in Google Slides helps to overlay text, pictures, or other objects on the slide. You can hide some unwanted shapes without re-writing the whole slide. You can make a more professional-looking presentation by using crucial texts on a semi-transparent image to grab attention.
Here are the reasons you should use transparent effect in Google Slides:
- Adds depth and creativity to the presentation by adjusting shape or image opacity.
- Adds depth and creativity to the presentation by changing the opacity of the shape or image.
- Helps to adjust a picture or shape to blend in the slide properly without editing apps.
- It provides aesthetic appeal to the slide.
- Allows organizing layering items to produce unique visual effects.
- Helps to overlay captions to add context to an image.
- It supports highlighting content behind a semi-transparent shape.
How to Make a Semi-Transparent Text in Google Slides
To create semi-transparent texts in Google Slides, you must use Word art from the Insert tab. You have to use the fill and border color option for adjusting the transparency after adding text to the WordArt box. The transparency slider lets you make fully transparent or semi-transparent texts.
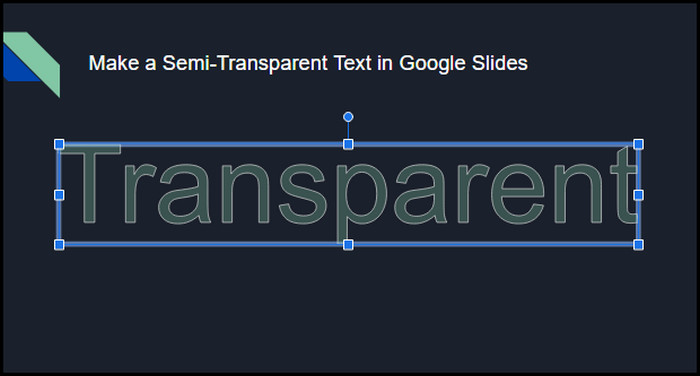
On a dark background shape, you can use this semi-transparent text to enhance the aesthetic look of the slide. It also helps to grab attention for the visual effects and make your slides differ from others.
Here are the steps to create a semi-transparent text in Google Slides:
- Open the Presentation in Google Slides.
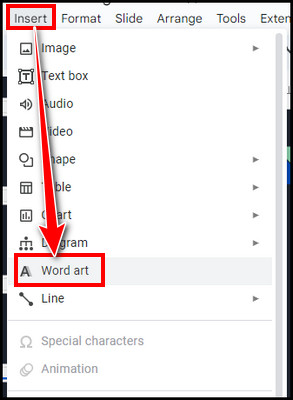
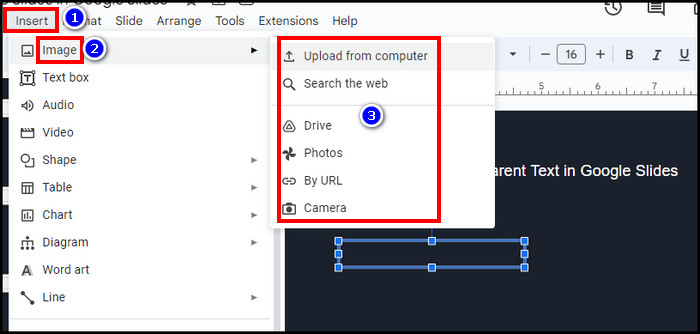
- Go to the Insert tab.
- Click on Word art.
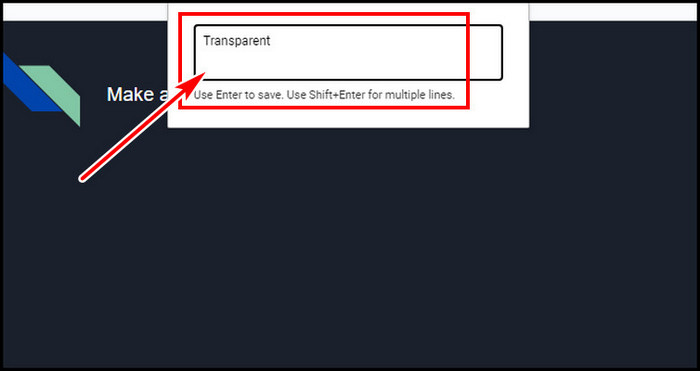
- Type your text and hit Enter.
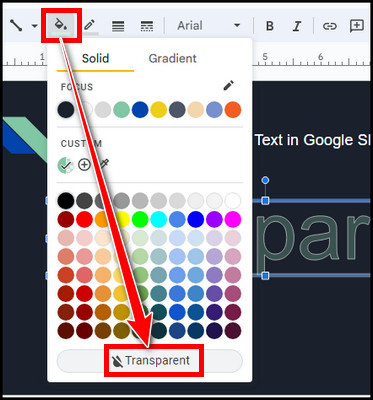
- Select the Fill color (paint bucket) icon from the top toolbar.
- Click on CUSTOM.
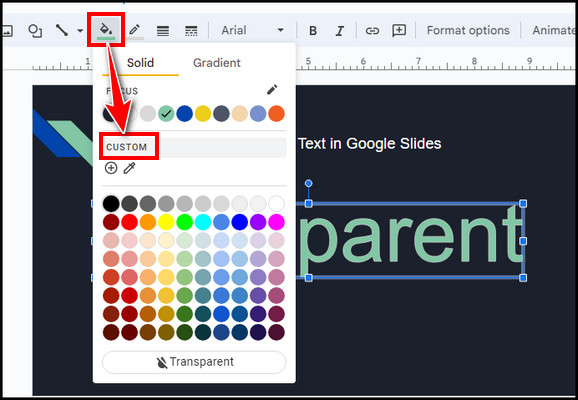
- Move the transparency slider (gradient color) to the left to adjust the opacity.
- Hit OK.
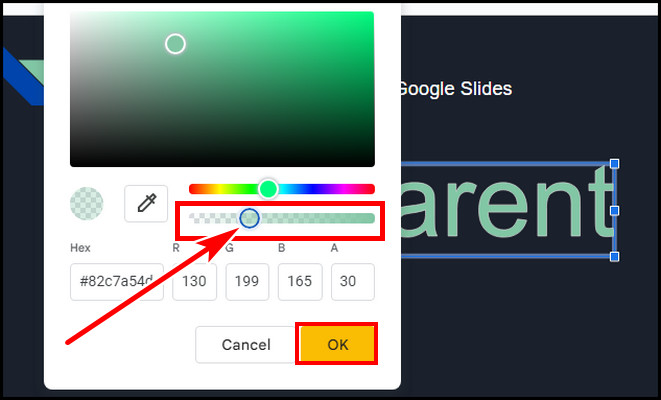
If you keep the slider around the middle, it will make the text semi-transparent.
When you drag the slider to zero (0), the Word art text will be fully transparent. Optionally, click the fill color icon and choose Transparent from the bottom to completely transparent the Word art. You can also change the text color from there.
How to Make an Image Transparent in Google Slides
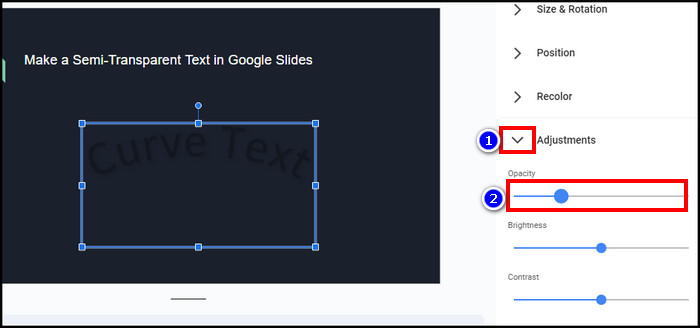
To make a transparent picture in Google Slides, import the image to the slide > bring Format Options from the Format tab and regulate the transparency slider from adjustments. You can also control the image brightness & contrast from there to tune the picture.
Inserting images helps to overlay text to emphasize important topics for the audience. You can also make an image a circle in Google Slides to make it more unique. However, You need to adjust the transparency of a picture in Google Slides to ensure and maintain the overlay text clarity.
Follow these steps below to transparent an image in Google Slides:
- Import the picture to the slide from the Insert tab and then Image.
- Select the photo, click the Format tab, and choose Format options.

- Expand the Adjustments menu on the right.
- Move the Transparency slider to the left to control opacity.
If you hit the slider to the most left, you will vanish the image. It is beneficial if you need to hide some unwanted pictures at a later stage without re-writing the slide.
But if you need to add some text over the photo, keep the slider around the middle to make it semi-transparent. You can also fiddle with the brightness and contrast slider to keep the overlay text readable.
It will make an image background transparent in Google Slides. But how about shapes? Keep reading to learn the
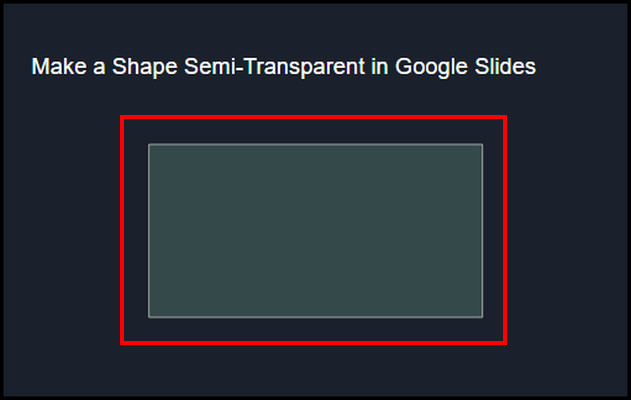
How to Make a Shape Semi-Transparent in Google Slides
To make a shape transparent in Google Slides, put a shape to the slide from the Insert tab. For turning a shape transparent to your preferred level, select the shape > click the fill color icon from the toolbar and adjust transparency after selecting CUSTOM.
Sometimes, you need to use a shape & text together to overlap and cover each other. Often, you don’t want to fully cover the background with the shape. So, you have to translucent the shape in Google Slides.
Here’s the process to make transparent shapes in Google Slides:
- Go to the Google Slides presentation.
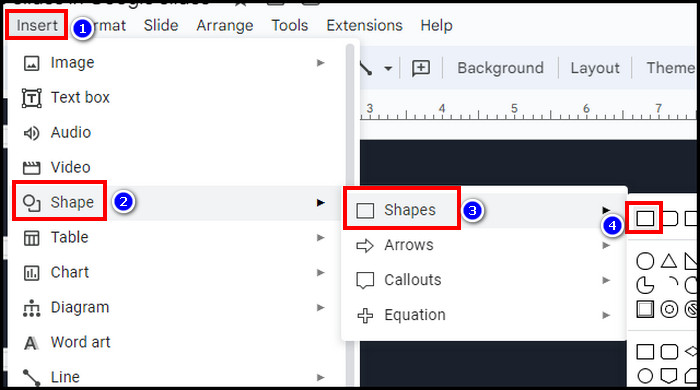
- Click the Insert tab, Shape, Shapes, and pick a shape from the options.
- Draw the shape on the slide.
- Select the shape.
- Click on the Fill color icon.
- Choose CUSTOM.
- Shift the transparency slider to the left.
For a complete fade-out look for the shape with borders, click the fill color icon and select Transparent from the bottom.
FAQs
Is there any transparent font for Google Slides?
Only a few fonts, like Rockletter Transparent, Fredericka the Great, etc., are designed to be transparent. You have to add those fonts to use, select them, and start typing to use the text. For other fonts, you must use the fill color option to control transparency in Google Slides.
Where is the transparency option for pictures in Google Slides?
After inserting an image in Google Slides, select it > go to the Format tab > Format options and expand Adjustments from the right. You will find the transparency slider for images there. You can also go to the Format options by right-clicking on the photo & choosing the option from the context menu.
Why is the inserted picture over the text in Google Slides?
If a picture in Google Slides is over the text, you must re-order its position. To send the photo back of the text, right-click on the image > hover the cursor on Order and select Send to backward. For multiple text and shape layers, choose Send to back to move the selected image to the back of the slides and vice versa.
Final Thought
Google Slides allows users to easily make the shape or text transparent from the fill color options.
In this guide, I described how quickly you can adjust any shape, text, or image’s transparency to make a better presentation. If you have any further queries, please leave a comment.
Have a nice day!