You just finished filling up your slides with all the content, but when you show it to someone else, they can easily spot multiple keyboarding mistakes in the first few seconds. How can you avoid that kind of embarrassing situation?
The most straightforward and practical answer is linking Grammarly to Word.
Why Grammarly? Well, when it comes to detecting common typing issues like spelling or grammar, along with the writing tone, and clarity, there is no app that can compete with Grammarly.
Sure, you need to pay to use all its features, but it’s compatibility across multiple operating systems and browsers (with the help of Chrome extensions), along with multiple software in your PC, makes up for it. The free version is also better than many alternatives.
Although I usually use this service to proofread long Word documents, I recently started using it to improve my Presentation quality, and it exceeded my expectations.
So, what are you waiting for? Move to the next section with a cup of coffee in your hands.
You may also like to read about fix Microsoft Excel freezing or slow.
How To Activate Grammarly in PowerPoint?
Before moving forward, there’s one point that I need to clarify.
Although Grammarly is widely compatible, there is no official support for it in PowerPoint. Word and Outlook are the only Microsoft Office apps that have full Grammarly support.
But why let a mere software limitation stop you? Using these exclusive and secret workarounds that my team thoroughly tested and verified, you can use all of Grammarly’s features for your slide’s content.
Related contents you should read about Microsoft Teams Black Screen.
Follow these methods to add Grammarly to PowerPoint:
1. Use Microsoft Word
As I mentioned earlier, Microsoft Word is one of the applications that have full Grammarly support. However, you need to enable this by adding a plugin/add-in.
Once you have done that, you only need to transfer the text from your PowerPoint slides to Microsoft Word and Grammarly will immediately scan and fix all the mistakes.
Follow these steps to use Microsoft Word to fix errors:
- Launch any browser and navigate to the Grammarly add-in download page.
- Click on the green button labeled ‘Get the add-in’ and wait for the download to start.
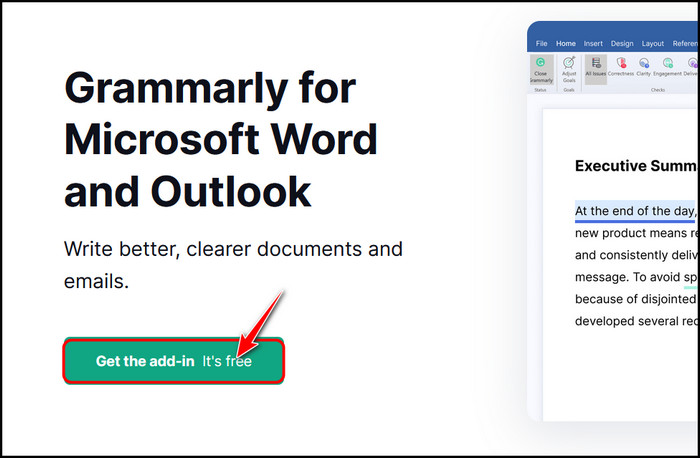
- Click on highlighted ‘here’ text on the next page if the download fails to start.

- Launch a File Explorer and navigate to the folder where the downloaded file is stored. If you are not sure, it’s usually in the Downloads folder.
- Double-click on the GrammarlyAddinSetup file and click on Get Started to proceed.

- Select the programs where you want to install Grammarly support on the next page.
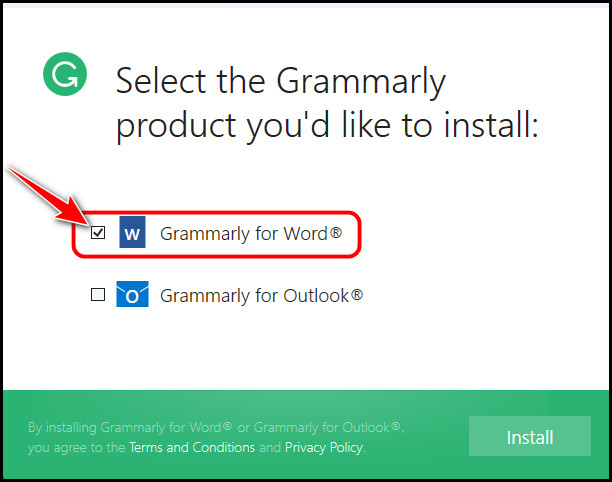
- Wait for the installation process to complete after clicking on the Install button at the bottom right corner.
- Restart any Word applications if one was already running.
- Switch to the Home tab from the top menu bar if you are not already there and find the newly added Grammarly category in the left corner.

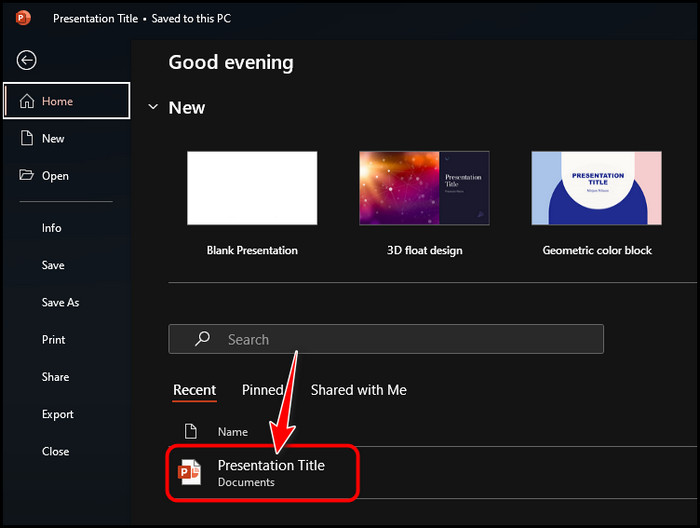
- Launch Microsoft PowerPoint and open the slide you want to proofread.
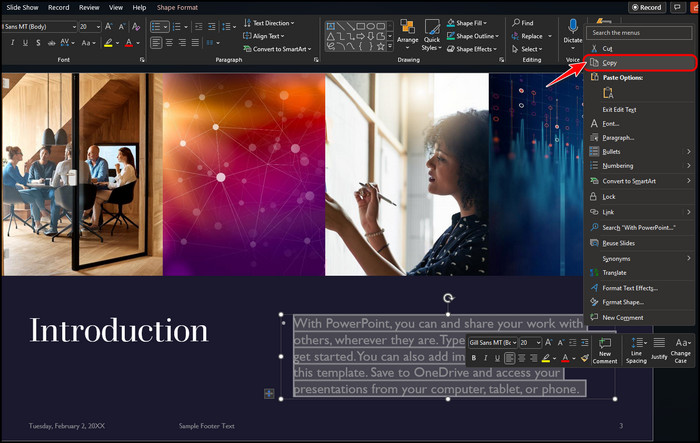
- Move the mouse cursor to the beginning of the content paragraph. Do a left-click and drag the mouse cursor to the last word of the paragraph to select all the text in between. Once they are selected, right-click on it and select Copy.
- Switch to Microsoft Word, create a Blank Document and paste the contents there.
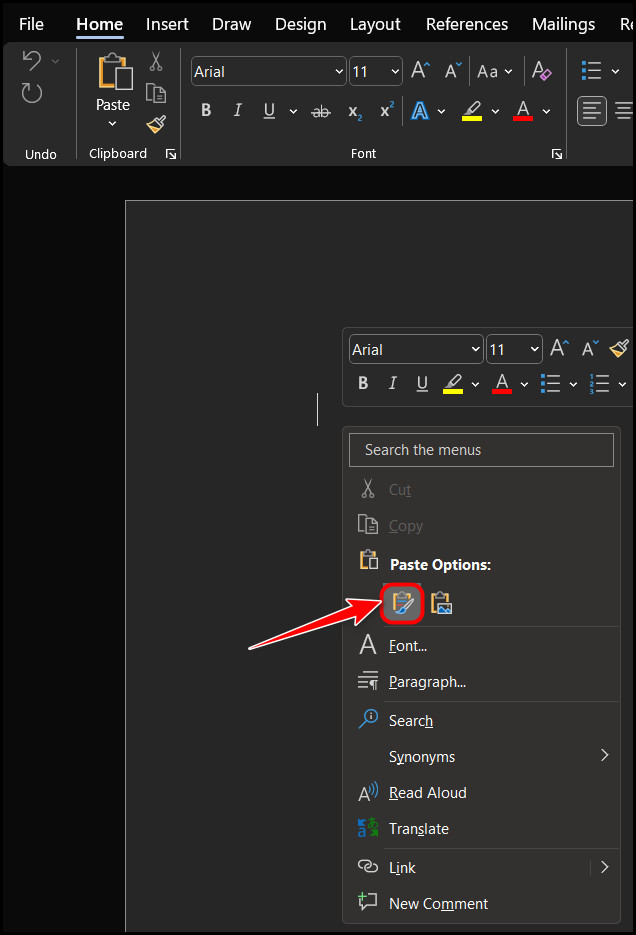
- Click on the Open Grammarly option you located earlier.
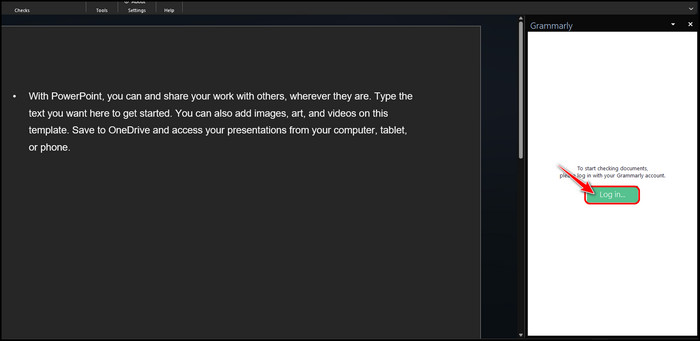
- Select the Log in button on the sliding right panel.
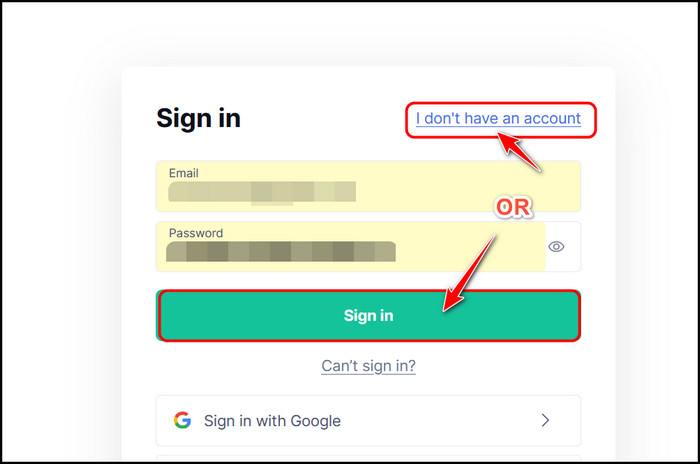
- Enter your Grammarly credentials in the browser window and click on Sign in. Note that you won’t be able to use the add-in without creating an account. You can create a new account by clicking on ‘I don’t have an account’.
- Click on the Open Link or similar option once your credentials have been successfully verified.

- Click anywhere inside Word to see some Grammarly suggestions appear on the right panel. You can now correct or dismiss them to your preference.
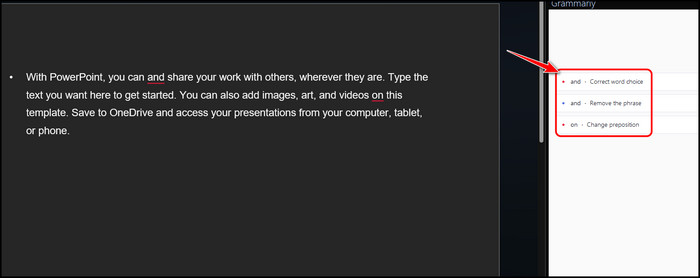
You can now simply copy back the corrected content and replace it with the text in the PowerPoint slides. I use this method every day, and it seems to be working flawlessly so far.
However, if you want to try other alternatives, check them out below.
Some more guides on Microsoft Word find and Replace is not working.
2. Use Grammarly Application
Grammarly provides an application that will constantly run in the background and monitor what you type. This can also monitor what you type in PowerPoint, so there’s no harm in giving it a try.
Follow these steps to use the Grammarly application to fix typos:
- Launch any browser and browse to the Grammarly desktop application website.
- Click on the Download Grammarly button at the bottom left corner.

- Launch the downloaded file once the download process is completed and follow the instructions to set it up.
- Click on the Sign into existing account once the application loads.

- Click on the Continue to Grammarly button on the browser page that loads up.

- Select the Open button on the browser pop-up menu.

- Close the Grammarly window and launch your PowerPoint application.
- Go to your slide and type something. Grammarly will automatically detect what you type and offer live suggestions.

You may enjoy this method because it doesn’t require you to do the tedious task of copying texts back and forth between Word and PowerPoint, but keep in mind that this requires more RAM since it’s always running in the background.
If you can’t use the first method and you don’t have sufficient RAM to keep Grammarly running in the background, follow the next alternative.
Check out the easiest way about Microsoft Word: How to Unlock Selection.
3. Use Any Browser
Grammarly doesn’t need you to download anything to your PC to be able to correct mistakes. You can access their web application from any browser, as long as it’s from a desktop device.
This is typically more stable and reliable compared to other methods here.
Follow these steps to use any browser to correct grammatical mistakes:
- Open any browser application like Chrome, Firefox or Microsoft Edge.
- Navigate to Grammarly’s official website.
- Switch to the My Grammarly tab from the left panel and click on the New button to create a new document in the web app.

- Launch your PowerPoint slide and copy the text as you did in method 1.
- Paste the copied text in the Grammarly tab of your browser. You should see some suggestions appear immediately.
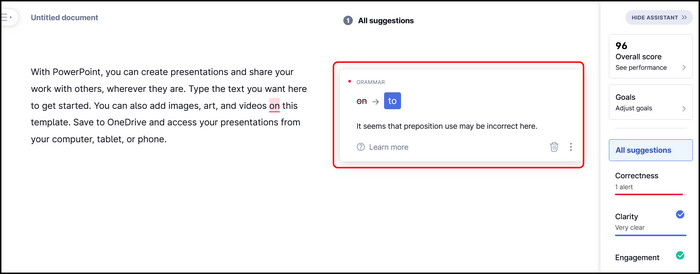
That completes the list of methods to correct grammatical mistakes in PowerPoint. You may think that not having an official integration with PowerPoint is a significant issue for Grammarly, but trust me, it’s not.
The second method will allow you to use Grammarly alongside PowerPoint as if it’s an official feature.
Follow our guide to fix Microsoft Word read aloud not working.
Final Thoughts
In conclusion, Grammarly supports a long list of programs, and PowerPoint is one of them. However, the support isn’t considered official as there is no Grammarly add-in for PowerPoint like MS Word.
That’s not a major issue because the first and second methods from the previous section should help you correct typos in any presentation in an instant.
Lastly, if you are using a laptop or an old computer, skip the second method because that requires suitable hardware. Did you manage to get Grammarly working with PowerPoint? Answer me in the comments.