Understanding the SharePoint features is quite a challenge for new users, and reading a ton of boring documents to understand SharePoint is frustrating.
SharePoint Groups and Permission is the basic idea to define the access for the SharePoint site and what the user can do within the website.

This article will answer all your queries if you want to understand SharePoint Groups and Permission basics.
So, let’s begin!
A SharePoint group is a group of users that can be handled altogether. A permission level refers to the predefined set of permissions that can be allocated to a particular group for a specific object that requires security measures. Admin can set permission levels depending on user role.
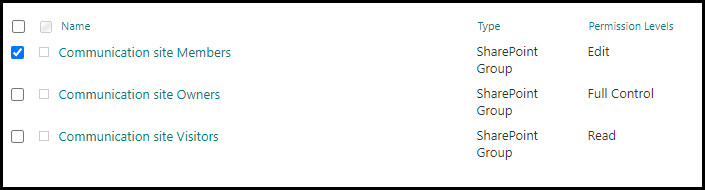
SharePoint offers three default permission groups for a SharePoint site: Owners, Visitors, and Members.
Each group has a different level of access and contribution to a site. For instance, owners can control the entire website, visitors can read the files, and members can contribute to the site.
SharePoint allows users to manage items, edit personal views, modify, update, delete & add user information, access directories, and many more. After learning the basics, let’s move on to the next section to create a group in SharePoint.
If you need to create a group in SharePoint, you can quickly do that using the Advanced Permissions Settings. Simply set a name and description for the group, specify the owner name, set permissions, enter email for join/leave request, and select Create.
The following instructions will work on SharePoint 2013, 2016, and Office 365 accounts. For step-by-step instructions, consider the subsequent procedure.
Here are the steps to create a new group in SharePoint:
- Open your browser and sign in to SharePoint.
- Go to your website or team site.
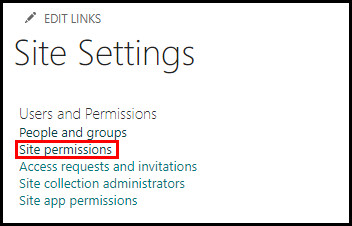
- Click Settings and then Site Permissions.
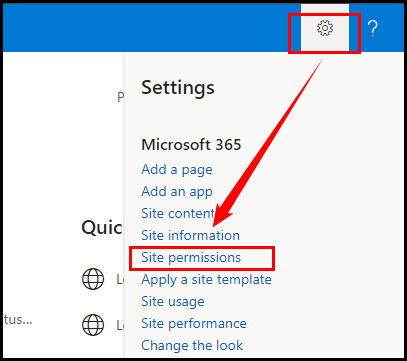
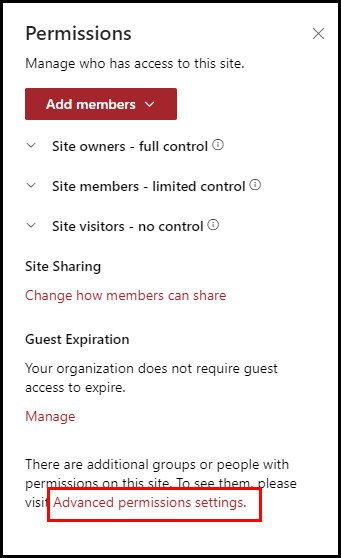
- Select Advanced Permissions Settings from the Permissions page.
- Switch to the PERMISSIONS tab and click Create Group.

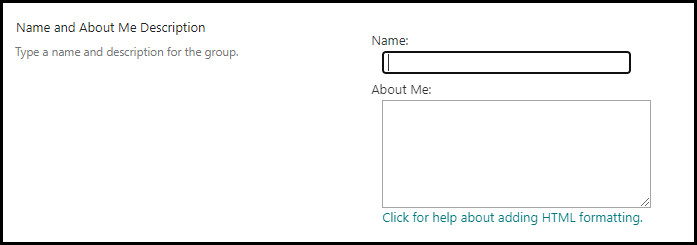
- Enter a name and description in the Name and About me boxes.
- Specify the owner’s name in the Owner box.

- Set who can view and edit the group memberships in the Group Settings section.

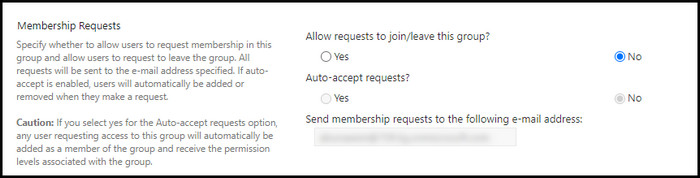
- Change the settings for requests to join/leave this group, and type the email address in the Membership Requests section.
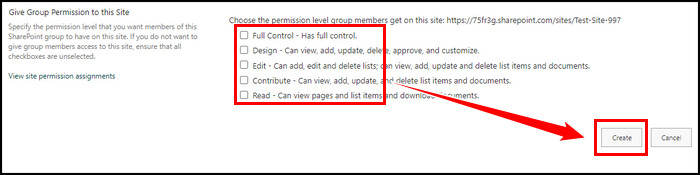
- Choose a permission level for this group in the Give Group Permissions to this Site section.
- Click Create.
The above steps will create a new group in your SharePoint site. You can quickly add or remove users from this group. For more instructions, move on to the next sections.
How to Add and Remove Users From a Group
When you create a new group, you must add new users to the group. Using the Add members option, you can quickly add users to your group and remove the users from the group using the People and Groups option under the Users and Permissions category.
The process of adding and removing users to a group is different. However, you can quickly accomplish that by going through the subsequent procedures to add or remove users from a SharePoint group.
Following is the method to add users to the group:
- Open your SharePoint site and locate the Share or Members button in the top right corner next to the Following option.
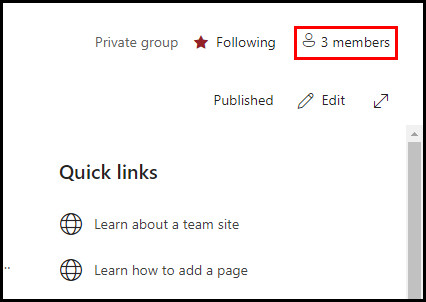
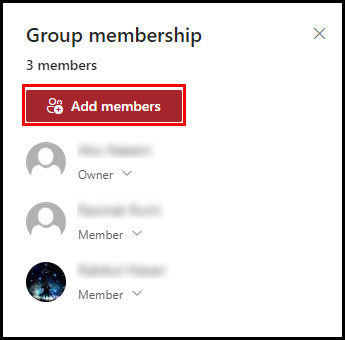
- Click on the Members button and select Add members.
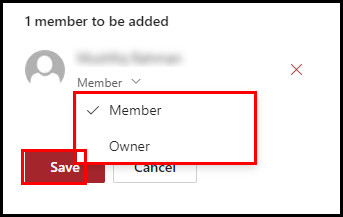
- Type the name of the member you want to add under the Add members section.
- Select the member from the search directory.
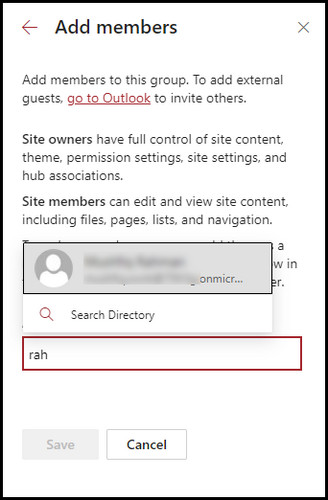
- Click the down arrow icon to change the role between Member and Owner.
- Select Save to add the selected user.
If you need to add external users to the group, you can also do that by clicking the go to Outlook to invite others option under the Add Members window. To remove the users, consider the subsequent instructions.
Check the following process to remove users from the group:
- Click Settings and select Site information or Site settings.
- Scroll down and click View all site settings.
- Click People and Groups under the Users and Permissions category.
- Select the name of your group from where you want to remove users.
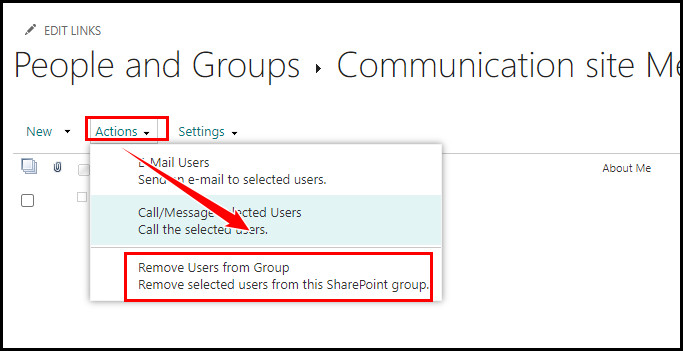
- Tick the checkboxes next to the users, select Actions, and then click Remove Users from Group.
- Click OK to save the changes.
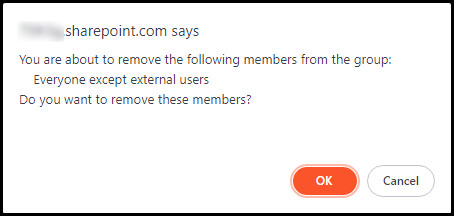
The above step will remove the selected users from the group, and the removed users won’t be able to access the group anymore.
Looking at the permissions, users can determine who has access to the SharePoint site and what type of action they can take with these permissions. It is essential to check the permissions to ensure the site is secured and the users can access what they need.
Without admin access, you will not find the following options. In that case, enable admin access and follow the process below to view group permissions in SharePoint.
Here is the way to view SharePoint Online Group Permissions:
- Open SharePoint and click the site.
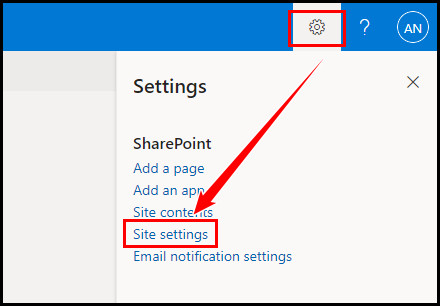
- Click the Gear icon to open Settings and then click Site Settings.
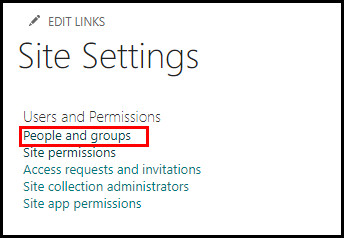
- Select People and Groups under the Users and Permissions.
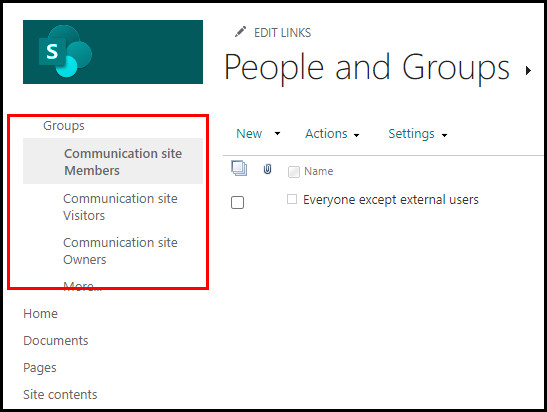
- Choose the Group from the left pan.
- Navigate to Settings > View Group Permissions option.

- Check the permissions on the View Site Collection Permissions page.
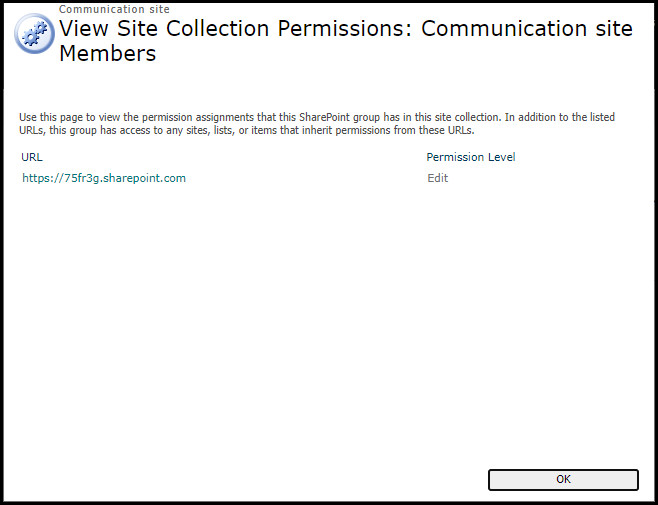
After performing the above steps, you can view all sites, lists, libraries, folders, files, etc. Besides, you will see where the group permissions are assigned and the level of the permissions associated with the group.
If you own an existing SharePoint site and have a pre-created user and group in SharePoint, you can effortlessly change the group permissions. Modifying the group permission is necessary after adding or removing new users to the SharePoint group.
Consider the subsequent step-by-step instructions to change the SharePoint group permission on SharePoint 2013, 2016, and Microsoft 365.
Here’s how to change SharePoint group permissions:
- Open SharePoint and click on the Gear icon to open Settings.
- Select Site Settings.
- Click Site Permissions under the Users and Permissions category.
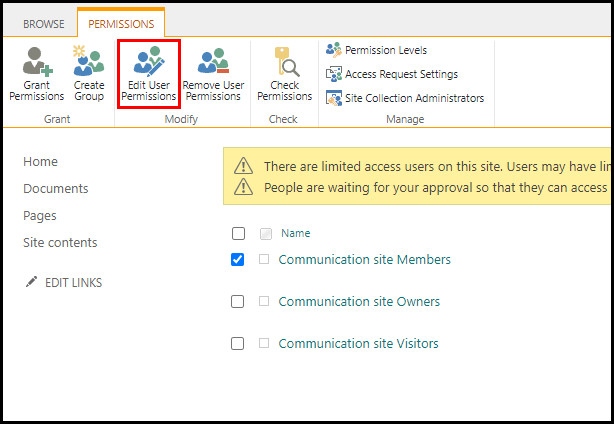
- Tick the checkbox of the group of which permissions you want to modify.
- Switch to the PERMISSIONS tab and select Edit User Permissions.
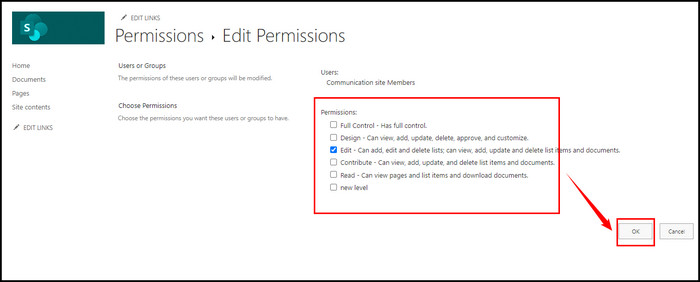
- Select the necessary check box(es) to allow a new permission level.
- Click OK to save the changes.
Quick Note: If you choose multiple permission levels at once, the assigned permissions levels are a union of all the individual permissions.
For instance:
Permission level 1 = Permissions W, X, Y
Permission level 2 = Permissions Y, Z
Assigned permission level = W, X, Y, Z (Union of all individual permissions)
Frequently Asked Questions
Can a permission set be assigned to a group?
Yes, users can assign a permission set to a group. The Permission set groups include all the permission in permission sets. Furthermore, users can also include a permission set into more than one permission set group.
What are the limitations of permission set groups?
Creating a maximum of 1000 permission sets in Microsoft SharePoint is possible. The salesforce features and editions control the limitations of permission set groups.
What are the 3 permission groups?
You will find three types of permission groups for each file or directory. They are owner permissions, group permissions, and other permissions.
Wrap Up
The ability to control the permissions in SharePoint ensures the site is secured and only accessible to those with access.
Groups are the set of people for a particular task in managing the site more efficiently. And the permission level has added more value in distributing the access.
Do you have any queries regarding this topic? Mention them in the comment section for further assistance.