The digital world is swarmed with content, and capturing the right audience’s attention has become an art of precision.
With Audience Targeting in SharePoint, you can laminate and personalize the content for members to whom it truly matters.

In this article, I’ll describe Audience Targeting and provide straightforward ways to enable and use the feature on the SharePoint site.
Without wasting any time, let’s jump in.
Audience Targeting in SharePoint is a feature that lets you personalize content and target them to specific people, groups, or audiences. You can use it in navigational links, pages, libraries, folders, and web parts and ensure the user sees the most relevant content for them.
By default, the Audience Targeting is disabled. But, the owner and admin of a group can enable the feature and target content to a specific audience on a SharePoint site.
As an administrator, you can enable the audience targeting for:
- Navigational links.
- Pages.
- News web part.
- Highlighted content web part.
- Quick links web part.
- Events web part.
- Viva Connections Dashboard.
When you specify the audience in the targeted section, only they can see the content. Non-targeted people will not see the content, page, or web part.
The Audience Targeting may seem similar to the SharePoint Permission, but they aren’t. Permission defines if a user has access to specific content, and Audience Targeting is about who will see the content.
The following passage will show how you can set up & improve Audience Targeting in SharePoint.
SharePoint Team and Communication site owner can enable Audience Targeting for the specific members for the navigational links in the menu, library, page, and folder from the document library and in web parts such as news, quick links, etc.
The following passage will describe enabling the Target Audience in SharePoint modern page and to use them with the detailed procedure.
Here are the methods to enable and use Audience Targeting in SharePoint:
The navigation links or quick launch menus are available for SharePoint Communication and Team sites. But depending on the template, their positioning can be different.
Read the following steps to enable and use Audience Targeting for the navigation link:
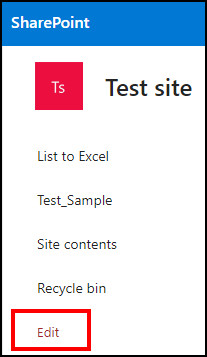
- Go to your SharePoint site.
- Click on Edit from the navigational link.
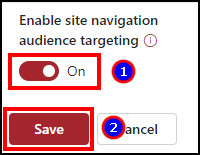
- Turn on Enable site navigation audience targeting and press Save.
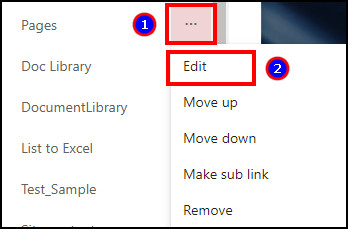
- Click on Edit again.
- Press on the link context menu and select Edit.
- Enter the group name in Audience to target and click OK.
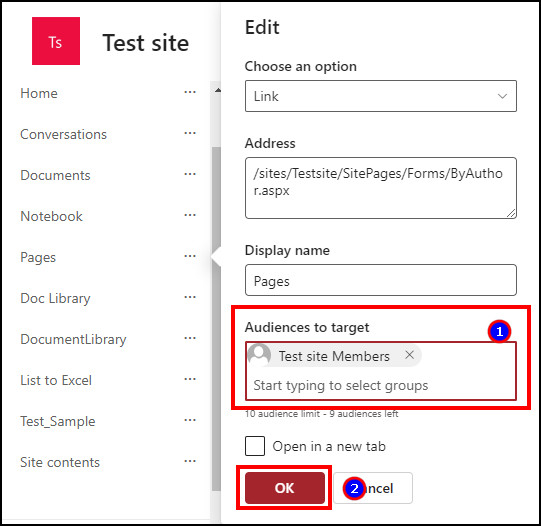
The navigational link will be targeted at the selected audience. And members outside the audience won’t see the options.at the navigation pane.
2. For Library, Page, or Folder
Similar to the navigation link, the library, page, or folder can be targeted for specific group users. You need to change the permission in SharePoint library settings and enable the Audience Targeting for the document library.
The process for Audience Targeting for a page, folder, specific content, or library is the same. You must choose which content to target for the audience and follow the steps below.
Here is the process to enable and use Audience Targeting for the document library:
- Go to the SharePoint site.
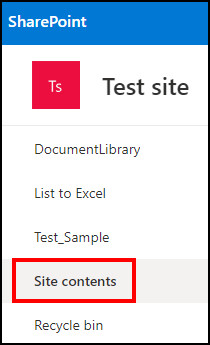
- Navigate to the Site contents.
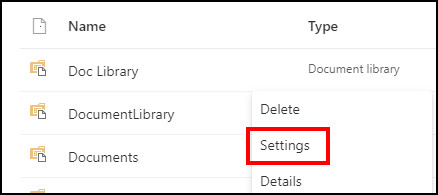
- Right-click on the file or folder.
- Press on Settings.
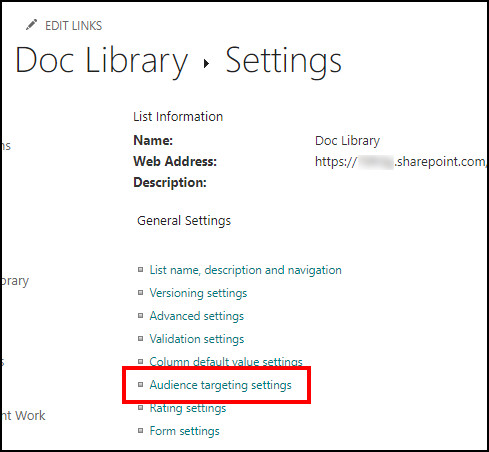
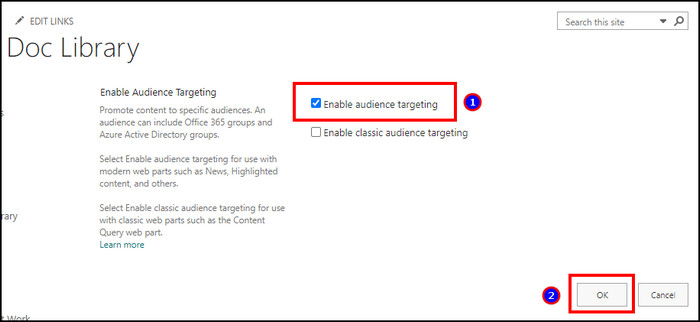
- Click on Audience targeting settings.
- Enable Audience Targeting and press OK.
- Go to the file or folder you want to set Audience Targeting for.
- Right-click and press on Details.
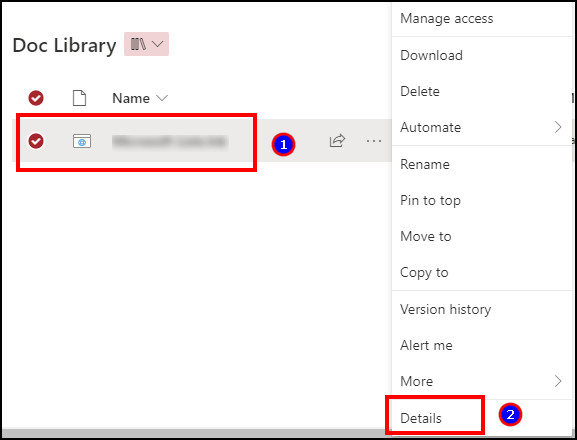
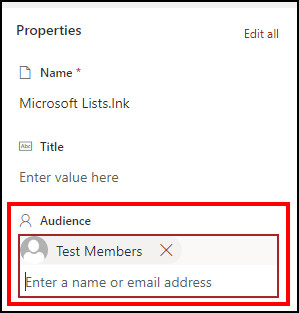
- Add Audience and close the tab.
The audience name will appear on the SharePoint Online library and show the audience targeting in the list view.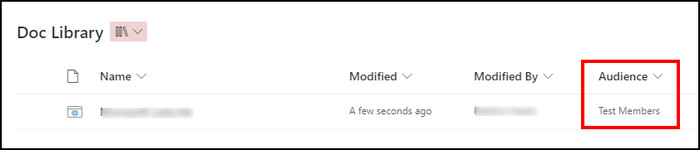
3. For Web Part
You can also use the Audience Targeting feature in the SharePoint web part. You can enable the Audience Targeting in News, Quick links, and others.
Follow the procedures below to enable and use Audience Targeting in the web part:
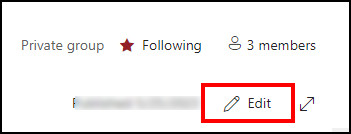
- Navigate to the Home tab from your SharePoint site.
- Click on Edit.
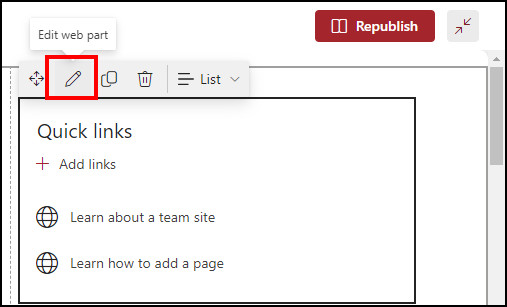
- Press on a web part.
- Click on the Edit web part.
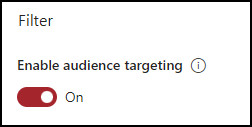
- Turn on Enable audience targeting and Republish.
- Insert a web part content.
- Scroll down and add Audience.
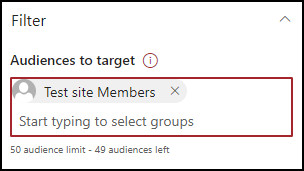
- Click on Republish.
The web part content will be added, and only the selected members can see it.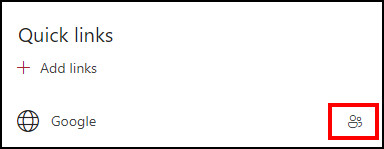
Using the above procedures, you can set up Audience Targeting and provide a personalized experience to the site members and users.
Frequently Asked Questions
What does Audience Targeting do in SharePoint?
The Audience Targeting in SharePoint provides the most relevant content to the user to give a personalized user experience.
Can a member add Audience Targeting in SharePoint?
No, a SharePoint site member can’t add Audience Targeting. You must be the site owner or admin to enable the feature.
Who can see the targeted content in SharePoint?
The targeted audience, owner, and admin can see the targeted content in Microsoft SharePoint. Users without access won’t see the files or folders on the site.
Ending Note
Audience Targeting is an excellent way to reach your content to the selected members. Also, it ensures the member sees your personalized content and increases your productivity.
This article has provided effortless steps to set the Audience Targeting for people in the navigation pane, web part, and file library.
I hope you’ve found the article helpful for increasing user interaction. Don’t forget to share your experience in the comment box below.
Cheers!