When date table relationships stop functioning correctly in Power BI, it disrupts time-based calculations, which leads to incorrect aggregations and misleading visualizations. Also, you cannot perform drill-down analyses and dynamic reporting accurately.
So, resolving these problems is crucial to maintaining the integrity and effectiveness of Power BI reports.
That’s why, in this article, I’ve explained multiple ways for accurately generating date tables and described how to establish relationships with them to troubleshoot issues related to date table relationship failure.
Let’s begin!
How to Fix Date Table Relationship Issues in Power BI
When creating a date table relationship in Power BI, several issues may arise, such as mismatched date formats between the date columns in different tables, leading to unsuccessful relationships.
Additionally, incomplete or inconsistent date data in either table can result in missing or inaccurate connections. It’s crucial to ensure that the date columns have the same data type to avoid compatibility issues.
Another mistake is overlooking the proper hierarchical structure in the date table, which can affect time-based calculations and aggregations.
As you can see, you have to consider many factors when dealing with Date/Time data types in Power BI.
That’s why I’ve described everything you need to do below to generate date tables and create relationships with them from scratch.
Here are the steps to fix date table relationship issues in Power BI:
1. Generate Power BI Date Tables Correctly
Before you start to create the date table, you should know the conditions for creating it accurately.
Here are the requirements for creating a date table in Power BI:
- Eliminate any blanks within the designated date column.
- Ensure that the date column contains unique values.
- Incorporate a date/time data type into the date column of the table.
- Make sure there are no missing dates in the specified column.
- Mark the date column as a Date Table component.
- Extend the date table to cover complete years.
With these factors in mind, you can use multiple methods to create date tables in Power BI.
Now, let’s generate the table:
Import Source Data
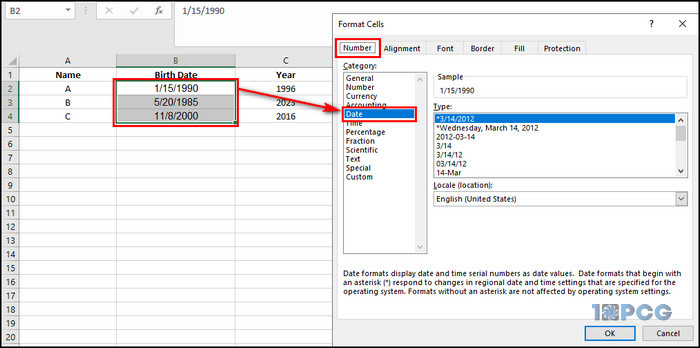
- Create a date table in Microsoft Excel.
- Make sure the table has a dedicated date column with the Date type format.
- Save the Excel file and open Power BI.
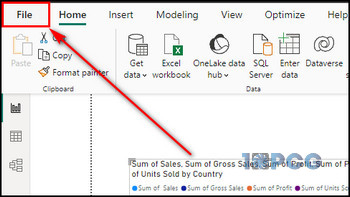
- Select File from the upper right.
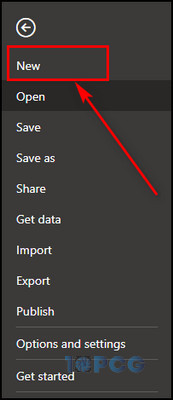
- Choose New from the left menu.
- Select Import file from Excel and choose the file you’ve saved.
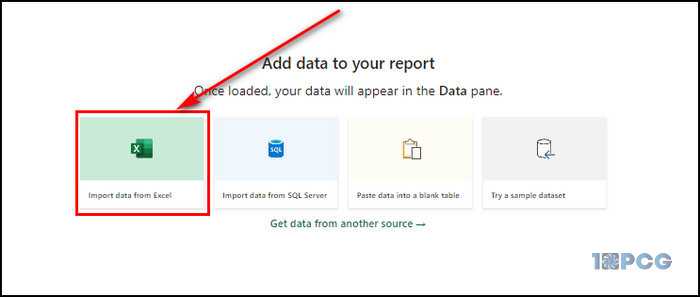
- Check the spreadsheet containing the date table and click on Load.
Enable Auto Date/Time
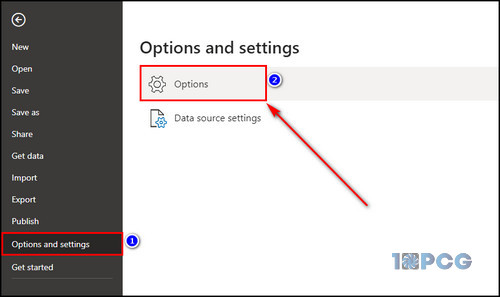
- Select File > Options and settings > Options.
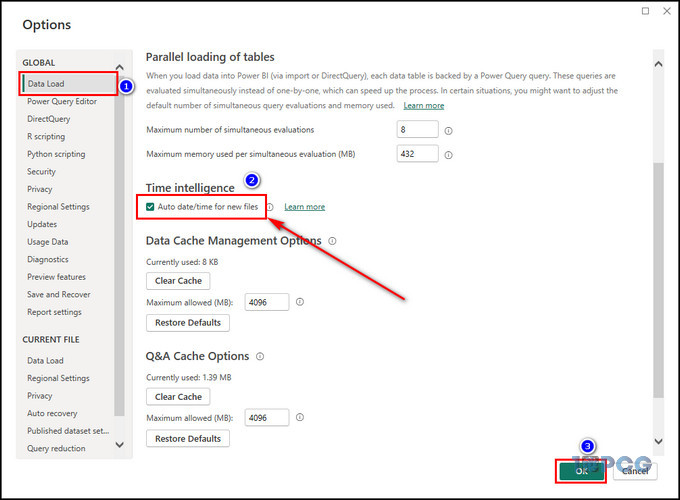
- Go to the Data Load tab.
- Put a checkmark on the Auto date/time for new files option and click OK.
Now, whenever you create or import a table with a date column, Power BI will automatically generate a hidden date/time table according to the date column and establish a relationship with it. You can use this hidden table for visualization.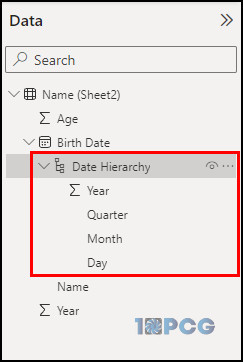
Use Data Analysis Expression (DAX)
- Open the Power BI report where you want to create a date table.
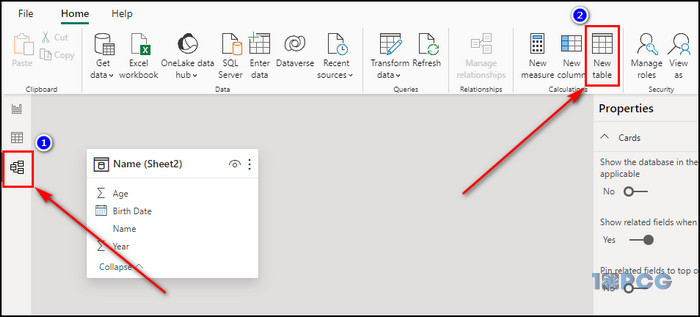
- Go to the Model view and select New table from the toolbar.
- Enter
DateTable = CALENDAR(DATE(2022,1,1), DATE(2023,12,31))to generate the table. Adjust the start and end dates based on your requirements.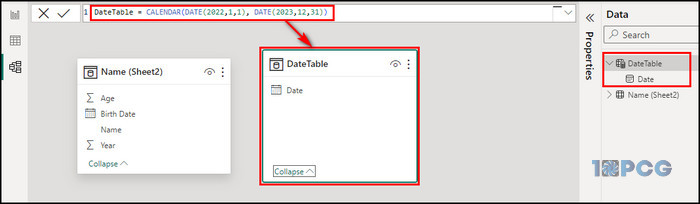
- Proceed to Table view.
- Click on New column from the toolbar.
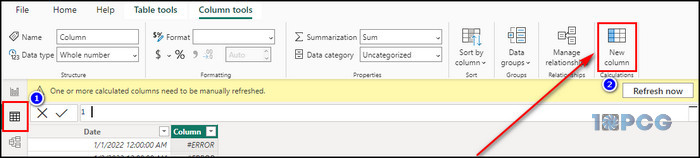
- Enter
Year = YEAR('DateTable'[Date])to create the Year column. - Select New column again and enter
Month = FORMAT('DateTable'[Date], "mmmm")to generate the Month column.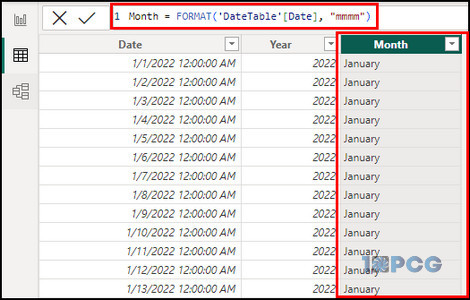
Write M Script in Power Query
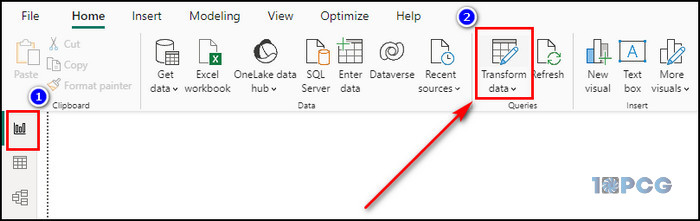
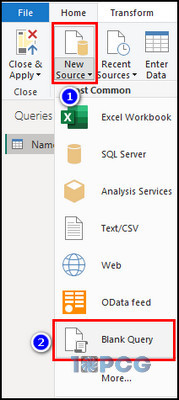
- Click on Transform Data to open Power Query from the Home tab.
- Select New Source, and choose Blank Query.
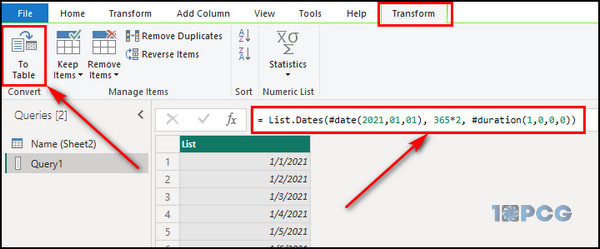
- Input
= List.Dates(#date(2021,01,01), 365*2, #duration(1,0,0,0))and press Enter. Adjust the dates based on your requirements. - Select the To Table option from the Convert section in the Transform tab.
- Click on Close & Apply.
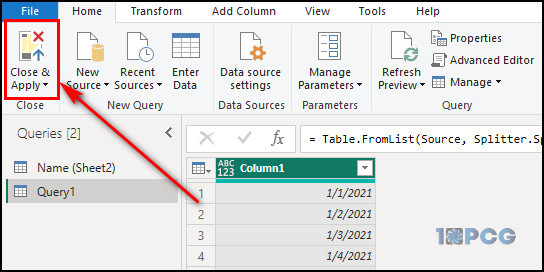
- Return to Power BI and select the query you’ve created.
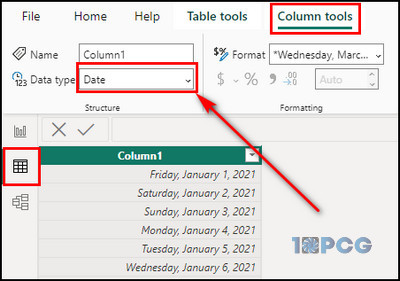
- Go to the Column tools tab and set Date as the Data type.
2. Mark a Table as the Date Table
When you mark a table as a date table, you are informing Power BI that the table contains date values, enabling certain time-based functionalities and calculations.
Follow the steps below to mark a table as date table:
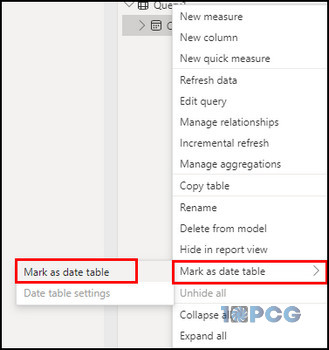
- Right-click on the date table you’ve generated from the previous steps.
- Select Mark as date table > Mark as date table.
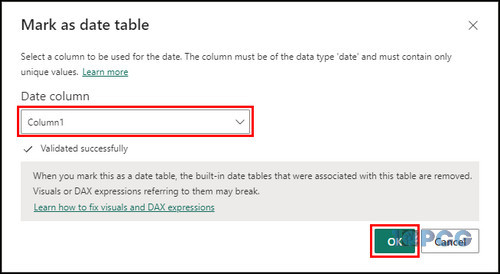
- Choose the Date column from the dropdown and click OK.
3. Set the Relationship with the Date Table to Multiple Tables
Relationships allow you to connect tables based on common fields, enabling you to analyze and visualize data across related tables. In this case, I am using the date type column as the common field.
Here’s how to create relationships between date tables and other tables:
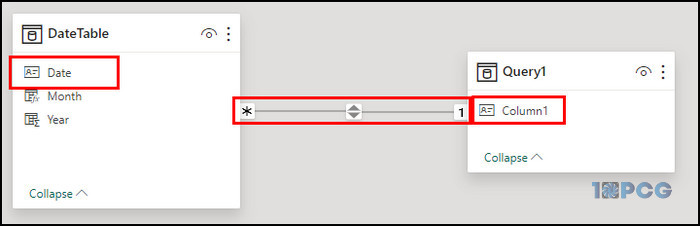
- Select the Model view on the left side of the Power BI window.
- Drag the field from the date table you want to link a Many to One (*:1) relationship onto the corresponding field in the other table.
Adjust or create additional relationships as you work with your data model and create visuals. Just repeat the process as necessary.
Final Thoughts
By now, you should have created date tables successfully and have established working date relationships, providing accurate and reliable data analysis. It not only enhances visualization and reporting capabilities but also ensures the integrity of time-based calculations.
Comment below if you have further questions, and we’ll reply.