Microsoft Outlook offers a wide variety of languages to choose from, which totally makes sense as it’s a globally acclaimed service with worldwide users. Not everyone is fluent in English & many prefer to work in their native language.
Whether you want to set the Outlook language to your mother tongue or explore the UI in other languages, knowing the steps to alter the installed language can be handy in such situations.
So how can you change the default language on Microsoft Outlook? Let’s go through this article to find out, shall we?
Follow our guide step-by-step to add Teams meeting in Outlook.
How to Change Language on Outlook
The steps to change the default language on Outlook differs based on the platform. Thankfully, almost all Outlook desktop versions have the same path to change the default language.
Here are the steps to change the default language on Microsoft Outlook:
For the Outlook Desktop App
There are two ways to change the language on Outlook. You can select from the pre-installed language options or add new languages to the Outlook app. I am going to explain both ways below.
Here’s how to add a language in the Outlook desktop app:
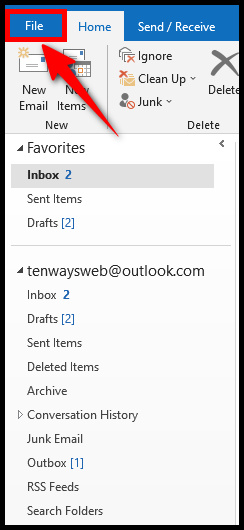
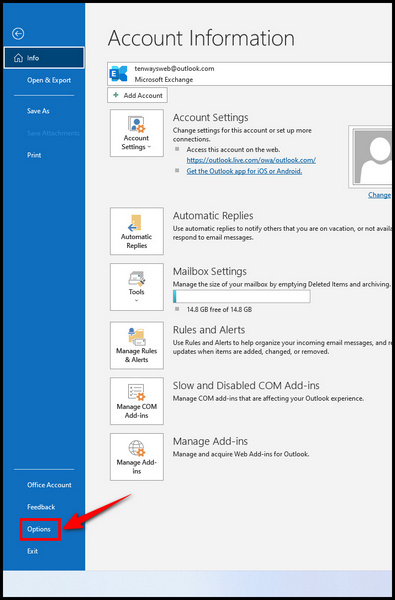
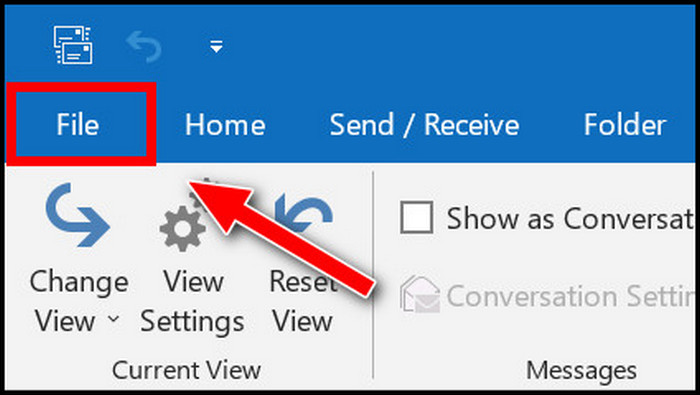
- Go to File > Options.
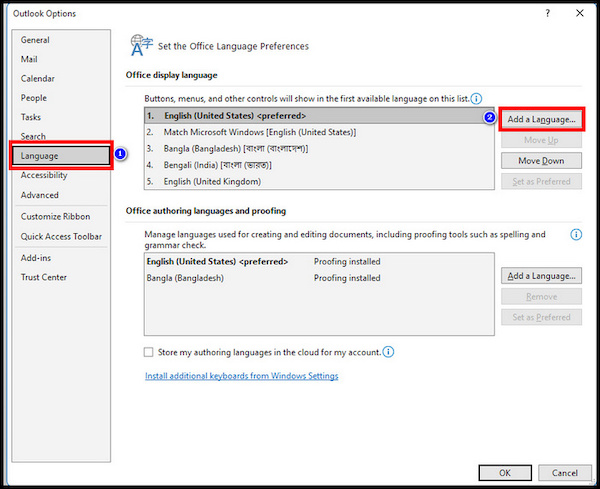
- Select the Language tab.
- Click on Add a Language under the Office display language section.
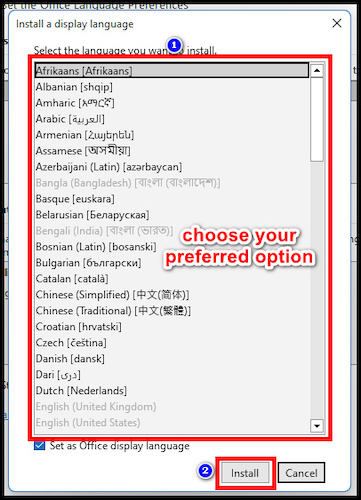
- Choose your desired language & hit Install. Make sure that the Set as Office display language box is marked.
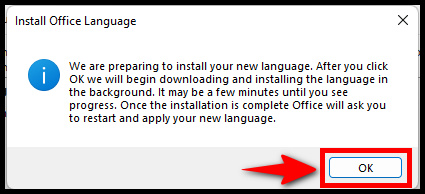
- Hit OK when you get prompted with an Install Office Language message.
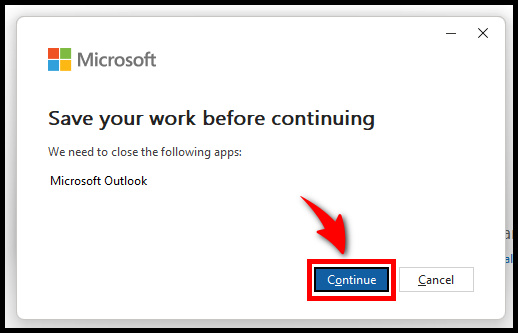
- Wait a few moments while the Office gets updated. You’ll get prompted to save your work because Microsoft Outlook will be closed to complete the process.
- Click Continue.
- Launch the Outlook app again after the updating completes & you’ll notice that the Outlook display language has been changed.
Here’s how to change the installed Outlook language:
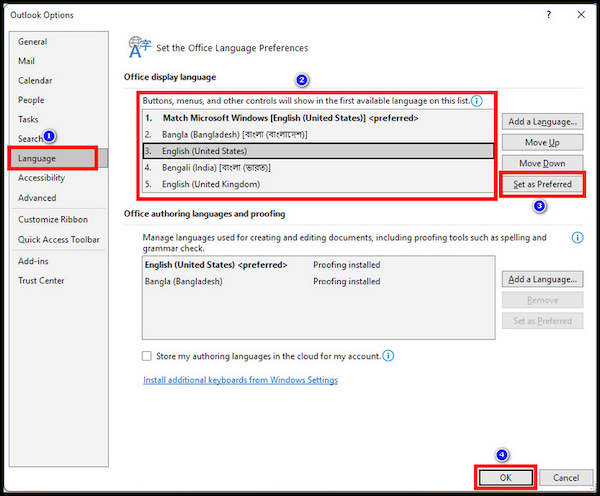
- Click on File & go to Options>Language.

- Select your preferred language from the language selection list box & click Set as Preferred. This option is named Set as Default on the older Outlook versions(2016, 2013, 2010 & so on).
- Hit OK.
- Click on OK when prompted with a Microsoft Office Language Preferences Change message.
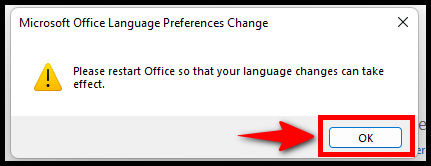
- Reboot Outlook.
Also read how to add new Mailbox in Outlook easily.
You can also change the default document proofing language from the proofing language list box under the Office authoring languages and proofing section. The steps are pretty much the same.
For Outlook Web Access(OWA)
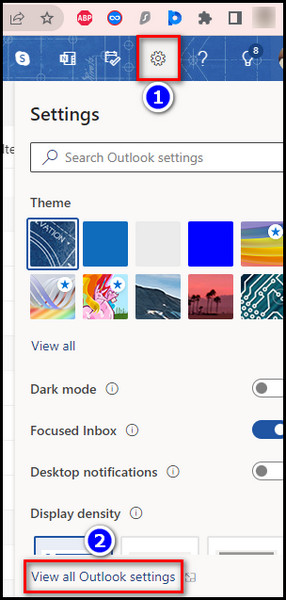
- Click on the Settings icon & select View all Outlook settings.
- Go to General > Language and time.
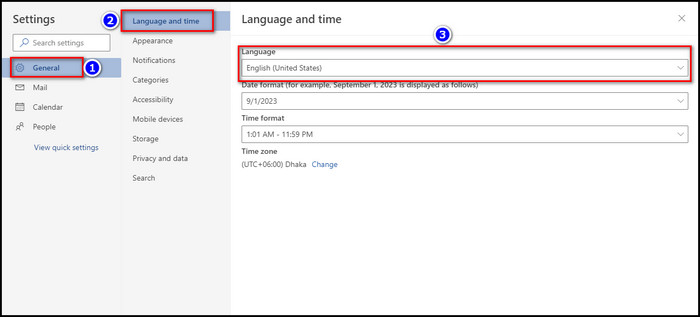
- Click on the drop-down menu in the Language section & choose your preferred language from the list.
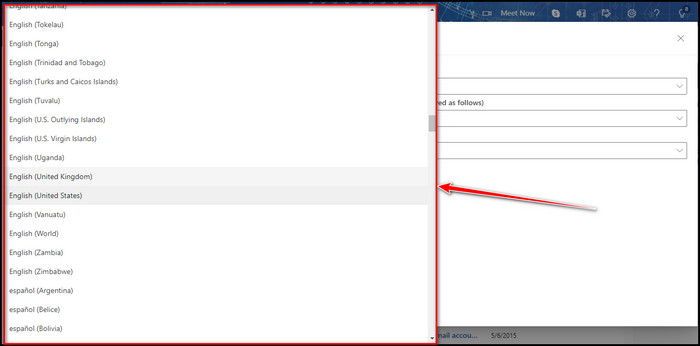
- Select Save.
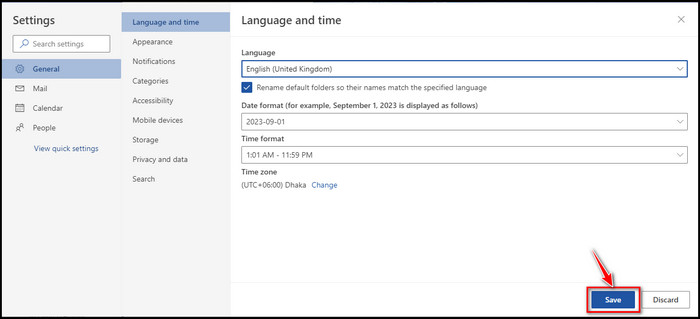
Now refresh the browser tab for the language change to take effect.
For Outlook Mobile App
- Tap on your profile picture>Settings.
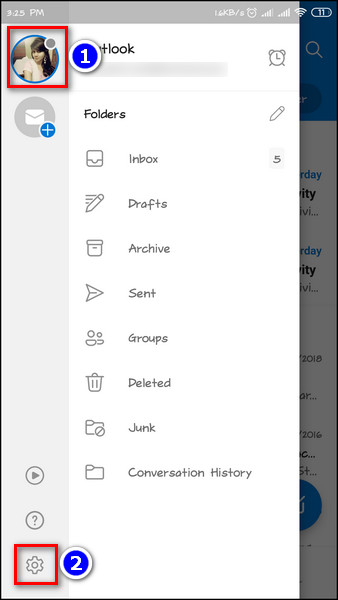
- Scroll down and select Language.
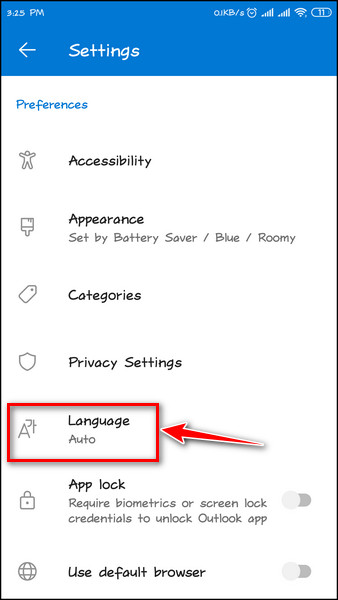
- Choose the language your want from the list.
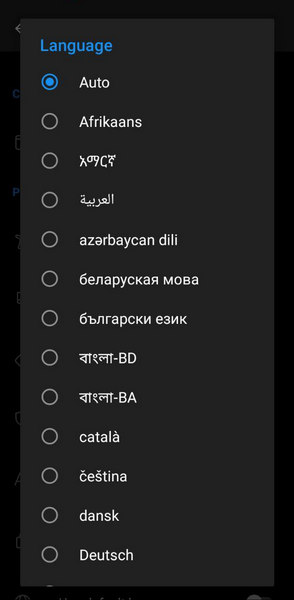
The Outlook mobile app will reboot automatically and set the default app language to whatever you’ve chosen.
Also, check out our separate post on add optional attendees in Outlook mac meetings.
Frequently Asked Questions
Will changing the default Outlook language automatically change my document proofing language?
No. The default language & document proofing language are two different options in Outlook. But installing a new default language will add an additional proofing language option to your Outlook app.
How to change the default language on Outlook for Mac?
Outlook’s default language for Mac can’t be altered as it is synchronized with the macOS.
Final Note
Although the default Outlook language might be enough for most users, some may require to show their Outlook in another language for various reasons.
I hope this write-up has provided the necessary steps you were looking for. If you have any further queries, feel free to share them in the comment section below.
Adios!