OneDrive Files On-Demand is a great feature that helps to save your storage space.
However, if the option is missing, the OneDrive files & folders can start downloading & fill up your precious storage.
But don’t worry. Here, I will explain why you are unable to find the feature & how to troubleshoot it. Let’s begin.
Why OneDrive Files On-Demand Not Working?
OneDrive’s Files On-Demand saves your disk storage. With this feature enabled, you can use all the OneDrive files & folders on any device. Additionally, all the files will be online-only & will not take up your storage space. In addition, you will have the option to download the files as well.
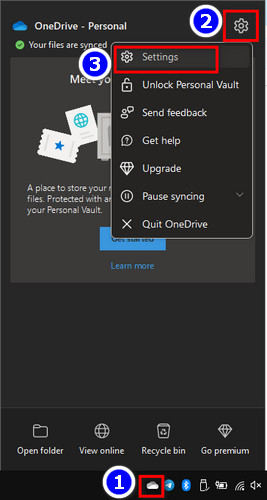
If you want to know how to use OneDrive Files On-Demand, well it’s pretty easy. You have to click on the OneDrive cloud icon from the taskbar > click on the gear icon > Select Settings > Sync and backup > Advanced settings > turn on the Files On-Demand.
However, the Files On-Demand option can be missing in your case. But why?
- If your Windows Operating System is older than Windows 10 1709 version 16299.15 or Windows Server 2016, then you will encounter this issue.
- The feature will be missing if the OneDrive build is older than 17.3.7064.1005.
- If older devices or apps use legacy file system filter drivers, this can cause File On-Demand missing.
- The feature will not work if Windows Information Protection (WIP) is enabled.
Finally, if you have active antivirus software installed on your device, it can be the culprit.
So, how to fix OneDrive Files On-Demand? Continue reading to know the details.
Follow our simple way to fix: can’t create OneDrive folder in the selected location.
How to Fix Files On-Demand Missing in OneDrive
Last year, when I visited my cousin’s house, I took a look at his laptop. It was an ancient one if I have to describe it. He was still using the Windows 10 1607 anniversary update at that time.
He complained to me that, his OneDrive files get downloaded to his laptop whenever he is connected to the internet. His storage was almost full & he had to manually delete all the files. Quite irritating. He asked me if I knew anything about Files On-Demand. He heard that the feature in OneDrive helps to access the OneDrive files without downloading them.
I told him it was his aged Windows that doesn’t support the feature. After updating to Windows 10 version 2004, he was able to use the feature finally.
Now that’s just one. Let’s learn some other fixes if your issue still persists. Before proceeding, ensure you have signed in to your OneDrive account with the proper credentials.
1. Update Windows
The first basic troubleshooting is upgrading to the latest Windows OS. Ensure you have at least Windows 10 1709 Falls Creator Update, as it’s the minimum requirement for OneDrive’s File On-Demand feature.
To update Windows, follow as below,
For Windows 10
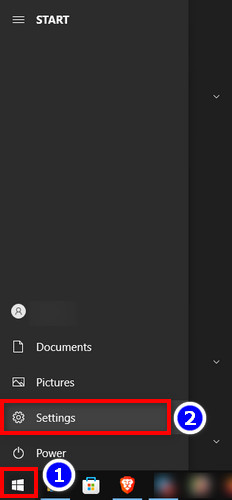
- Press the Windows key & go to Settings.
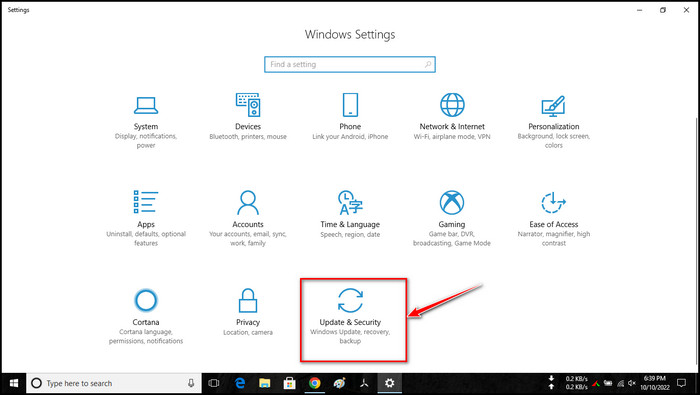
- Click on Update & Security.
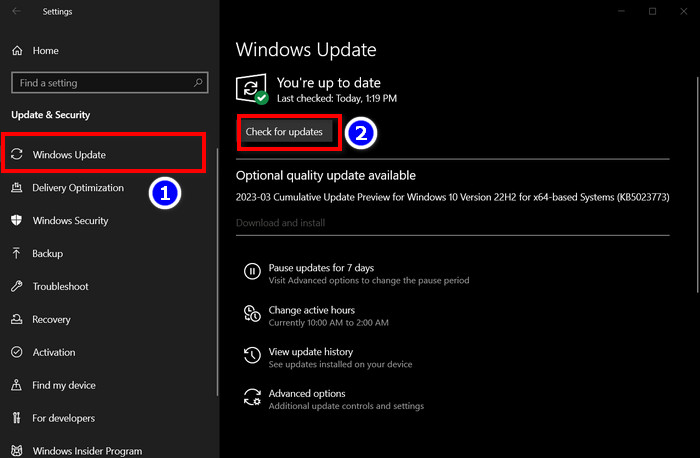
- Go to Windows Update from the left side.
- Click on Check for updates from the right side.
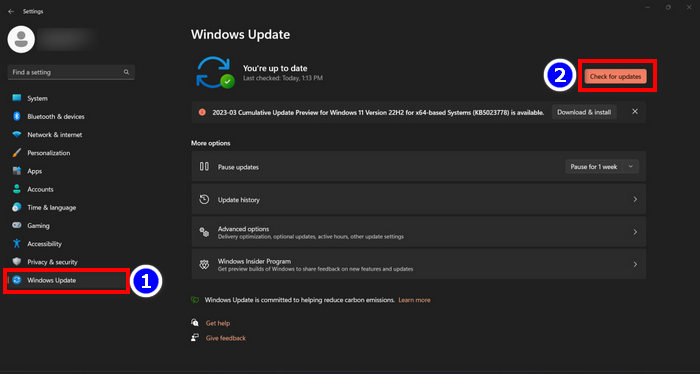
For Windows 11
- Press Win+I to go to settings.
- Select Windows Update from the bottom left side.
- Hit Check for updates.
After updating Windows, restart your PC & check if your Files On-Demand missing is fixed. If the issue persists, follow the next step which will definitely solve the problem.
You may also like to read about enable or disable OneDrive in Windows 11.
2. Upgrade OneDrive Version
OneDrive build 17.3.7064.1005 is the minimum required for the Files On-Demand feature. If your OneDrive is older than this, you must download & install the latest available OneDrive.
To view your OneDrive version,
- Left-click on the OneDrive icon from the taskbar.
- Click on the gear icon & then Settings.
- Select the About tab.

There you will find the OneDrive version. If it doesn’t meet the minimum requirement, then you have to download the latest version & install it.
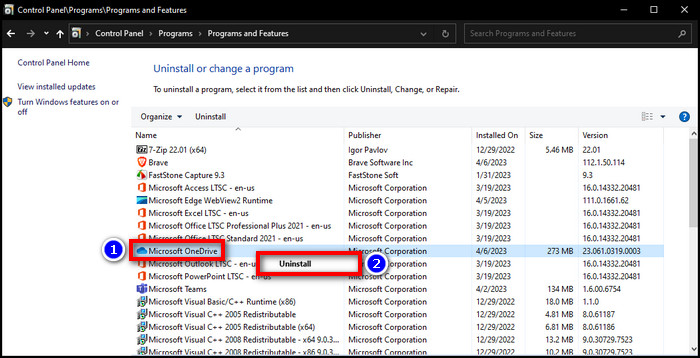
Before doing this, uninstall the older version first, then reinstall the newer version. To uninstall the older OneDrive,
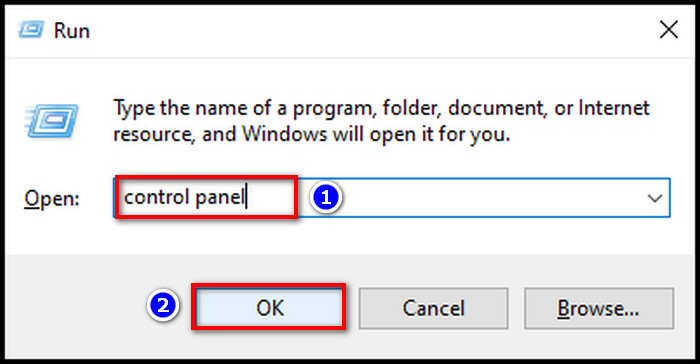
- Press Win+R to open run.
- Type control panel & hit OK.
- Click Uninstall a program under Programs.
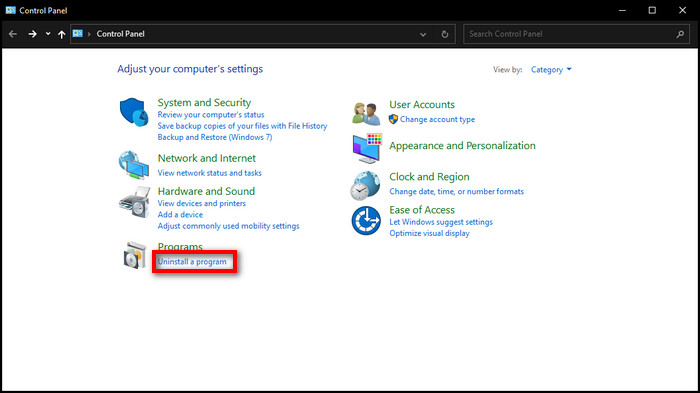
- Choose Microsoft OneDrive, Right-click & hit Uninstall.
After this, make sure you clean the old cache & temporary files to avoid conflicts with old files.
Copy the following paths & paste them into the Windows File Explorer address bar & delete the cache & temp files.
C:\Users\%userprofile%\AppData\Local\OneDrive
C:\Users\%userprofile%\AppData\Local\Temp
C:\Users\%userprofile%\AppData\LocalLow\Temp
C:\Windows\Temp
You may face that some files are not deleting & get warning about files in use. It’s generally ok & no need to worry about this.
Read more on re-enable OneDrive in Windows 10.
3. Deactivate Antivirus
Antivirus is one of the most culprits that causes several issues in many app’s features. Not to mention, the antivirus can cause Files On-Demand not working issue.
To determine whether an antivirus is the culprit, you can temporarily disable the antivirus. To do so,
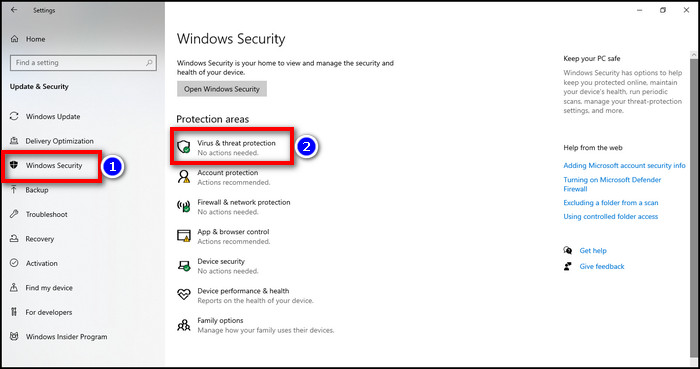
- Search Settings in the Windows search bar & click the top one.
- Go to Update & Security.
- Select Windows Security from the left tab.
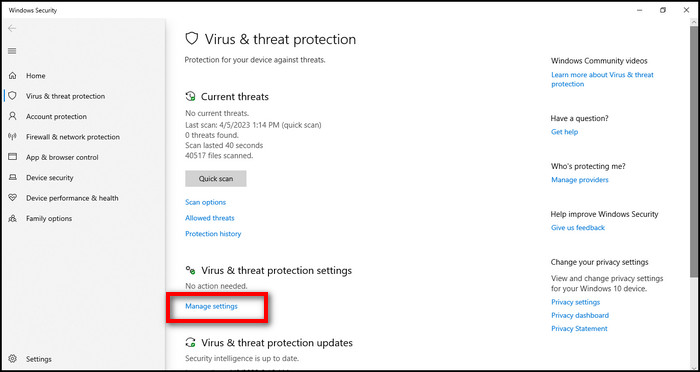
- Choose Virus & threat protection from the right side.
- Click on Manage settings under Virus & threat protection settings.
- Turn off Real-time protection.
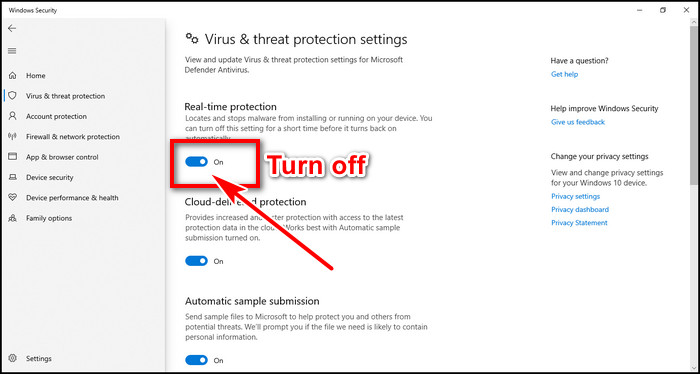
If the issue gets solved, then your antivirus is the culprit & you have to disable it or switch to another antivirus.
4. Run Windows Troubleshooter
If the methods are fruitless, you can try Windows troubleshooter before diving into more advanced methods.
Here are the steps to use Windows troubleshooter to resolve Files On-Demand not working:
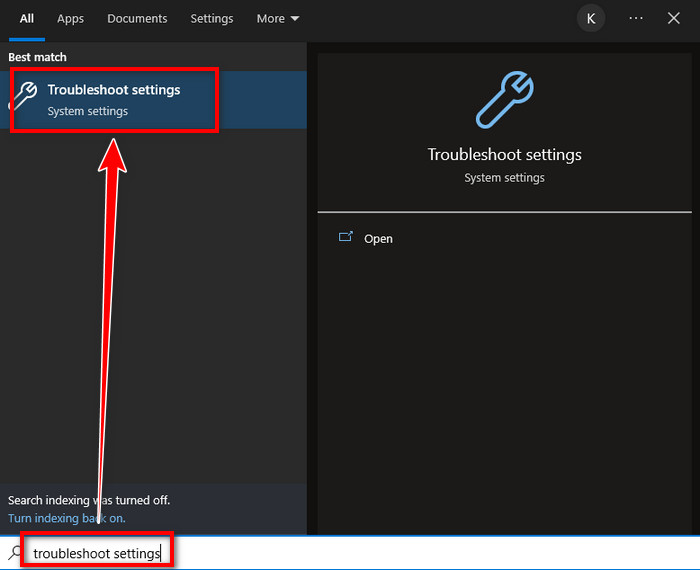
- Press Windows key & search troubleshoot settings.
- Click on the first result.
- Select View troubleshooting history from the right side.

Under recommended troubleshooting history, if you see a title with Files On-Demand troubleshooter with the description says, You may have lost access to your Files On-Demand. This troubleshooter restores access or prevents the loss of access from happening in the near future, this means, the Windows troubleshooter was on act.
You will get either a successful run message or could not run message with a timestamp. Ensure to reboot the system to complete the troubleshooting operation.
5. Force Enable with Registry Key
If everything fails, you have to force enable Files On-Demand through the registry key. If you are missing the feature in OneDrive settings, setting the key in the registry will do the job.
To set the policy in Windows registry key,
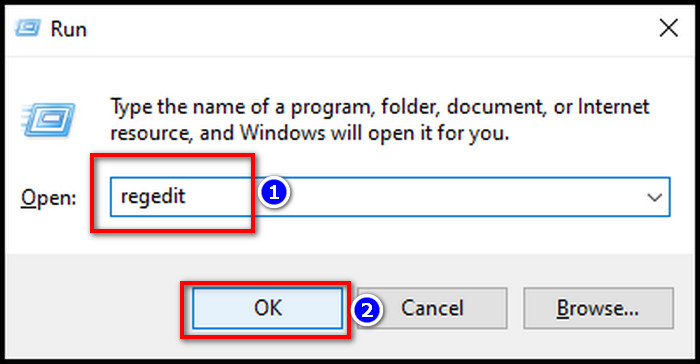
- Press Win+R key to open run.
- Type regedit & hit OK.
- Copy Computer\HKLM\SOFTWARE\Policies\Microsoft\OneDrive & paste into registry address bar.
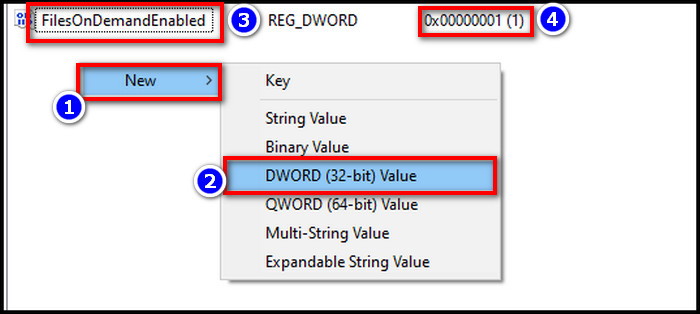
- Right-click on the blank space on right side > New > DWORD (32-bit) Value > rename to FilesOnDemandEnabled > set the value to 1.
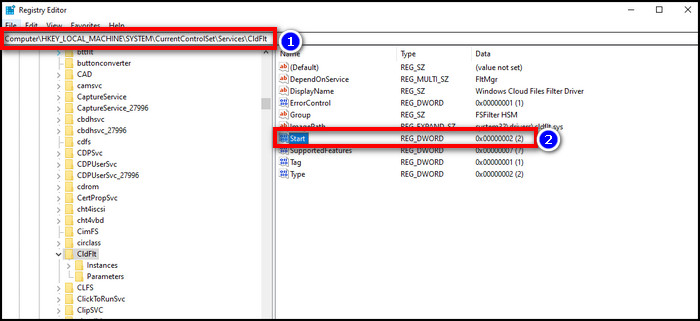
- Copy Computer\HKLM\SYSTEM\CurrentControlSet\Services\CldFlt & paste into the registry address bar.
- Find Start from the right side, double-click on it & set the value to 2.
- Reboot the system.
After rebooting, Files On-Demand in OneDrive should work.
6. Use CMD
Sometimes the issue can happen for network-related problems. You can reset your IP & DNS with the Windows command prompt.
Follow the steps below to reset IP & DNS,
- Press Win+R on your keyboard.
- Type cmd in the run command & hit OK.

- Copy-paste the following commands in the console one by one.
– netsh int ip reset
– netsh winsock reset
– ipconfig /release
– ipconfig /renew
– ipconfig /flushdns
- Reboot your computer.
These methods will solve OneDrive’s Files On-Demand missing or not working issue. Additionally, you can disable WIP, if it is still enabled on your system.
How to Fix OneDrive Files On-Demand Didn’t Start on Mac
If your Files On-Demand in OneDrive isn’t working, don’t worry. Restart your Mac & OneDrive, then try again. If that doesn’t come in handy, then follow the steps below to sort out the issue.
1. Use Terminal to Turn On Files On-Demand
Before approaching, first quit OneDrive. Then Go to the Finder app > Applications > Utilities > launch Terminal app.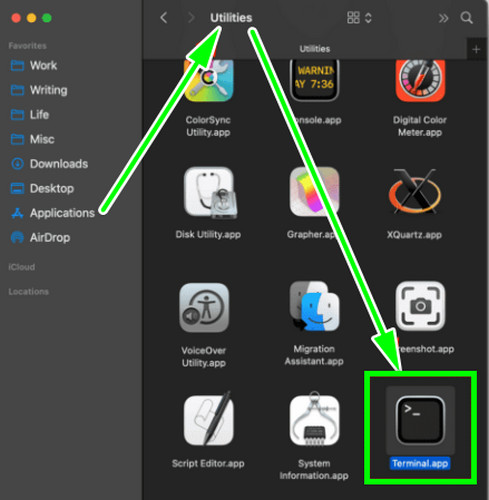
Now run /usr/libexec/PlistBuddy -c “Add :FilesOnDemandEnabled bool true” ~/Library/Preferences/com.microsoft.OneDrive.plist this cmd in the terminal to turn on File On-Demand. Reboot Mac & this should enable the feature on your Mac.
2. Delete Old Cache Files
You have to clean JSON files to avoid any corruption on Mac. To do this,
- Click the OneDrive icon, go to settings & Quit OneDrive.
- Go to the Library/Caches/OneDrive location.
- Delete all .JSON files.
- Reboot the Mac.
- Relaunch OneDrive again.
After taking a time to launch, the feature should work after opening OneDrive.
3. Reinstall OneDrive
Before initiating reinstall, you will have to uninstall the app thoroughly. With Appcleaner, delete all Office 365 files. Go to the App Store. Download & install OneDrive from there.
At this stage, you can create a secondary account, login & see if the feature is working. If it does, then your office account is the culprit. Otherwise, you are good to go.
If these things fail, don’t worry. I still have solutions in my pocket. You can go to the Applications > right-click on OneDrive > Show Package Contents > Contents > Resources. Now, click twice on ResetOneDriveApp.command to reset the OneDrive app.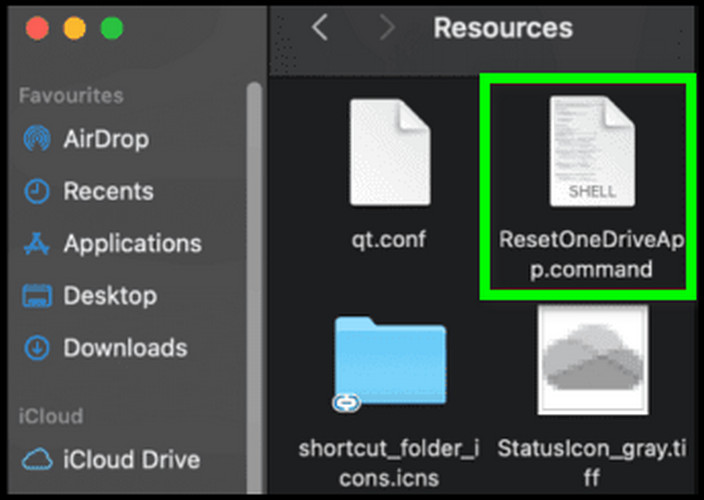
After a few moments, when the process is finished, reboot the Mac. Launch OneDrive, sign in & check if the issue still persists.
Additionally, click Apple menu > System Preferences > Extensions. Disable Finder Extensions from the left side.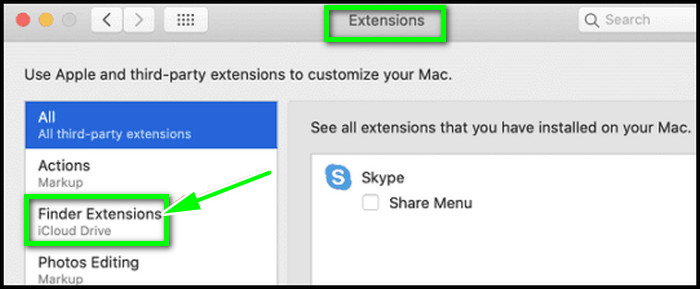
Final Thought
It’s a frustrating matter when you have a feature to save your storage space & then the feature is missing on your end.
In this article, I give all possible solutions to resolve Files On-Demand in OneDrive missing. Please leave a comment if you have any further queries.