The weather is growing warmer, and it’s almost time for the summer vacation. Everyone would want to escape the daily crowd and go on a beach, road, or mountain trip.
But in corporate life, it has never been so easy to get approval for a vacation. It’s a lengthy process, and you must wait patiently for the email response.
Fortunately, with Sharepoint, you can create a leave request approval workflow and fasten the vacation response system.
Tag along, and let’s jump into the creating process.
The SharePoint vacation request approval workflow is a process that allows employees to submit a vacation request and have it reviewed and approved by their supervisor or manager. SharePoint offers web parts for creating and maintaining vacation management efficiently.
In the vacation request workflow in SharePoint, a member fills up a vacation request form and submits it by providing information about the start date, end date, reason, and other additional info.
The system alerts the assigned supervisors or managers. And later, the appointed person takes action based on their company policy.
When creating a vacation request workflow for the organization, choosing the correct web part is crucial for maintaining the workflow properly. You can start with the Custom List, Issues Web part, Calendar, or Task List web part for vacation requests.
But the Custom List and Issues Web part doesn’t have a calendar view mode, which makes the vacation request form more complicated. In that case, creating SharePoint Calendar and Task List web parts is more suitable as they have multiple calendar modes.
However, in the Task app, there are more options than the Calendar web part. You can assign a supervisor or manager to the form and set up an alert system besides the calendar view.
By seeing all the facilities in the Task List web part, it’s a better decision to select the Task app for the vacation request. Consider reading the following passage to create a vacation request form and approval system in SharePoint.
SharePoint users can create a vacation request approval workflow by adding a Tasks app from the store, configuring the task app, and setting up the columns. After that, you must configure the vacation request view, set up an alert system, and assign managers.
Using the Task SharePoint app is the most straightforward among all web parts, and the following steps will show how you can create and add a vacation request form to your organization.
Here are the steps to create a SharePoint vacation request approval workflow:
1. Add Tasks App
To create the vacation request workflow, you need to add the SharePoint task app first. You’ll find it in the classic app experience of SharePoint.
Follow the procedures below to add the Task app in SharePoint:
- Go to your SharePoint site.
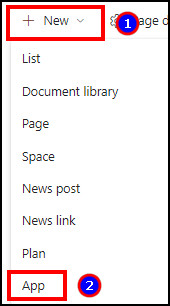
- Press on New and select App.
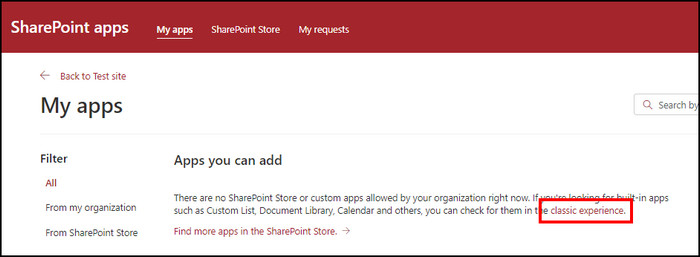
- Click on classic experience.
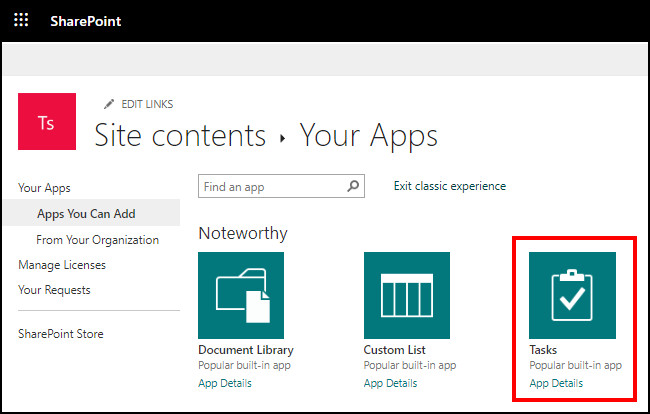
- Press on Tasks.
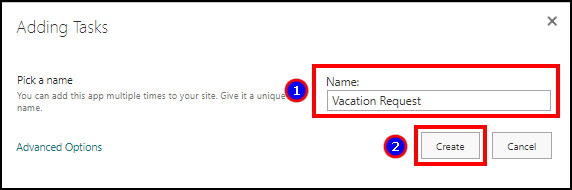
- Type a name and click on Create.
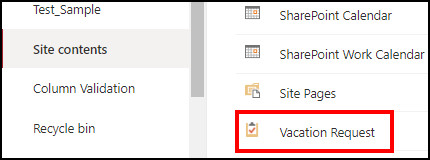
After creating the task app, you’ll find it in the list of the Site contents on the SharePoint site.
2. Configure List Settings
From the SharePoint Tasks list, you need to change a bunch of Versioning and Advanced settings. The following steps will describe the settings versioning and advanced settings in two different sections.
Here are the Versioning settings for the SharePoint vacation request workflow:
- Navigate to the Site contents.
- Right-click on Tasks and press Settings.
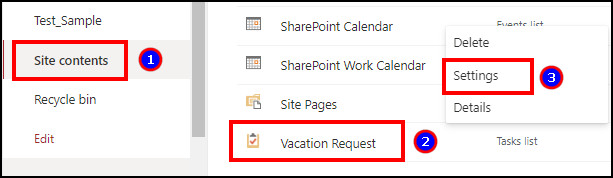
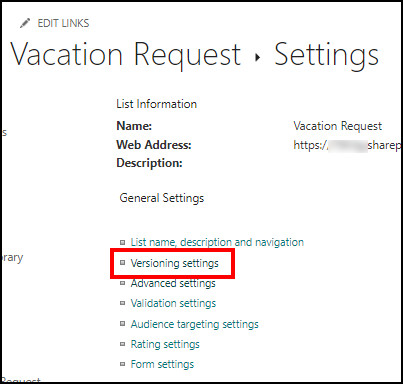
- Click on Versioning settings.
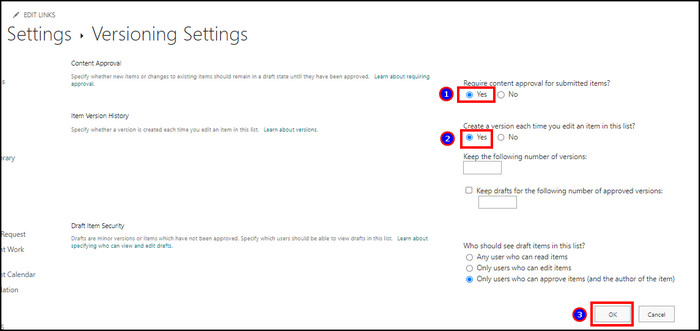
- Select the Yes button from Content Approval and Item Version History.
- Press on OK.
Now you need to go to the Advanced settings and change them by following the process below.
Follow the below Advanced settings for the SharePoint vacation request workflow:
- Go to the List settings for the Tasks.
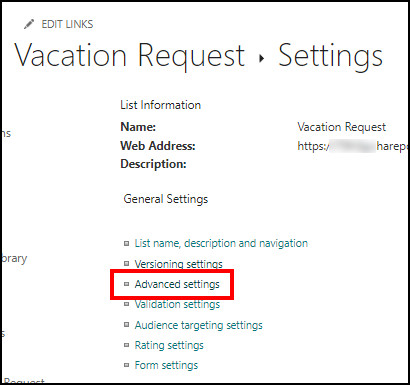
- Click on Advanced settings.
- Select Yes from the Content Types settings.

- Change the read and write access from Item-level Permissions.
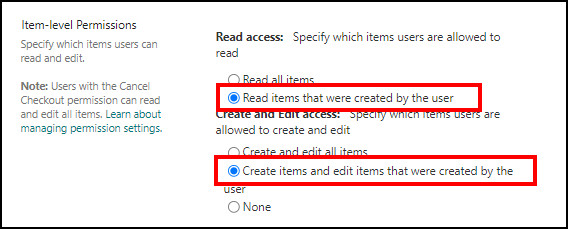
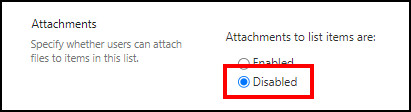
- Disable the attachment settings.
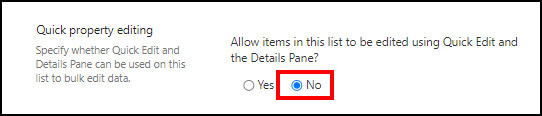
- Select No from the Quick property editing.
- Press on OK.
Once you apply the above settings, it will change the default permissions of the Tasks list.
3. Set Up Columns
Now, you need to modify the columns in the SharePoint Tasks. You may need to add some new columns depending on the information you need. Mostly you need a start date, end date, and description information from the leave request system in SharePoint.
Read the process below to add a new column in SharePoint Tasks:
- Go to the SharePoint Tasks settings.
- Press on Create column under the Columns.
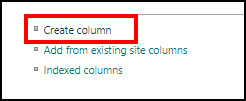
- Provide the name and type.
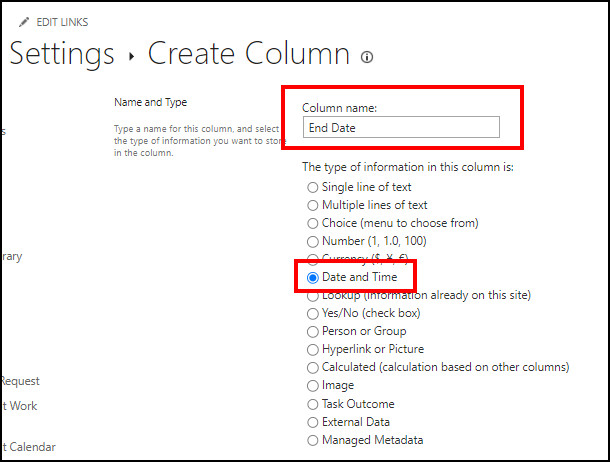
- Click OK.
After creating the necessary columns, you need to hide the unnecessary columns from the Tasks.
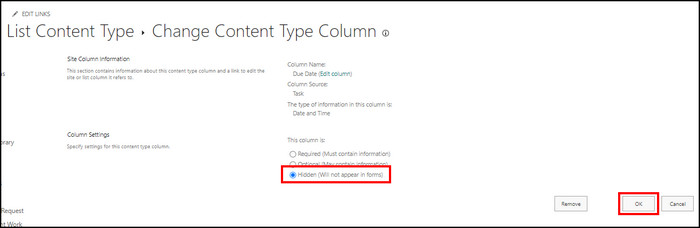
Here is the way to hide unnecessary columns from SharePoint Tasks:
- Click on Task under the Content Types.
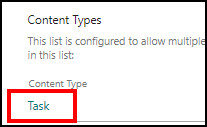
- Press on the column you want to hide.
- Choose Hidden and click on OK.
Once you hide the unnecessary columns the list will look like this.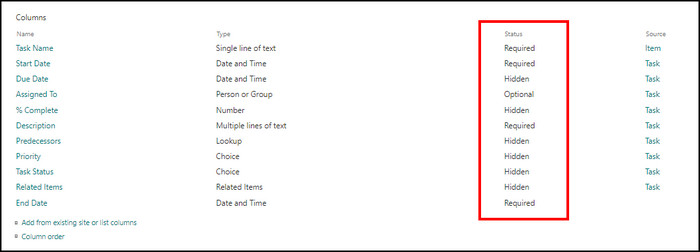
4. Create a Vacation Request
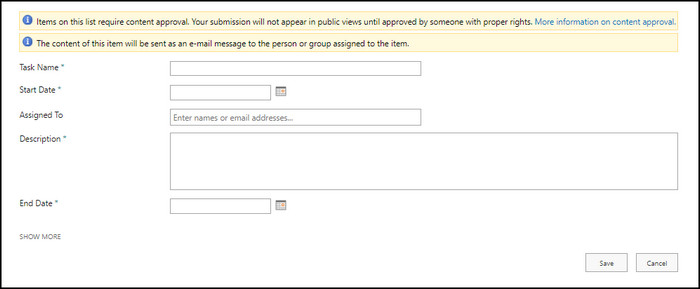
After completing all the settings, the vacation request form is ready to accept new tasks. Members can provide information and send notifications to their manager or supervisor.
Follow the steps below to create a vacation request in SharePoint:
- Go to the Site contents.
- Click on the Vacation Request Tasks.
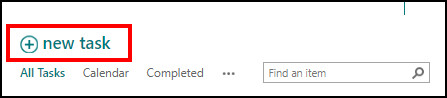
- Press on a new task.
- Fill up the information and click on Save.
The vacation request has been sent to your assigned manager or supervisor. And, now all you need to do is wait for the approval or rejection.
5. Approve Vacation Request
When someone creates a new vacation request, the last step is to approve or reject the request. The assigned person will be able to approve/reject from the task calendar.
Read the following steps to approve or reject a vacation request in SharePoint:
- Go to the Vacation Request Tasks.
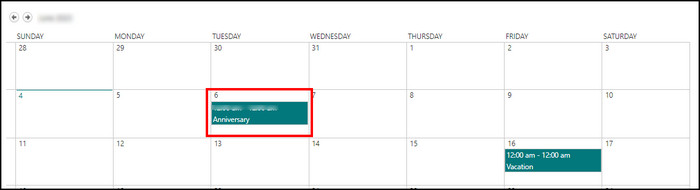
- Click on Calendar.
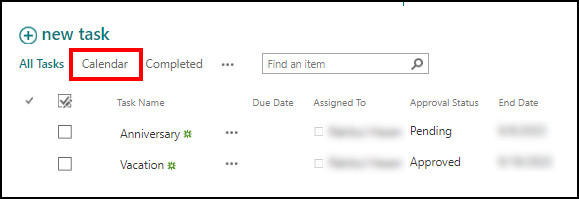
- Select the task from the Calendar.
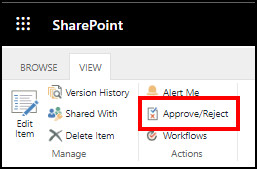
- Press Approve/Reject from the top.
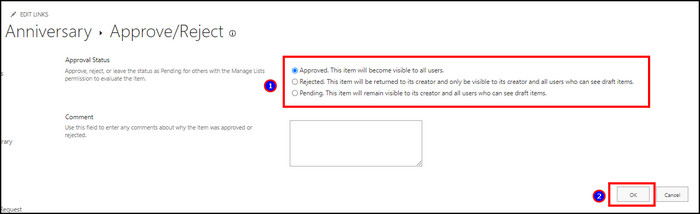
- Choose Approved or Rejected and press OK.
With the vacation request accepted or declined step, the SharePoint vacation request approval workflow is complete.
Frequently Asked Questions
Which is the best way to create a SharePoint vacation request workflow?
You can create a SharePoint vacation request workflow with the calendar, tasks app, or with power automation. But the Tasks app is the most straightforward and has all the features.
Who can approve SharePoint vacation requests?
The assigned manager or supervisor, owner, and admins can approve or reject the vacation requests in SharePoint.
Will it send a notification after creating a vacation request?
Yes, if the email notification is turned on from the Advanced settings, the owner will receive a notification whenever a new task is created.
Ending Note
The vacation request form in SharePoint makes the leave process more organized and much easier to give approval or rejection.
In this article, I’ve provided the straightforward method to create a vacation request workflow and shown the steps with detailed procedures.
I hope you’ve found the system beneficial and are using it to quicken your organization’s management system.
Cheers!