Everyone likes to speak their native language. The more people understand what a thing is, the more they get interested in interacting with it.
That’s why, from video games to apps or even web browsers offer language change options, so that users can have fun with their native language & navigation will be easier.
SharePoint also supports this trend & lets the users pick their native language.
In this article, I will show the process quickly to set your own language in SharePoint. Let’s dive in.
When I worked in a multinational company a few years back, there were so many nationals. From hola amigos to konnichiwa. This doesn’t mean we all have to speak different languages. But it indicates that people often like to express their native language.
That being said, they feel more comfortable using their own language while working, which can boost productivity. Microsoft SharePoint offers users to pick their default language & region at any time. If you are a site owner, you can add multiple languages for individual users.
Before adjusting SharePoint language settings, you can verify what is the default language set for that site. To do that,
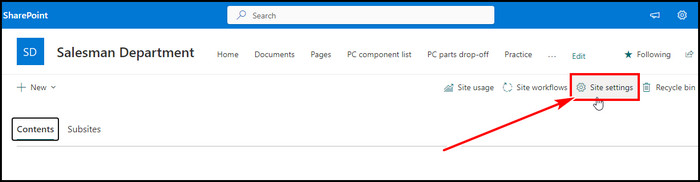
- Go to the SharePoint site.
- Click on the gear icon from the top right & select Site contents.

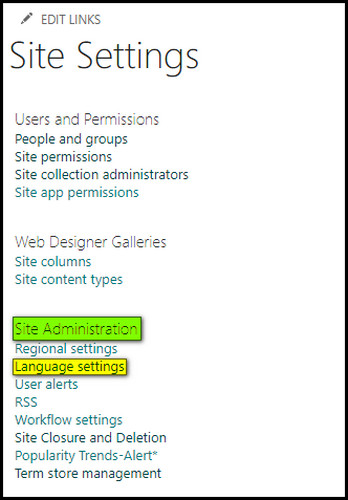
- Select Site settings.
- Pick Language settings under Site Administration.
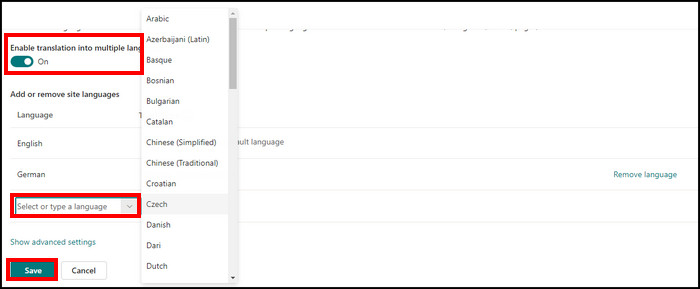
- Toggle on the Enable translation into multiple languages option.
There you will see your default language which is indicated with Not applicable for site default language.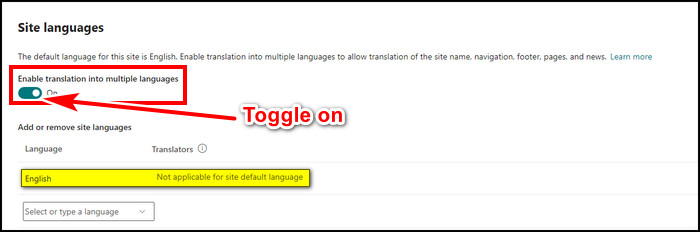
Now the default site language can’t be changed. So during training to boost SharePoint user adoption, you must focus on it. You can set a different default language during creating a new site.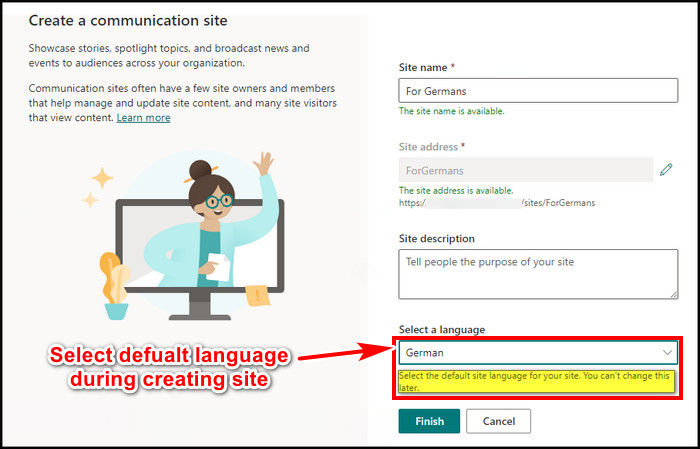
But if you want to add another site language then follow as below.
Here are the steps to change the display language in SharePoint.
- Go to the SharePoint Site settings & then Language settings.
- Select a language from the drop-down menu to add site language.
- Click Save when you are done.
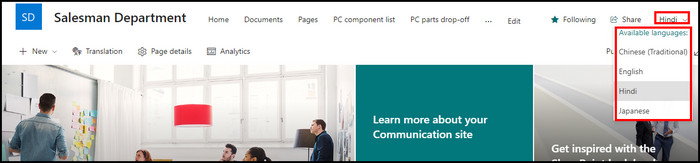
- Go back to the SharePoint site Home page & select your language from the top right corner.
These steps set languages at the SharePoint site level. However, the displayed language for a user depends on his user-specified language profile settings. If there is no alternative language in the user profile, he/she will see the site with the default language.
For example, a site’s default language is English & Hindi is added as an alternative language. Native English-speaking users don’t require to do anything but to get the Hindi display language, Hindi speakers have to add Hindi language to their personal profile. Here are the steps to change user personal language settings,
- Go to your SharePoint site.
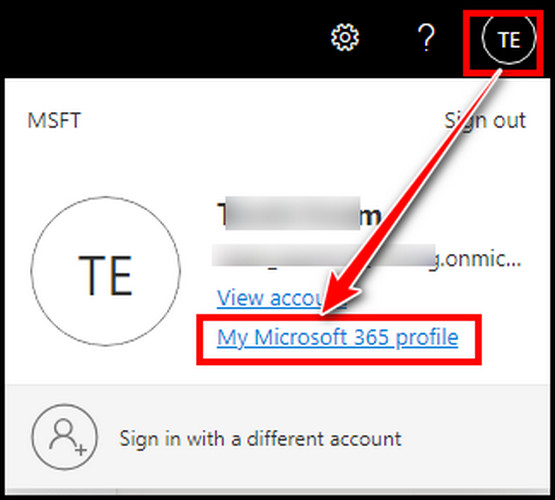
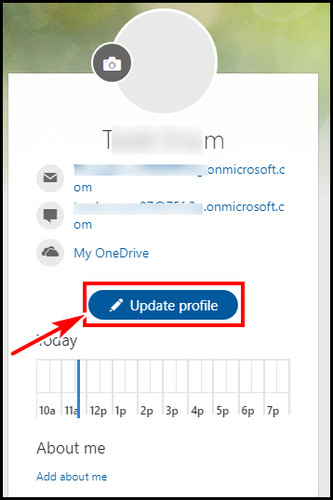
- Click on the profile icon from the top right corner & select My Microsoft 365 profile.
- Select Update profile below your name.
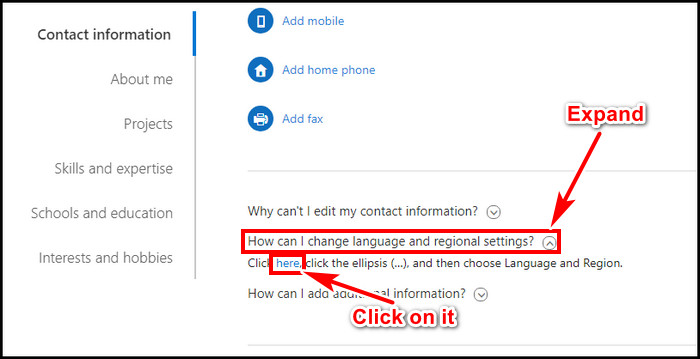
- Scroll down a bit, expand How can I change language and regional settings? & click on here from the sentence.
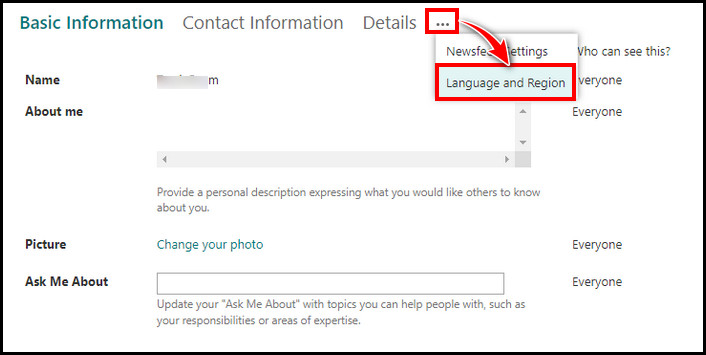
- Click on the horizontal ellipsis (…) & pick Language and Region.
- Pick a new language & hit Add.
- Click on the up arrow to bring the language to the top.
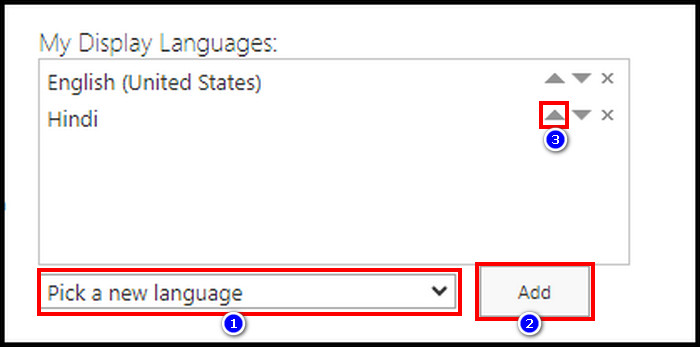
- Hit Save all and close from the bottom.
Note that, it will take some time to change user language settings in SharePoint.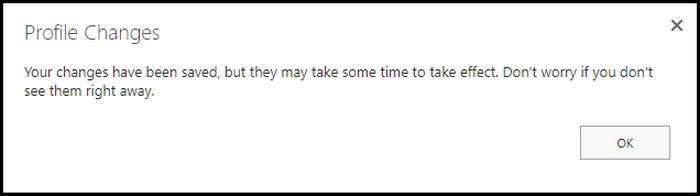
So take a break & check later to verify the change. The page will look like this after changing the user language.
Meanwhile, keep reading the article to learn how to change SharePoint Term store language settings, as it has its own language mechanism & differs from the steps mentioned above. You must have admin access to do this method.
Here are the steps to add additional languages to the Term Store,
- Go to SharePoint Admin Center.
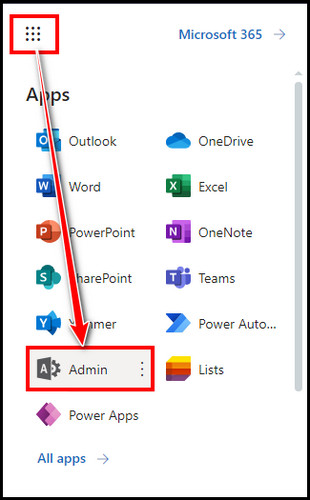
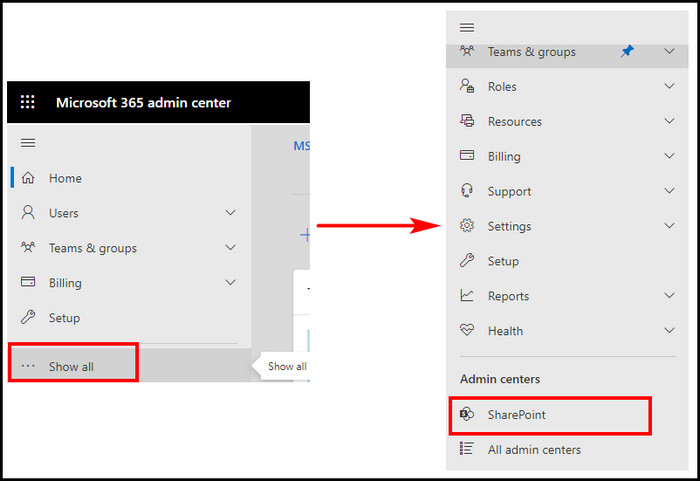
- Click on Show all & then select SharePoint.
- Expand Content service from the left & click Term store.
- Scroll a bit & select Edit for the Default language.
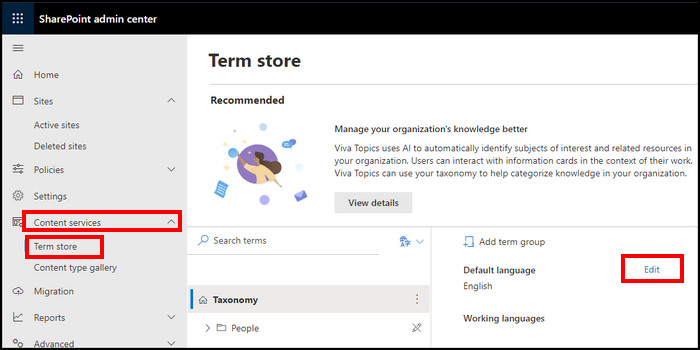
- Select a language to add & hit Save.
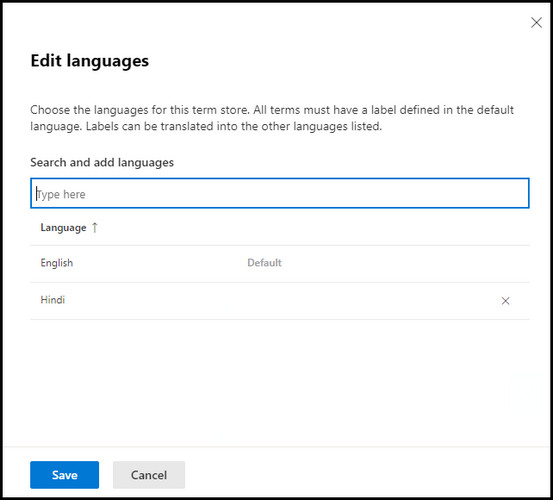
That’s it. After adding the language, you will be able to provide translations of terms individually.
FAQs
Can I add any language in SharePoint?
Currently, SharePoint supports fifty languages. You can pick from the available languages.
If I change language settings to my native, will it affect to all?
The user language settings change affects only the user logged in. It will not change the language of other members.
Is it possible to change a SharePoint site’s default language?
Once a site is created with a default language, you will not be able to modify that. Though, an admin can add additional languages.
What is the default language of SharePoint Online Term Store?
By default, SharePoint Online Term Store uses English language.
Final Thought
Using native language provides a boost to navigating & thus helps productivity. Like games or apps, SharePoint also supports multi-language & users can pick their native language to display.
In this article, I explained how to do the process, so that members can enjoy their own language navigation.