While building a SharePoint site page, it is crucial to use various web parts to craft an outstanding site.
The text web part is an out-of-box web part that can enhance the visual appearance of a SharePoint site page.
In this article, I will show you how to use the SharePoint text web part to insert text and images effortlessly.
Let’s jump in!
The text web part is a special type of web part that assists in embedding text, images, tables, and paragraphs in your SharePoint site page. It has the functionality of adding various formats like bullets, styles, etc. It is an out-of-box web part that works with modern site pages.
SharePoint web parts are server-side controls that run within a site page. Users can create multiple blocks of content to complete an entire site page using web parts.
To learn more about the functionality and features of the text web part, check the subsequent discussions.
Following are the features of the text web part in SharePoint:
- It is one of the most popular web parts for adding text and images inside the same block.
- It allows adding normal text, images, tables, and paragraphs to a SharePoint site page.
- Users can insert images using text web parts from various sources (Web searches, OneDrive, local drive, etc.).
- It offers numerous formatting styles to create awesome text effects.
Are the features mentioned above what you’re searching for on your site? Well, then move on to the next section to use the text web part of SharePoint.
Use the Text web part to add an image next to the text in SharePoint. Simply, go to Edit mode, click on the rounded plus icon, and choose Text web part from the menu. Then click Insert image from the top bar, choose an image from a source, and align the image with your text.
SharePoint allows users to add images and texts in the text web part from various sources, including SharePoint stock images, Web searches, OneDrive, Site, local drive, and from a link.
Consider the following instructions to insert the image and text within the Text web part of SharePoint.
Here are the steps to add text and images within the text web part:
- Go to SharePoint and open your site.
- Click on Edit to enter in edit mode.
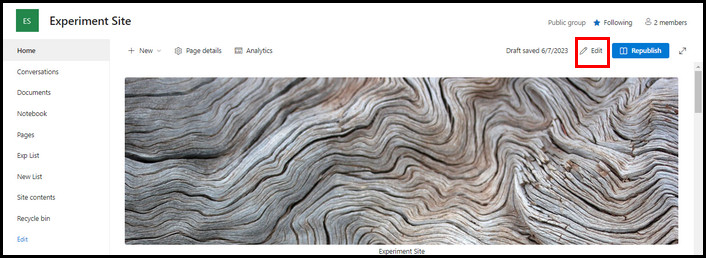
- Select the rounded plus icon to add a new web part.

- Choose the Text web part from the new window.
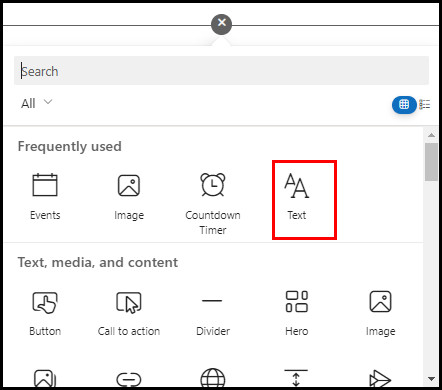
- Add your texts within the web part.
- Click Insert image from the top bar and choose any of the following options to add the image:

- Switch to the Stock images tab to add images from thousands of free SharePoint stock images.
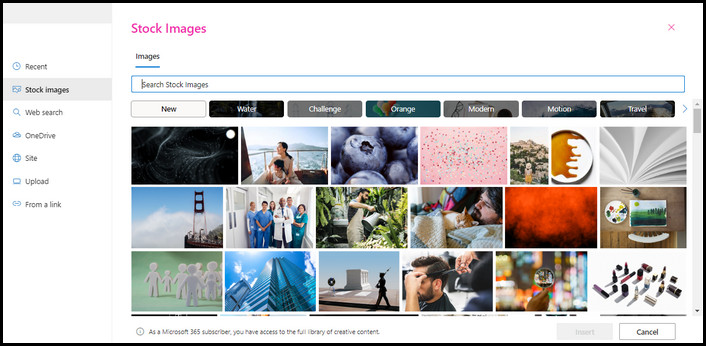
- Add images by searching the web using the Web search tab.
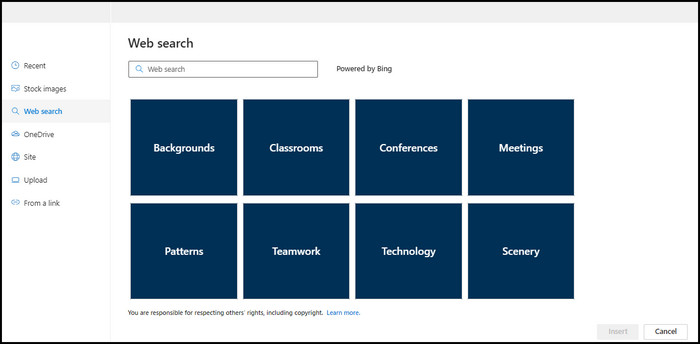
- Switch to the OneDrive tab to upload images from OneDrive.
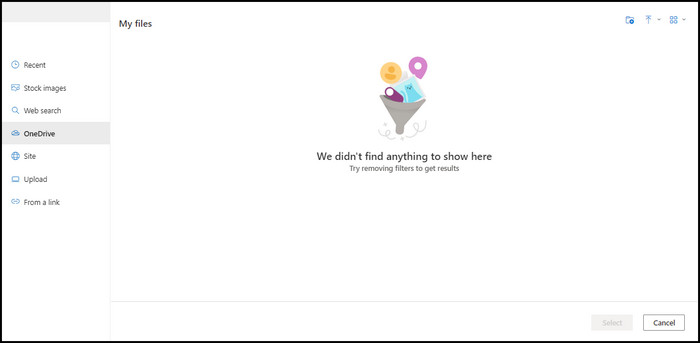
- Use the Site tab to add images from your site.
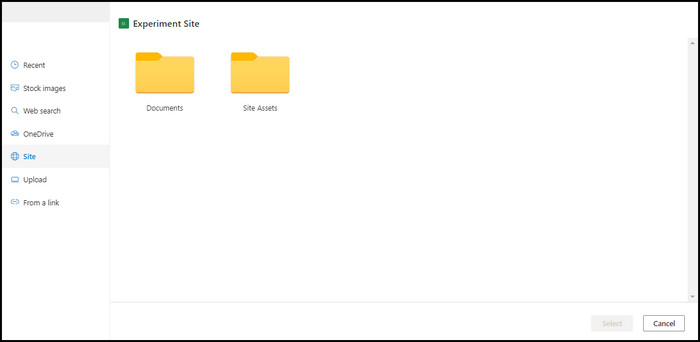
- Switch to the Uploads tab to insert images from your local storage.
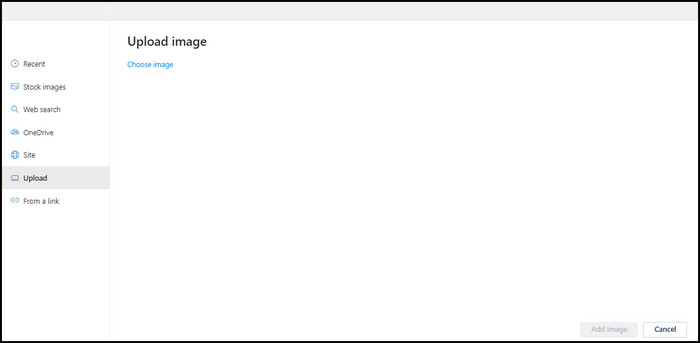
- Add an image from a link using the From a link tab.
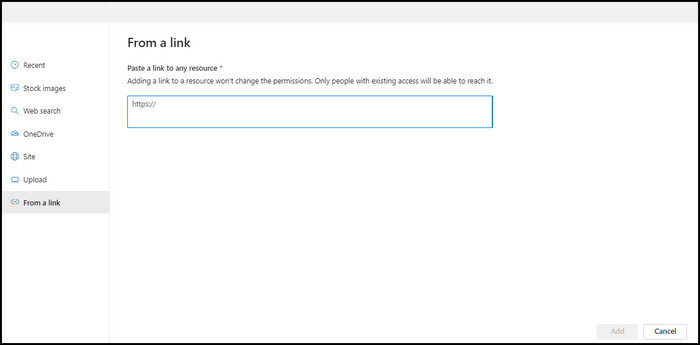
- Switch to the Stock images tab to add images from thousands of free SharePoint stock images.
- Align the image using the toolbar in the upper left corner of that image. You can align the image left, right, or center. Moreover, you can resize the image using the handles (4 handles at four corners) of the image.
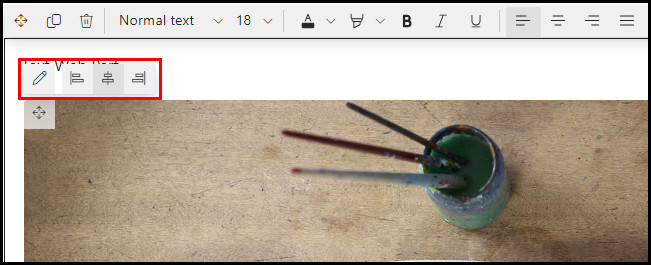
- Complete the process by adding a few more texts around the image.
Mazel tov! You have successfully added text and images within a text web part. For further modification, check out another post on how to make SharePoint look good.
Quick Note: While changing the image alignment, ensure the image width is larger than 50% of the column width. Otherwise, you may see white space next to the image border, and it won’t look perfectly aligned.
Frequently Asked Questions
Can you place text and images together on SharePoint?
Yes, you can place images and text together on a SharePoint page using the text web part. To add the text web part, click on the circled plus icon and add the text web part from the web part store.
How do I edit the text in the SharePoint web part?
To edit the text in SharePoint web parts, go to Edit mode, select the text you want to edit, and start editing your text. SharePoint allows users to edit all types of text on a site page.
Can I align an image in the SharePoint text web part?
Yes, you can align any image added in the text web part. To do so, select the image and use the top left toolbar to align the image left, right, or middle.
Wrap Up
Adding images and text within a SharePoint text web part can dramatically change the site’s appearance. Besides, the functionality of aligning images with text makes it more desirable.
Users can insert images from different sources, which ensures they are not limited to one source while adding images. Moreover, formatting ability assures the text represents the site’s theme and moral.
Do you need further assistance regarding the text web parts? Don’t hesitate to leave a comment below.