When it comes to effective communication in email, flawless spelling and grammar usage play a vital role.
However, if you are facing issues with Outlook spell-checking and are worried about writing a new email, you’re not the only one. A silly error can lead to an embarrassing situation, and we pray that it never happens to any of us.
Therefore, I’ll share the working methods to fix the spell checking in Outlook and quickly relieve you from the issue.
So, let’s begin.
Why is Spell Check Not Working on Outlook?
The spell check in Outlook isn’t not working because the auto-correct and spell checker are disabled. Also, if you set the incorrect proofing language and enable the do not check option, Outlook will not suggest any error or recommendation while typing a new email.
There are additional reasons for the spell check not working on Outlook issues. And the following passage will describe the causes to help you understand the problem.
Here are the reasons behind spell check not working on Microsoft Outlook:
Disabled Auto Spell Check: As you type a message in Outlook’s new email, the auto spell checker examines the writing and shows errors or suggestions of misspelled words or incorrect grammar.
However, turning off the option from settings won’t show any spelling error in the message.
Turned Off Ongoing Mail Spell Checker: Microsoft Outlook has another feature that checks the spelling and grammar before sending an email. But it won’t show the misspelled words if you turn off the ongoing mail spell checker option.
Incorrect Proofing Language Settings: All Office applications use the same proofing language settings. So, if you disable the spelling and grammar check, Outlook won’t show any misspelled words.
Enabled Message Ignoring: The message ignoring option overlooks certain parts of the text message and doesn’t suggest any spelling or grammar mistakes. If you enable the option, the suggestions won’t work properly on email replies.
Corrupted or Outdated App: The file corruption or any issue in the current update can affect the spell-checking functionalities in Outlook. As the language settings are interconnected to all Office programs, any issue on other applications can affect Outlook.
Continue reading the following passage to learn the ways to resolve spell check not working in Outlook desktop and Outlook 365.
How to Fix Outlook Spell Check Not Working
To fix the Outlook spell check not working issue, you need to verify the auto correct and spell check option, change language proofing settings, and disable message ignoring. Also, enabling the system’s spell autocorrect and removing Microsoft Editor will resolve the problem.
The spell checking issue is very common, and you will fix the problem very quickly by following the procedures below.
Here are the methods to fix spell check not working on Outlook:
1. Restart Outlook
Sometimes, the current login session can create a problem with the Outlook functionalities. Doing a simple restart will solve the problem at most times.
First, close the Outlook program from your desktop and force restart your computer. Now, reopen the Microsoft Outlook client and check if the spell checker works properly.
2. Enable Auto Spell Check
When Outlook doesn’t show any spell or grammar errors, you should verify the auto spell option is activated correctly. If you find it turned off, enable it by following the process below.
Here are the steps to turn on spell check in Microsoft Outlook:
- Open Microsoft Outlook desktop client.
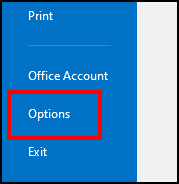
- Click on File and press Options.
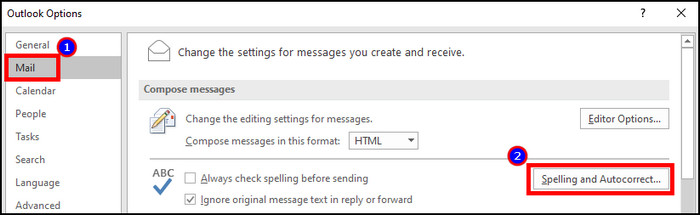
- Go to the Mail tab and press on Spelling and Autocorrect.
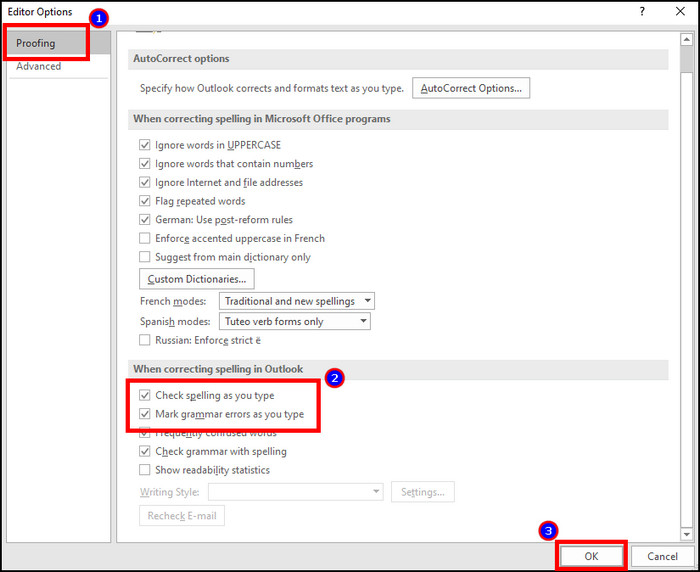
- Navigate to the Proofing tab.
- Check the box beside Check spelling as you type and Mark grammar errors as you type.
- Press on OK.
Now, open a new email and check if it’s working accurately.
3. Set Auto Check for Ongoing Email
Enabling an auto spell checker for ongoing email is a handy feature. It automatically checks the message and shows the misspelled word.
Read the procedures below to set auto spell check for ongoing Outlook email:
- Press on File and click on Options.
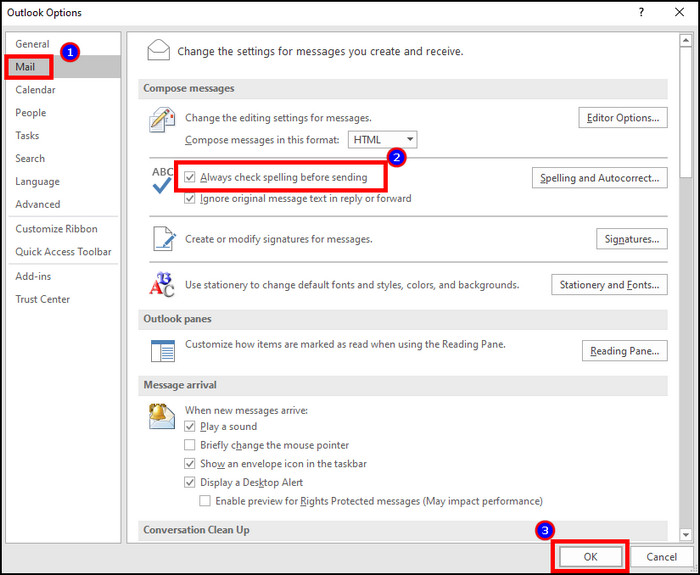
- Navigate to the Mail tab.
- Check the box beside Always check spelling before sending.
- Press on OK.
From now on, Microsoft Outlook will automatically check your new email and fix the spell checking issue.
4. Change Language Proofing Settings
All the Microsoft Office applications use the same language preferences. Setting a default language in an application will affect Outlook. If you have changed the settings incorrectly, the spelling checking won’t work for your default language.
Follow the steps below to change language proofing settings in Outlook:
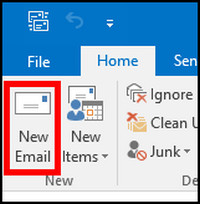
- Create a New Email.
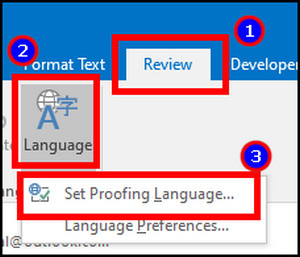
- Go to the Review tab and click on Language.
- Press on Set Proofing Language.
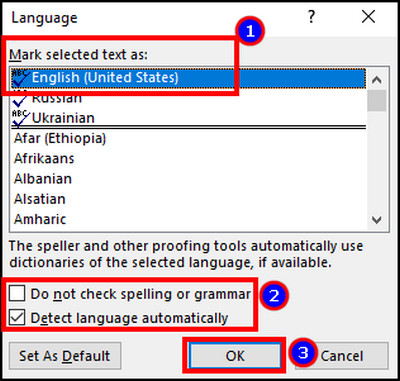
- Select your language and uncheck the box beside Do not check spelling or grammar.
- Check the box beside Detect language automatically.
- Press on OK.
The changes will work on every Office program. Now, type a message and see if the spell checking issue is resolved.
5. Disable Message Ignoring
Upon enabling the message ignoring option, Microsoft Outlook does not check the spelling and grammar of the original message. You need to turn off the message ignoring option to fix Outlook spell check not working on a reply.
Follow the process below to disable message ignoring on Outlook:
- Press on File and go to Options.
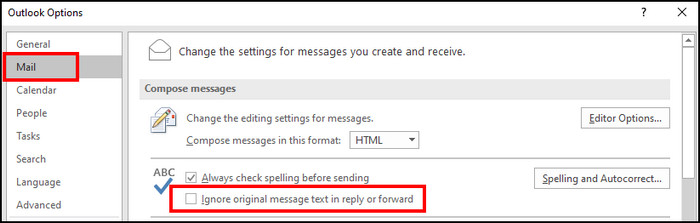
- Navigate to the Mail tab.
- Uncheck the box beside Ignore original message text in reply or forward.
Create a new email or reply to an existing one to check if the spell-checking works correctly.
6. Run Spell Check Manually
If the auto spell correction doesn’t show any suggestion in your new email, you can manually check the spelling by using Outlook keyboard shortcuts.
Press F7 on your keyboard, and it will show the misspelled word and grammar error in your message.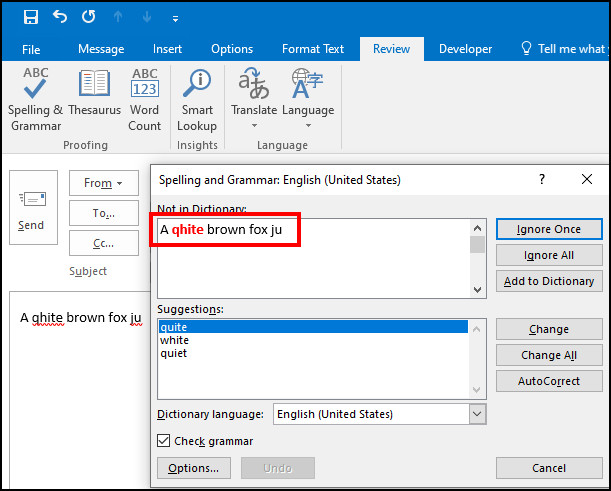
7. Turn On System Auto Correct
Windows has a built-in system to autocorrect any misspelled word. You need to enable the system auto-correct option to make it work properly.
Here is the way to turn on autocorrect from the system:
- Press the Start button.
- Type and open Typing settings.
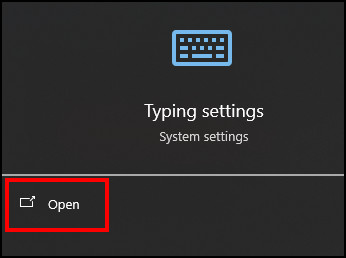
- Enable the spelling option.
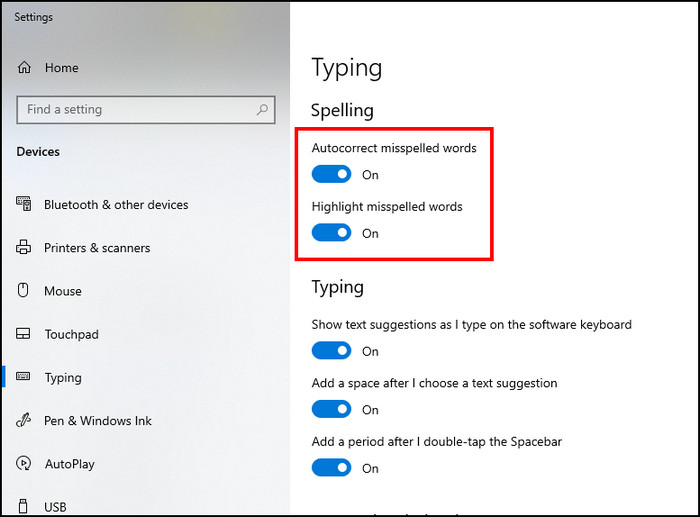
Now, Microsoft Outlook will automatically show the errors, and the spell checking error will be fixed.
8. Remove Microsoft Editor
Microsoft Editor is a free extension for Chrome and Edge that has a built-in spell checking option. Some users have reported that removing the Microsoft Editor has resolved their spelling issue.
As there’s no built-in spell checker for Outlook 2016 or Outlook on the Web, it uses the browser spell and auto correct feature. Therefore, it creates a conflict, and removing the Microsoft Editor extension will solve the problem.
9. Update MS Outlook
The current Outlook version may sometimes contain bugs and won’t show the spelling error correctly. You need to update Microsoft Outlook to fix the bugs and spell checking.
Here are the steps to update Microsoft Outlook:
- Open Microsoft Outlook.
- Go to File and press on Office Account.
- Click on Update Options and select Update Now.
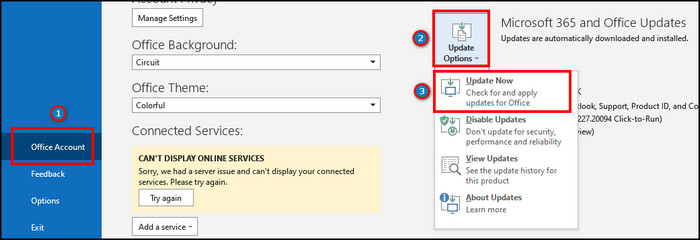
Restart your Outlook client and check if the spell and autocorrect work properly.
10. Repair Office
If the problem continues on Outlook spell checking, then it may have been affected by other application settings. So, you need to repair the Office application to fix the issue for all Office-associated programs.
Follow the procedures below to repair Microsoft Office:
- Click on Windows Start.
- Type and open Apps & features.
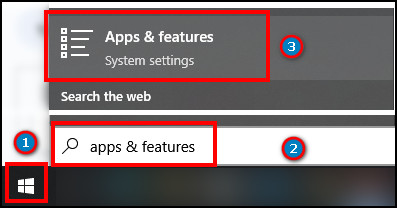
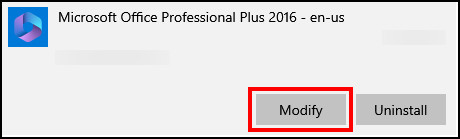
- Scroll down and press on Office.
- Click on Modify.
- Choose Online Repair and press on Repair.
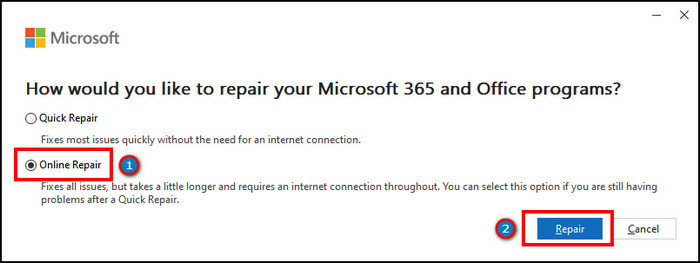
After completing the repair, open Microsoft Outlook and test the spelling and autocorrect.
11. Contact Support
The above working methods have resolved the spell checking issue for most Outlook users. However, if the problem remains for you, contact Microsoft Outlook support for further instructions and guidelines.
Frequently Asked Questions
What is the shortcut key for spell check in Outlook?
The shortcut key for spell check in Microsoft Outlook is F7. It only works for the Outlook desktop client. Outlook on the web doesn’t support shortcuts for spell checking.
Where is spell check in Outlook 365?
Microsoft Outlook 365 or Outlook on the Web doesn’t have spell check and autocorrect settings. Instead, it uses the browser’s functionalities to check the spell.
How do you activate spell check on Outlook?
To activate spell check on Microsoft Outlook, you need to go to File > Options > Mail > Spelling and Autocorrect > Enable Check spelling as you type.
Ending Note
Spell check and autocorrect in Microsoft Outlook is very useful in preventing errors in typing or replying to emails. It can help you avoid awkward situations in emails.
In this article, I have provided tested methods to fix the spell checking issue in Microsoft Outlook. I hope the solution has worked for you and you are writing emails without making any spelling errors.
Goodbye!